Manage memberships that want to pay via in-person cash and check
Overview
Our system offers four main payment methods: Cash, Check, Credit Cards, and ACH (taken directly from a bank account). Cash and check payment methods don’t have additional fees associated with them, making them a great payment option to offer in-studio.
Permissions and Accessibility
Staff Access:
- Admin
- Full access
- Manager
- Does not have access to change payment options for registrations
- Has access to change a member’s payment method for an existing registration
- Staff
- None
MyStudio Plan Restrictions:
- None
Specifications
Cash
Setup
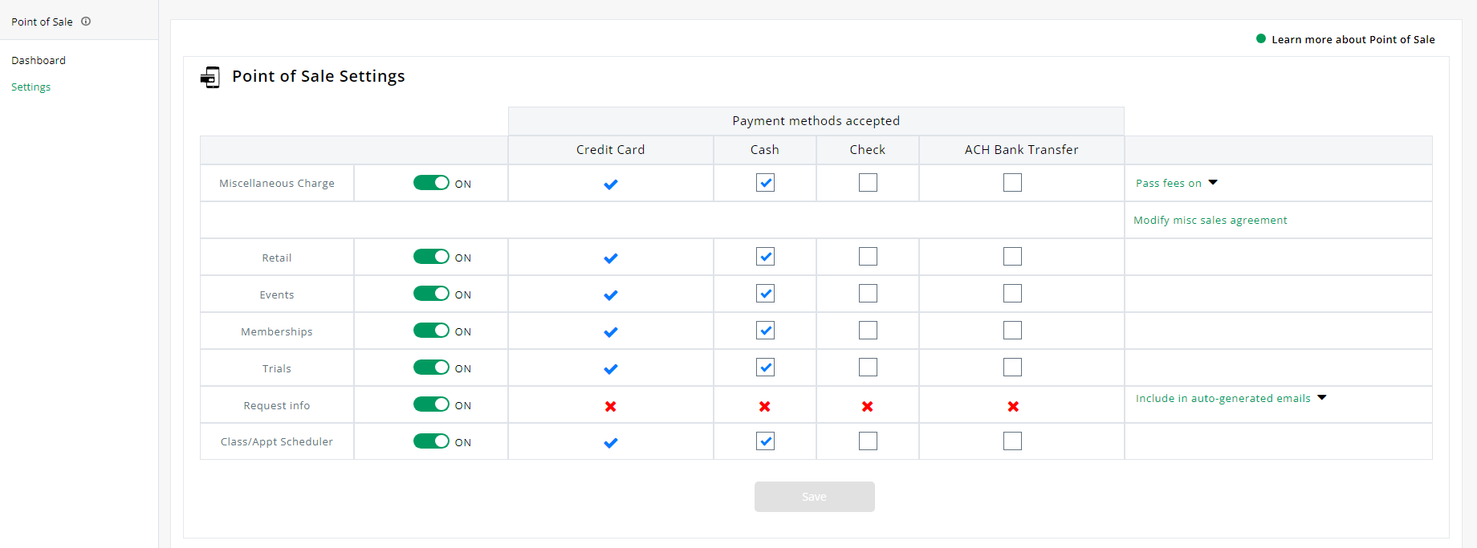
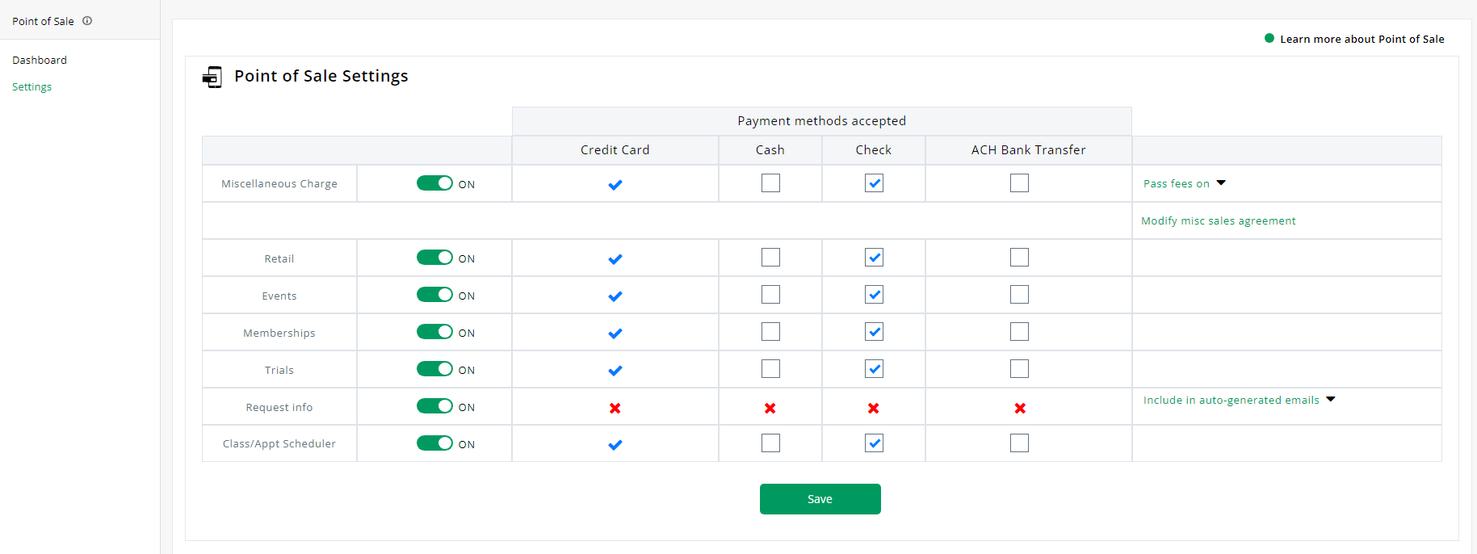
Cash is considered a manual payment. In order to allow cash as a possible payment method, users need to go to Operations > Point of Sale > Settings, and check the offerings they want to allow cash for.
Cash can only be used as a valid payment method in the Staff POS and Public POS since these registration locations can only be accessed from a studio location. URLs and the Member App do not allow cash payment options.
Applying Cash Payments
If a member registers for an offering that has ongoing payments using cash, each payment will need to be recorded manually before or on the payment date, or it will be marked as past due.
For example, if a member pays for their monthly membership in cash, a user will need to go to All customers > program participants > click into the registration > payments.

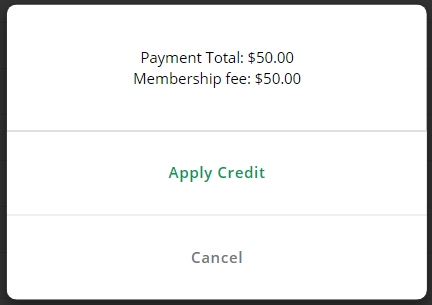
Click on an upcoming payment > Apply credit to this payment.

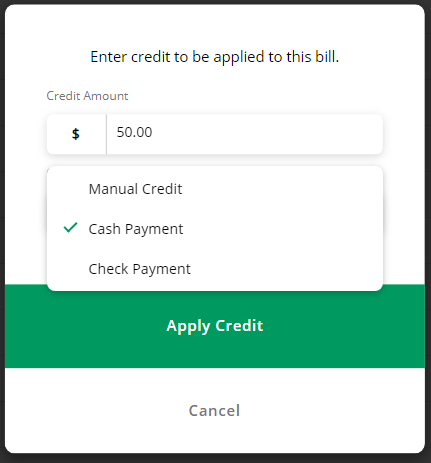
Enter the amount of the payment and choose “Cash Payment” from the drop down.
After confirming the applied payment, users will see this transaction in the payment history section. This same method applies to Events. Users will access this by going to All Customers > Event participants > click into a registration > payments.
Alternatively, cash can be applied to past due payments as well. Easily access a registration for this payment by going to Payments > Past Due > and clicking on the name of the participant. This will take users immediately to the payments section of the registration.
Click the drop down to see the past due payment > select the past due payment > apply credit.
Enter the credit amount, and choose “Cash Payment” from the drop down.
Cash payments do not have any processing fees added to the total.
Users can see total cash payments in a specified date range by going to Payments > Payment history and seeing the “Cash net” total above the table.

Check
Setup
Checks are considered manual payments. In order to allow check as a possible payment method, users need to go to Operations > Point of Sale > Settings, and check the offerings they want to allow checks for.
A check can only be used as a valid payment method in the Staff POS and Public POS since these registration locations can only be accessed from a studio location. URLs and the Member App do not allow check payment options.
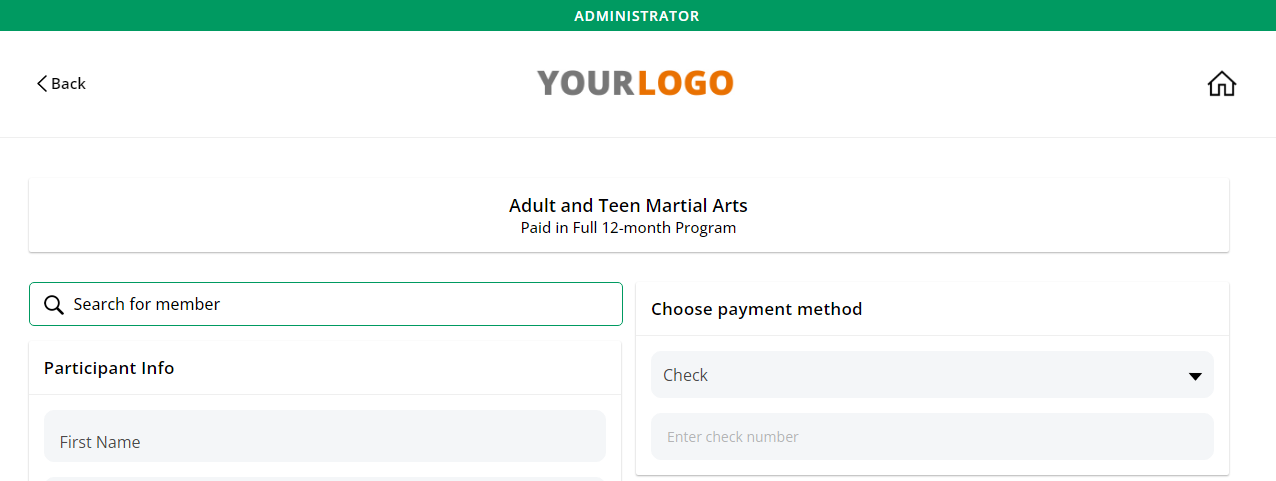
During registration, if a member is using a check for payment, the check number will need to be entered.
Applying Check Payments
If a member registers for an offering that has ongoing payments using checks, each payment will need to be recorded manually before or on the payment date, or it will be marked as past due.
For example, if a member pays for their monthly membership with a check, a user will need to go to All customers > program participants > click into the registration > payments.
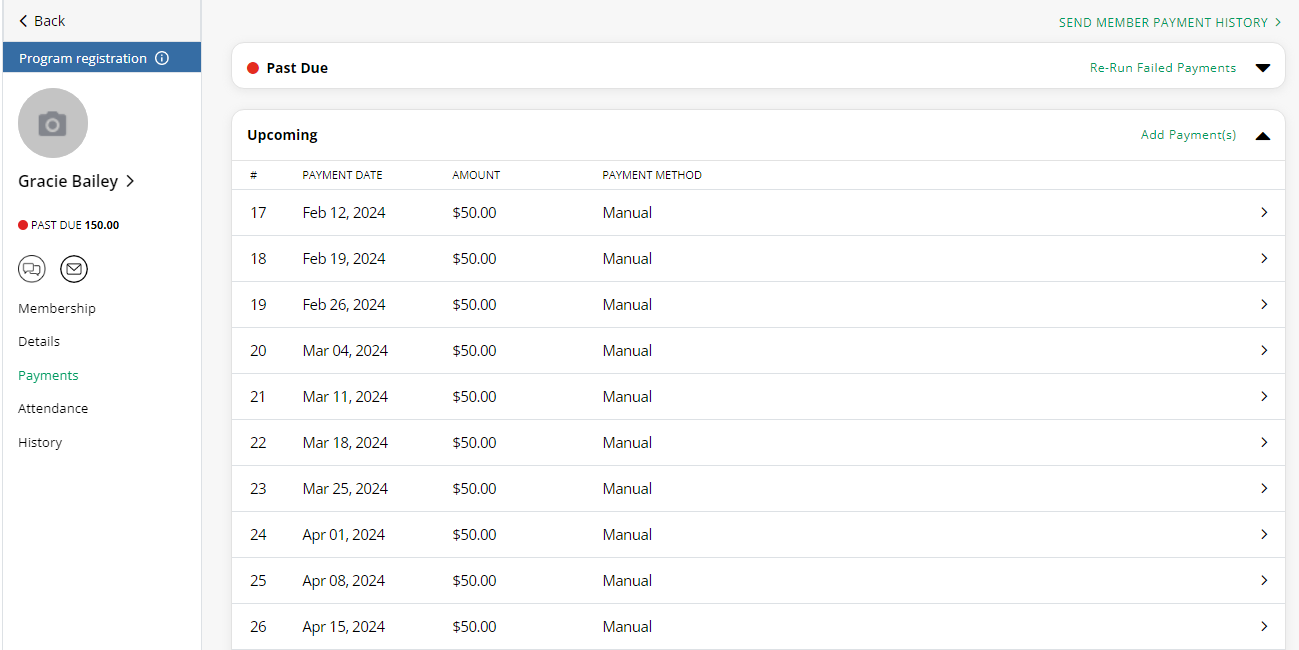
Click on an upcoming payment > Apply credit to this payment.
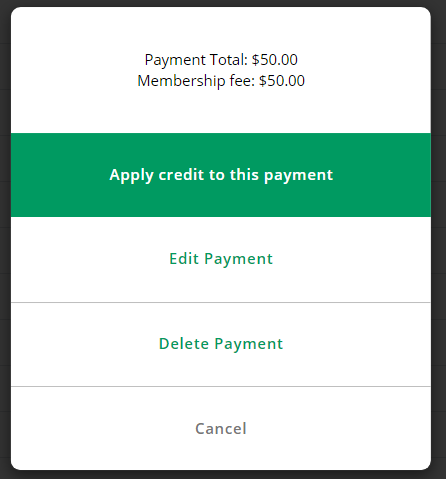
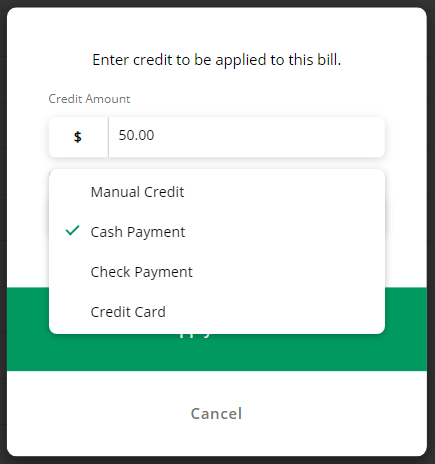
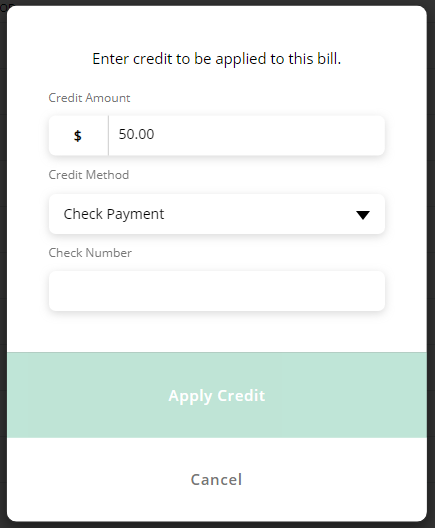
Enter the amount of the payment and choose “Check Payment” from the drop down. The check number will then need to be entered.
After confirming the applied payment, users will see this transaction in the payment history section. This same method applies to Events. Users will access this by going to All Customers > Event participants > click into a registration > payments.
Alternatively, a check can be applied to past due payments as well. Easily access a registration for this payment by going to Payments > Past Due > and clicking on the name of the participant. This will take users immediately to the payments section of the registration.
Click the drop down to see the past due payment > select the past due payment > apply credit.

Enter the amount of the payment and choose “Check Payment” from the drop down. The check number will then need to be entered.

If a member has written one check out for multiple past due or upcoming payments, the same check number can be applied to multiple payments.
Check payments do not have any processing fees added to the total.
Users can see total check payments in a specified date range by going to Payments > Payment history and seeing the “Check net” total above the table.
Other Affected Sections
- Point of Sale
- Past Due Payments
- Payment History