Overview
ACH is one of the five payment methods available in MyStudio, along with cash, check, debit cards, and credit cards. ACH (taken directly from a bank account) allows members to pay for one-time transactions, ongoing memberships, or bigger purchases directly from their bank account.
Table of contents
Permissions and accessibility
Staff access:
-
Admin
-
Can setup system to accept ACH payments
-
Cannot add ACH info for customer
-
-
Manager: None
-
Staff: None
Important: Only customers can add or update their ACH info.
MyStudio plan restrictions:
-
ACH is currently only available to US and Canada accounts.
-
Processing fees (shown to customers as Admin Fees) vary based on your MyStudio plan and the payment method used.
-
For more information, see the FAQ: Where can I find my processing fee (admin fee) rates?
-
ACH payments
How to enable ACH as a payment method
To enable ACH:
-
Go to your
 My Account section.
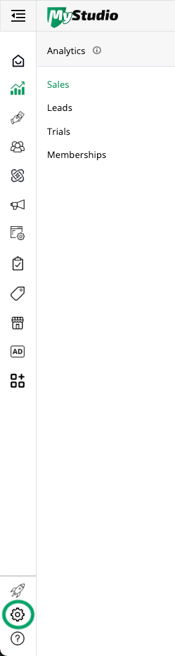
-
Navigate to the "Payment Processing Options" section.

-
Turn on ACH Payment Processing.
-
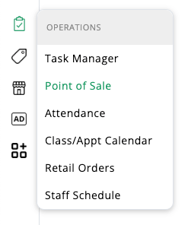
Then go to Operations > Point of Sale > Settings.
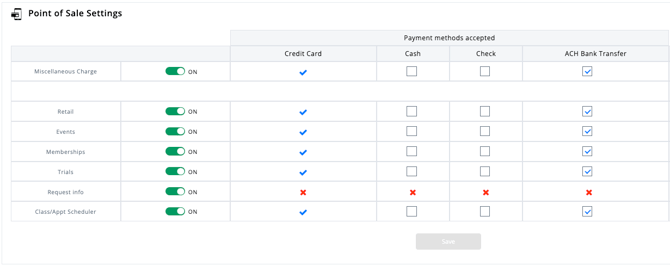
-
Check the offerings where you want to allow ACH payments.
Adding ACH information
Studio employees cannot enter bank information for customers. Customers must add ACH details themselves via the member app or a secure email link.
Customer adding bank information via member web or mobile app
-
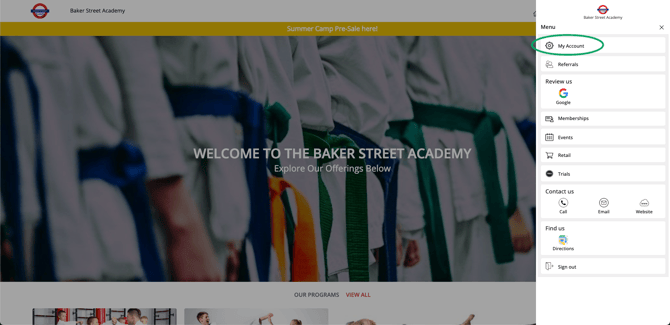
Tap the three lines (top right corner for web; bottom right corner for mobile).
-
Go to "My Account."
-
Select Primary Payment Method > Add New Bank Account.

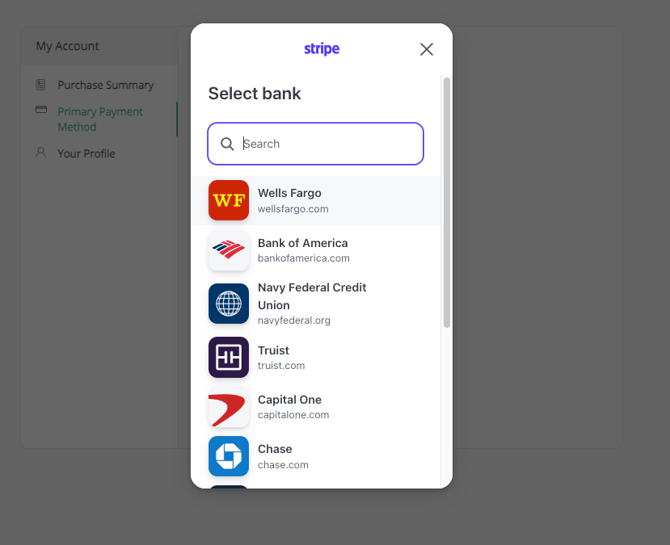
- After selecting "Add new bank account", the customer will be prompted to select their bank. Banks are displayed based on location or can be searched in the search bar.
-
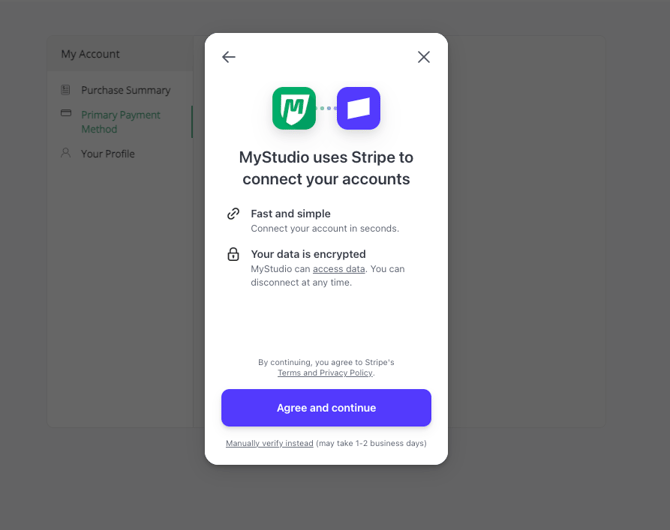
After the customer selects their bank, a new popup will appear with two options:
-
Instant verification: Sign in to their bank account for immediate connection.
-
Manual verification: Enter bank routing and account numbers to receive micro-deposits (takes up to 1-2 business days).
-
Instant verification steps:
-
Press "Agree and continue."
-
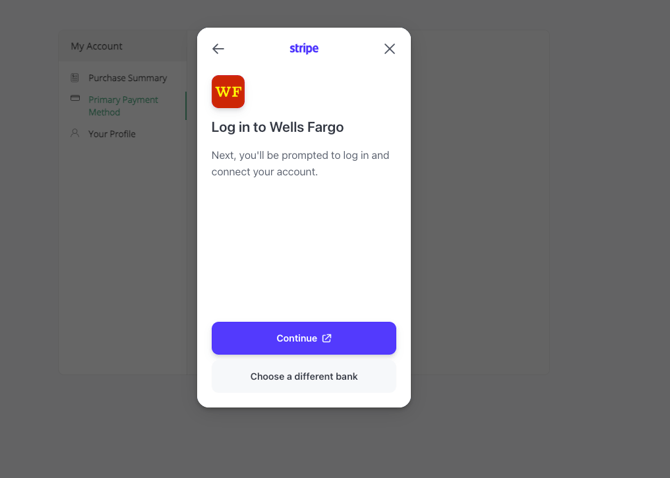
Choose the bank and click "continue" to log in using the bank credentials.
-
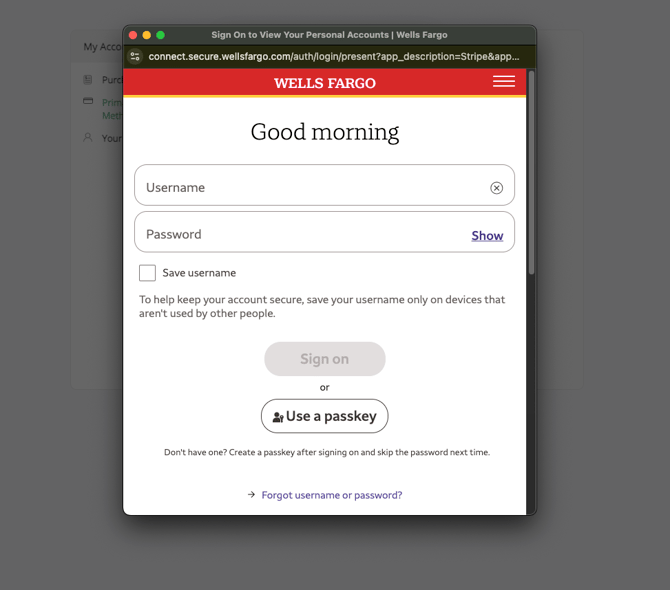
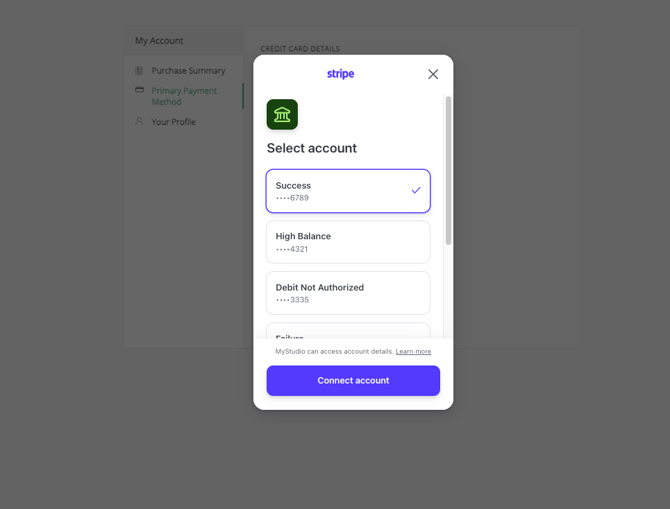
A secure popup appears with the bank's login screen. The customer will sign in using their bank credentials.
-
If the customer has multiple accounts within the bank, it will prompt them to select the account they would like to connect.
-
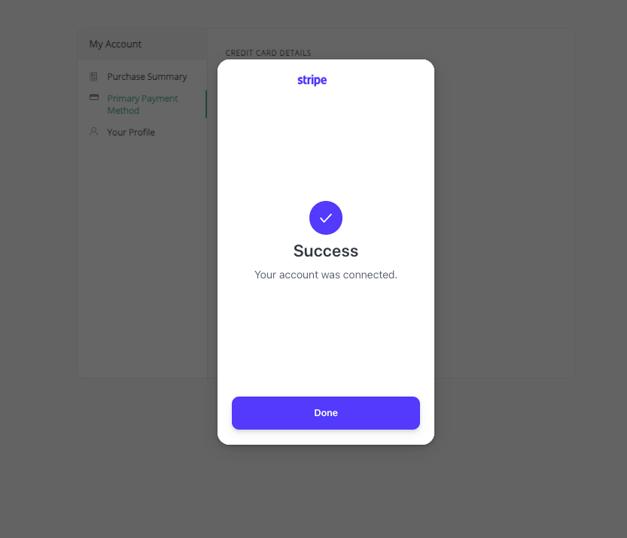
Once connected, the customer will receive a "Success" screen stating that the account was connected.
-
The bank account information will be securely saved in their account.
Manual verification steps (micro deposits):
-
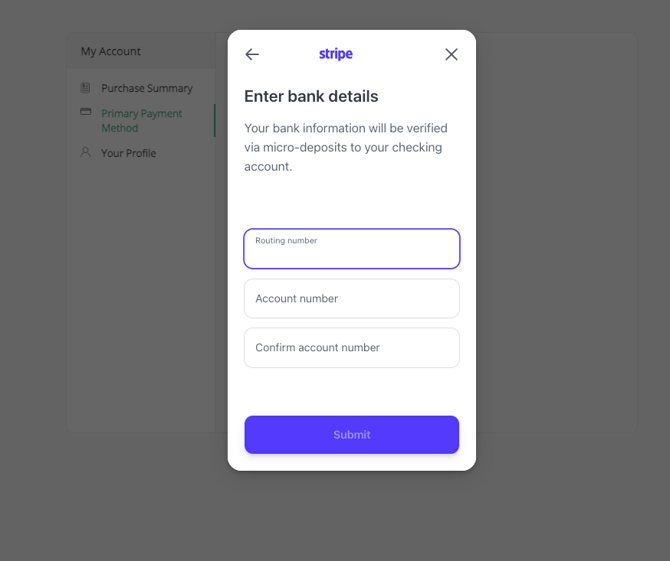
Select "Manually verify instead (may take 1-2 business days)"

-
Customer will be prompted to put in their bank routing number and account number.
-
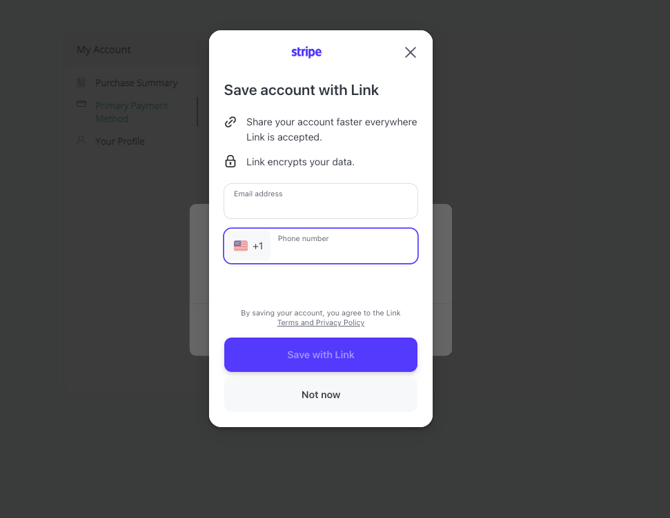
Another popup will appear prompting the customer to save their account with Link if they prefer. If they do not want to save to Link, the customer may continue by pressing "Not now."
Note: It is not recommended to save their bank account information to Link if they are on a shared device.
-
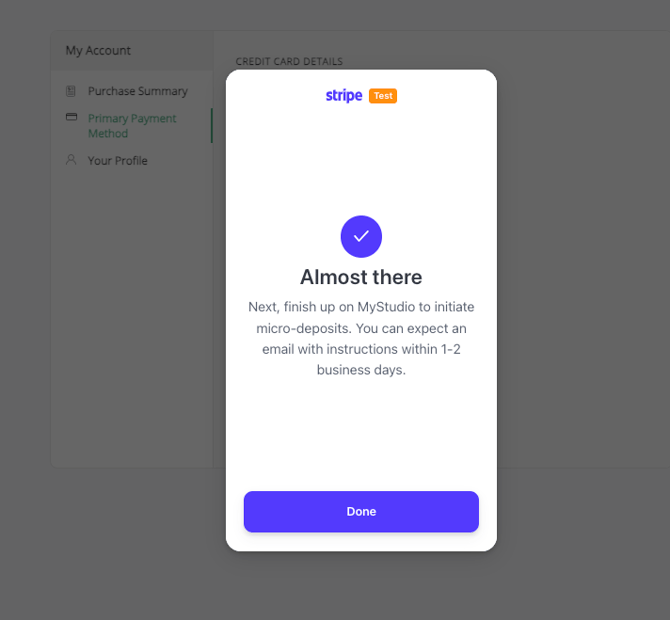
Micro-deposits are sent; verification can take 1-2 business days.
-
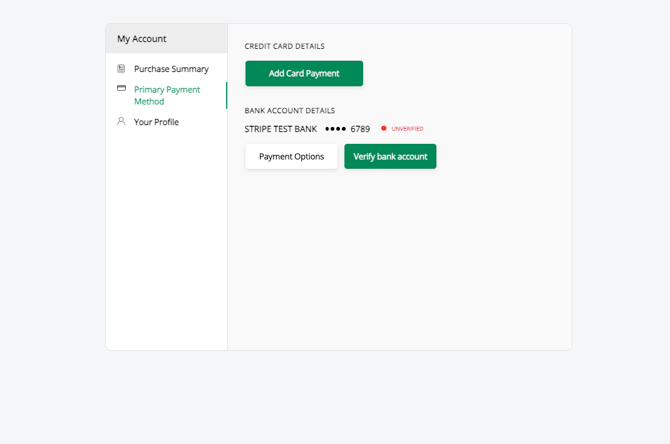
In the customer's account, it will show the bank account last four digits and the red "unverified" text. Once the customer receives the micro-deposit in their bank account, they need to return to their account and press "Verify bank account".
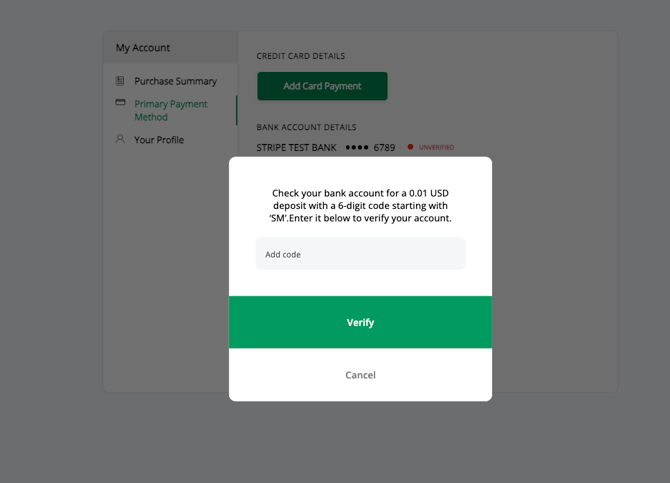
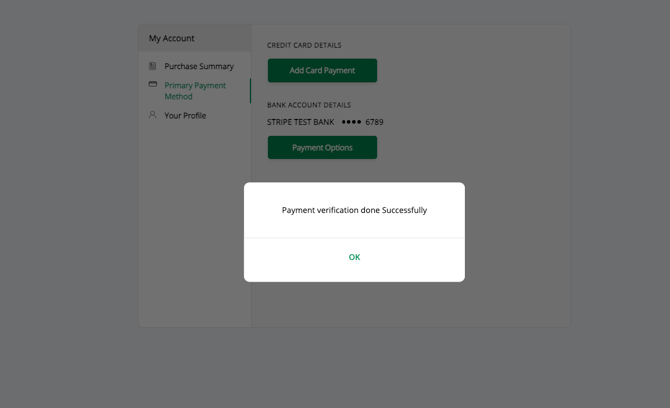
- The customer will be prompted to put in the code that came with the micro-deposit to their bank account. Then they will press "Verify"
-
After typing in the code received with their micro-deposit, a popup will appear verifying the payment verification was done successfully.
-
The bank account information will be securely saved in their account.
Accepting ACH payments for in-person registrations
When a customer registers in person and wants to pay with ACH for the first time, they’ll need to create a Member Account.
Tip: Customers can create their account directly through the Member App (recommended). Customers can also add their bank information ahead of time in the app to make checkout faster.
At checkout:
-
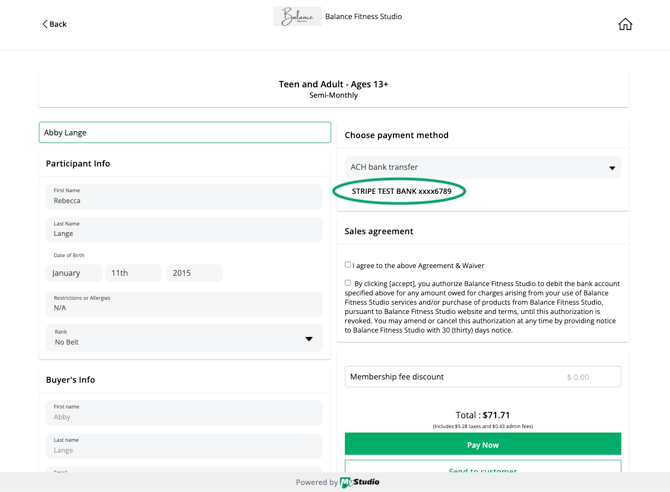
When ACH is selected, a pop up will appear to create or log in to their Member Account. Click "proceed" to continue.

-
A new tab will open for the customer to sign in or create an account. To create an account, click "I'm a new user."

- After creating their account or logging in, they will be on the web app home screen.

- They will need to click the three lines on the top right of the screen and click "My Account."
- Go to "Primary Payment Method" and select ACH.
-
After selecting ACH, the customer will be prompted to select their bank. Banks are displayed based on location.
- At this screen, it is highly recommended they do the instant ACH verification process by clicking "Agree and continue."
-
Instruct the customer to follow the ACH instant verification steps.
-
Once the customer's bank account information is connected to their account, you can go back to the registration screen and select the connected bank account.
- Resume with finalizing the registration process as normal.
Updating a current payment method to ACH
Customers can update an existing payment method in the web app, member app, or through secure email link.
Sending secure update payment links
Studio can send an update payment link through two ways:
-
From primary customer profile: All Customers > Primary Customers > Select the person > Add new bank account > Send ACH update link

- From a participant registration profile: All Customers > Participants > Program > Select the person > Send link for user update payment method
Customers select ACH bank transfers and follow the same steps as adding ACH through the member app.
Note: Micro-deposit verification does not work via update links. Use instant verification or add the bank through the member web app first.
Web and Mobile Member App
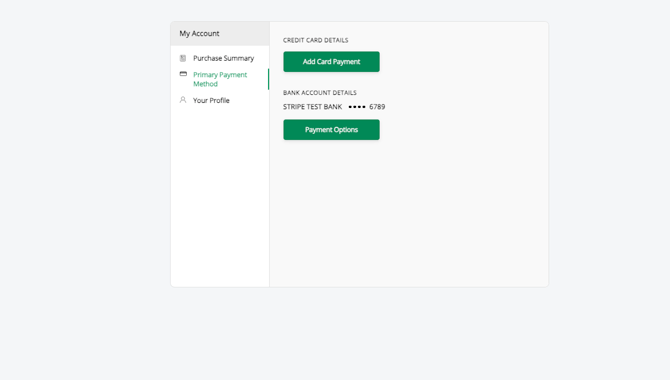
After adding ACH, customers can apply the method to existing billing schedules:
-
My Account > Primary Payment Method > Payment Options > Apply to current billing schedule.
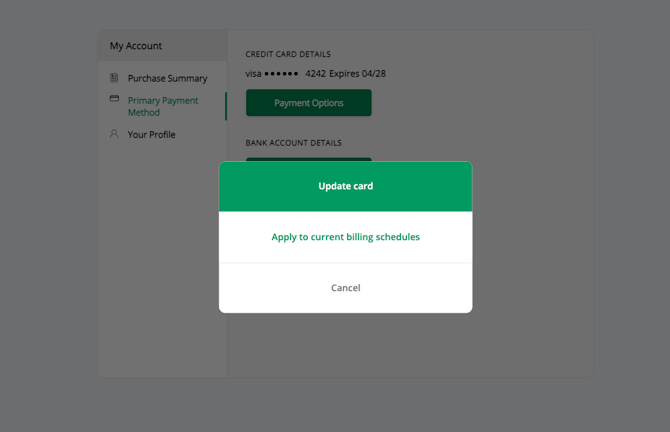
-
Select which memberships or registrations to update.
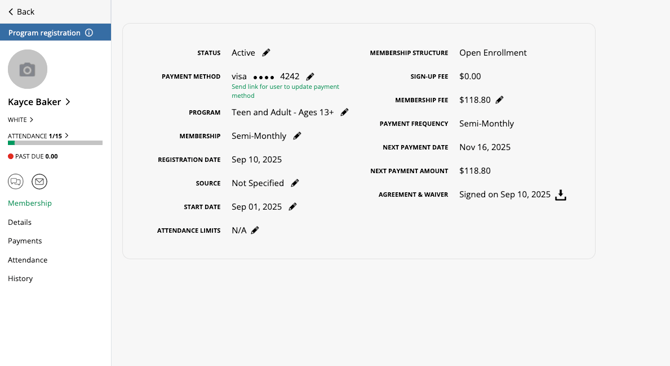
Switching from a card to ACH will show a pop-up confirming the new payment total, reflecting the lower ACH processing fee if passed on to the customer. The payment method will then appear in membership details.
Viewing ACH payment totals
To view total ACH payments for a specific date range:
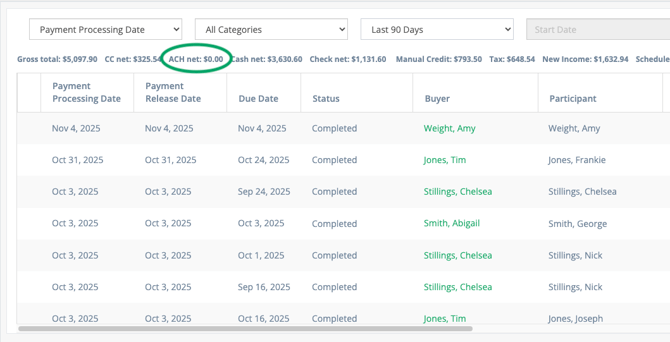
-
Go to Payments > Payment History
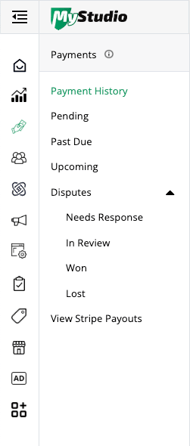
-
The ACH net total will appear above the table.
Frequently asked questions (FAQs)
Why offer ACH as a payment option?
ACH allows direct bank transfers which reduce processing fees and make recurring billing easier for memberships and large transactions. ACH is also more secure for businesses as can be more difficult for customers to dispute.
Are ACH payments available outside of the U.S.?
ACH is currently only available for U.S. and Canada locations.
Can staff add or update a customer’s ACH information?
No. Only the customer can add or update their ACH information via the member app, web app, or a secure email link.
Why might an ACH payment take longer to process?
ACH transfers can take 1-2 business days to fully clear. Payments may appear as “pending” in the system until then.
Are there admin fees or processing fees for ACH payments?
Yes. All ACH transactions include a small fee. In your MyStudio system, these are called processing fees, but customers will see them labeled as “admin fees” during checkout.
These fees depend on your MyStudio plan and can either be absorbed by your business or passed on to customers.
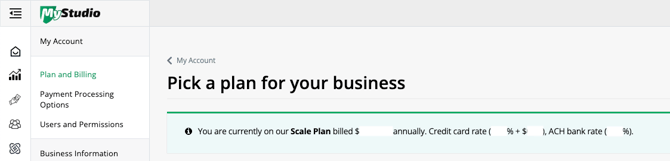
Where can I find my processing fee (admin fee) rates?
To find your current processing fee (admin fee) rates”
-
Go to your
 My Account section.
-
Under Planning and Billing, click on the green text “Compare plans.”
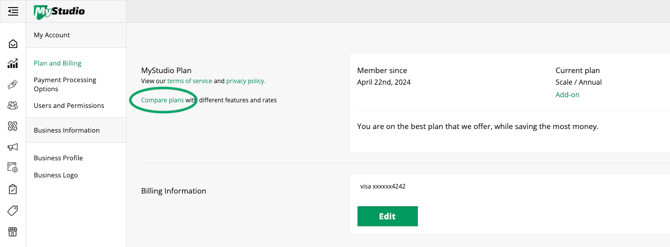
-
At the top, you will see your current plan, the billing rate for your plan, and the process fee rates.
How do I know if my processing fees (admin fees) are absorbed by the business or passed on to customers?
By default, processing fees are set to be passed on to customers.
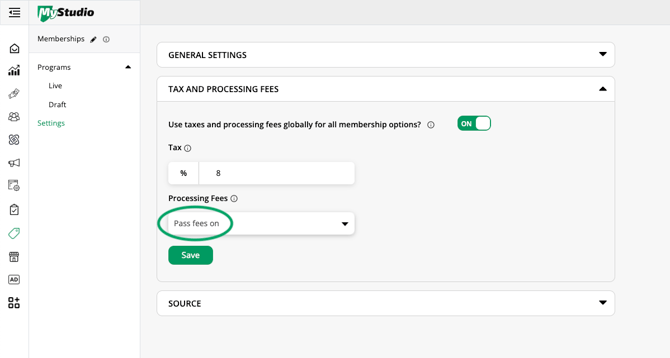
To check or adjust how your membership processing fees are handled:
-
Go to Services and Products > Memberships > Settings
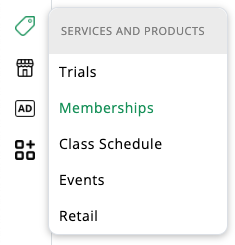
-
Review the Processing Fees section to see whether your fees are absorbed by your business or passed on to customers.