
Table of contents
-
Phase 1 - Get started (Steps 1-4)
-
Phase 2 - App policies (Steps 5-9)
-
Phase 3 - Audience & data safety (Steps 10-15)
-
Phase 4 - Additional settings (Steps 16-18)
-
Phase 5 - Store listing & releases (Steps 19-22)
Phase 1 - Get started
Download your APK and create your app in Google Play Console.
Step 1: Download your Skeleton APK
-
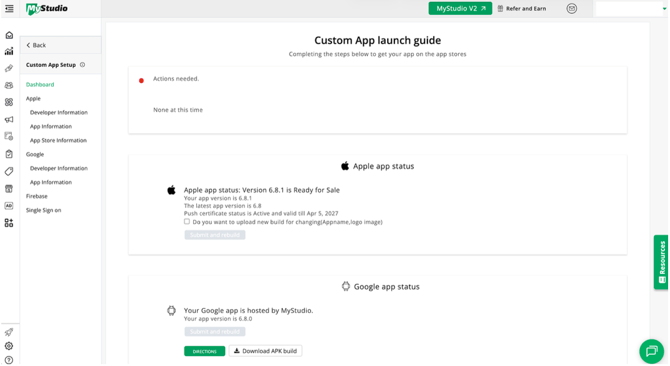
In MyStudio V1, go to Sales Channel > Member App/Portal > Custom App Setup > Dashboard
- Click Download APK build at the bottom of the page
Step 2: Log in to Google Play Console
-
Go to play.google.com/console
-
Sign in with your Google developer account
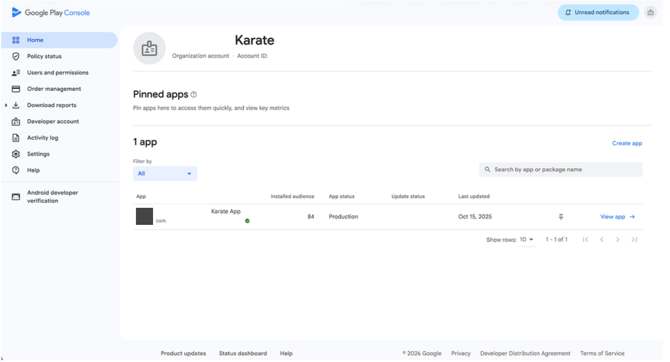
Step 3: Create a new app
-
From the Home menu, click Create app in the top right corner
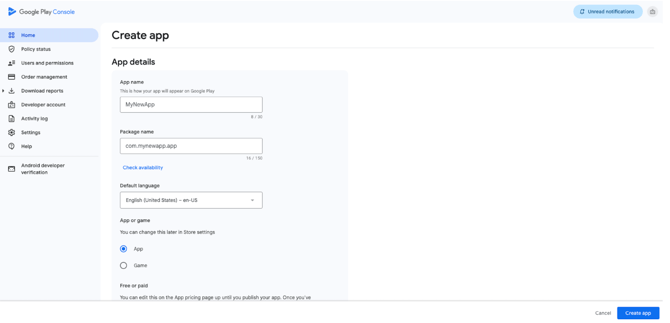
Step 4: Fill in app details
Complete the following fields
-
App name: Your app title
-
Package name: Must match the Bundle ID from your Apple Developer Account
-
Default language: Your language
-
App or game: Select App
-
Free or paid: Select Free
Click Create app at the bottom right.
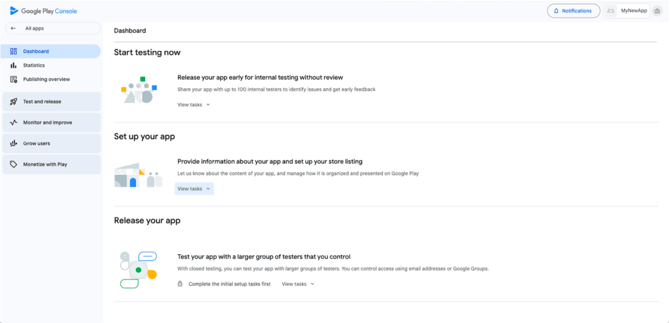
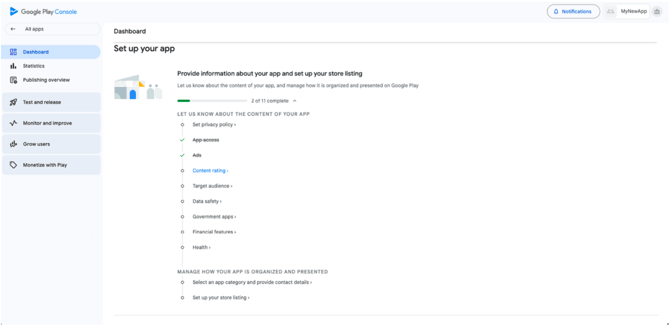
Step 5: Set up your app
-
On the app dashboard, find Set up your app
-
Click View tasks
Step 6: Privacy policy
-
Click Privacy Policy > Start
-
Add a link to your company's privacy policy
-
Click Save
No website yet? Add your Privacy Policy to a blank Google Doc set to public view. Google requires a privacy policy tailored to your business.
Step 7: App access
-
Click App Access
-
Select All or some functionality in my app is restricted
-
Click Add new instructions
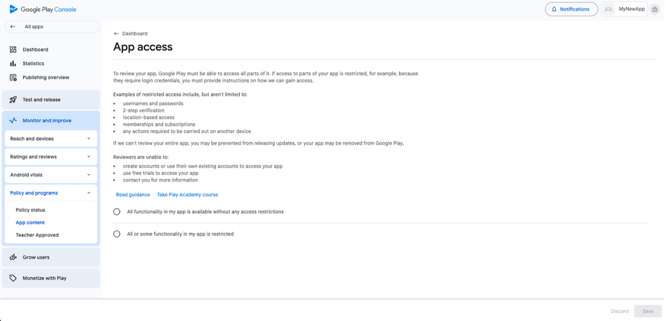
In the Any Other Instructions box, copy and paste the text below:
When users log in as a guest, the following sections are not available because they require login credentials: Curriculum, push notifications, membership options, and referrals.
Instructions for signing in as a guest user:
-
Click "I'm a new user"
-
Enter the studio code
-
Select "Skip and continue as a guest" at the bottom of the screen
-
Click "Continue as guest"
Demo credentials for testing can be found below:
Instructions for using demo credentials:
-
Click on "Sign in"
-
Enter the studio code
-
Login with the given credentials
-
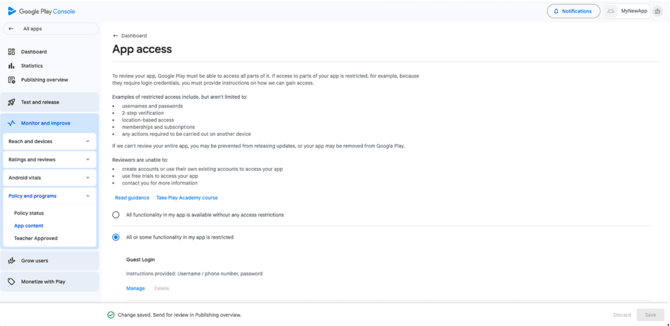
Click Apply, then Save
-
Click Dashboard to go back
Before publishing: Replace with the credentials your MyStudio account manager provides.
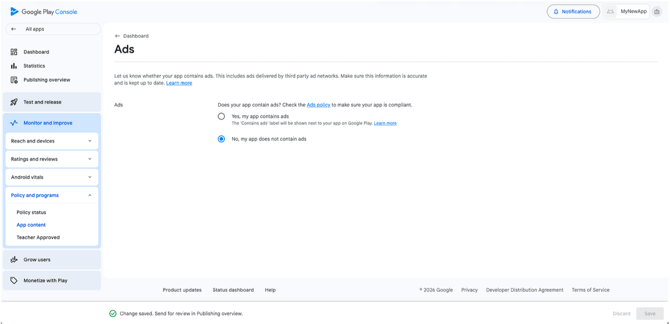
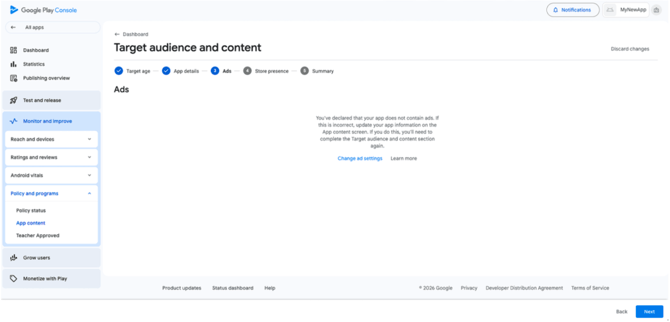
Step 8: Ads
-
Click Ads
-
Select No, my app does not contain ads
-
Click Save, then click the Dashboard back button
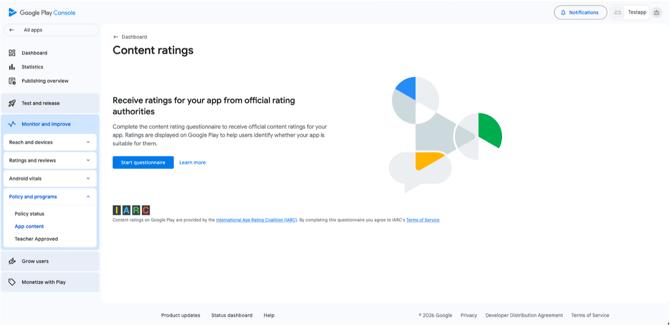
Step 9: Content rating
-
Click Content rating, then click Start questionaire
-
Enter your email address
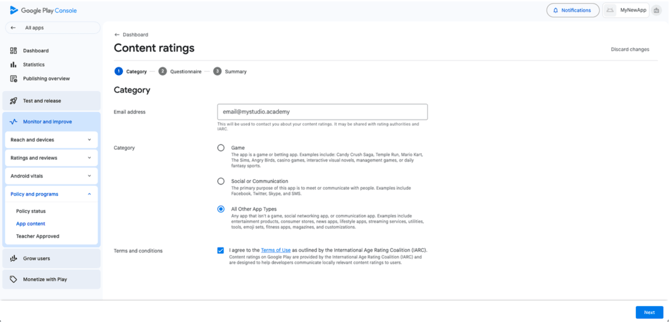
-
For Category, select All Other App Types
-
Agree to the Terms and Conditions
-
Click Next
-
Select No for all content rating questions
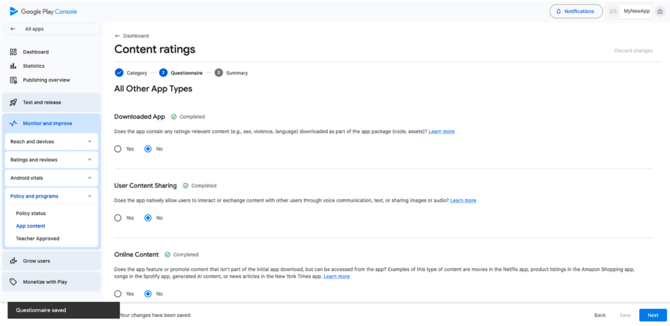
-
Click Save > Next > Save
-
Click the back button next to Content Rating
Phase 3 - Audience & data safety
Set your target audience and complete the data safety questionnaire.
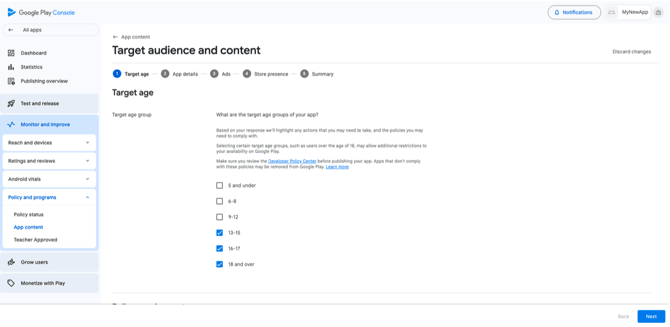
Step 10: Target audience
-
Click Target Audience
-
Select the following age groups
-
13-15
-
16-17
-
18 and over
-
-
Click Next
-
Check the Legal and Regulatory Compliance checkbox
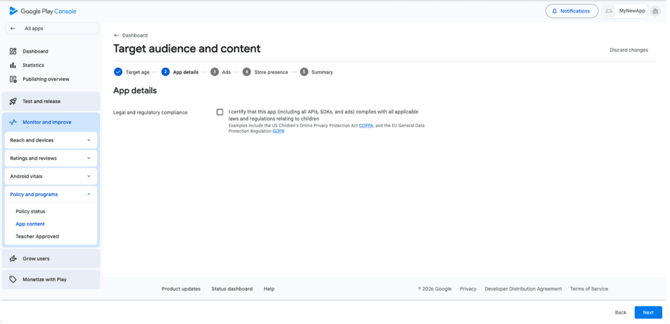
-
Click Next
-
On the Ads screen, click Next
-
On the Store presence screen, select Do not include my app in the Teacher Approved program
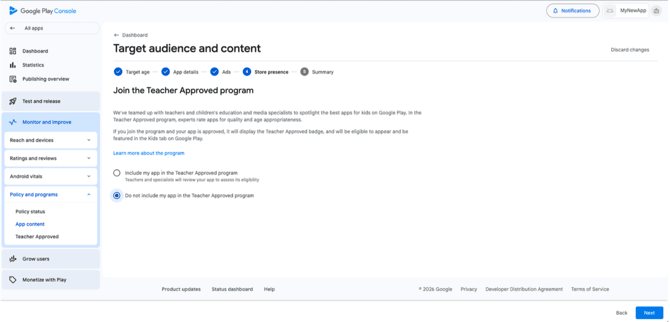
-
Click Next > Save
-
Click the back button next to Dashboard

Step 11: Data safety overview
-
Click Data Safety
-
Read the overview
-
Click Next
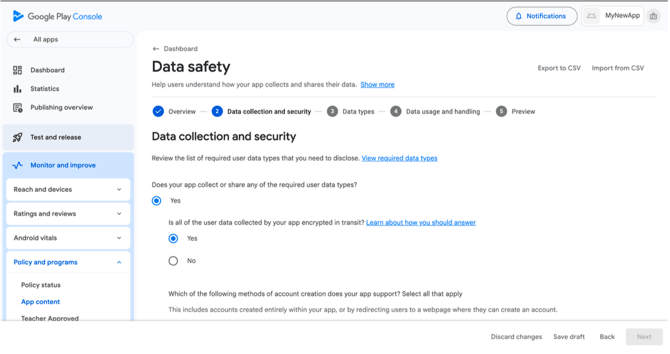
Step 12: Data collection and security
-
Under Data Collection and Security, click Yes
-
Click Yes again to confirm data is encrypted in transit
-
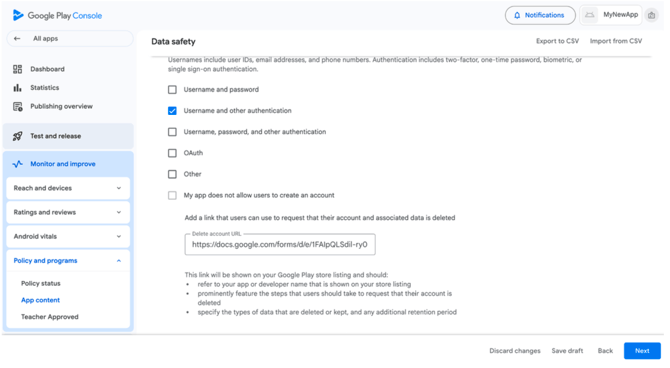
Scroll down and check Username and other authentication
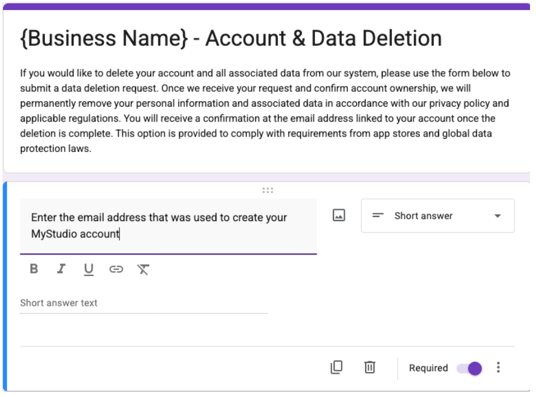
This prompts you to enter a Delete Account URL. Create one using Google Forms:
-
Go to Google Forms and open a new blank form

-
Fill in the following:
-
Title: {Business name} — Account & Data Deletion
-
Body: If you would like to delete your account and all associated data from our system, please use the form below to submit a data deletion request. Once we receive your request and confirm account ownership, we will permanently remove your personal information and associated data in accordance with our privacy policy and applicable regulations. You will receive a confirmation at the email address linked to your account once the deletion is complete. This option is provided to comply with requirements from app stores and global data protection laws.
-
Response field: "Enter the email address that was used to create your MyStudio account" — set to Short Answer, toggle Required on
-
-
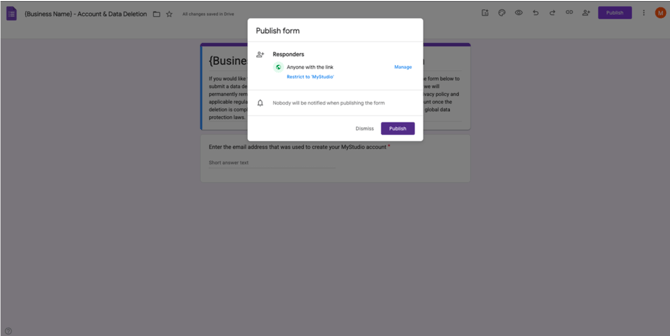
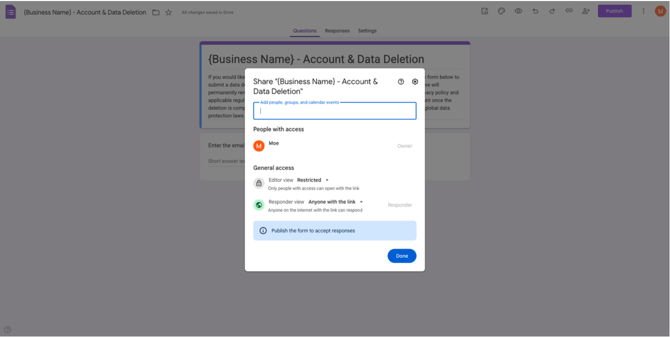
Click Publish > Manage > confirm settings > click Done
-
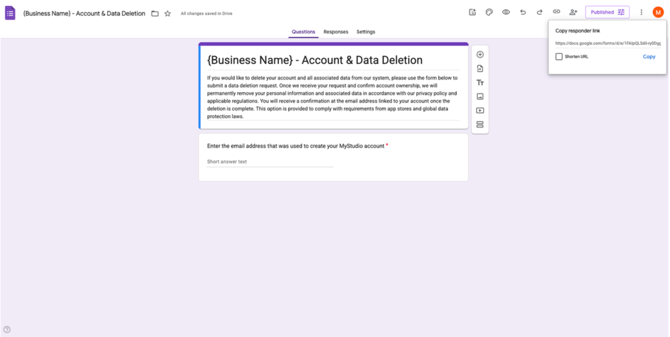
Click Publish, copy the responder link, and paste it into the Delete Account URL field in Google Play Console
-
Click Next
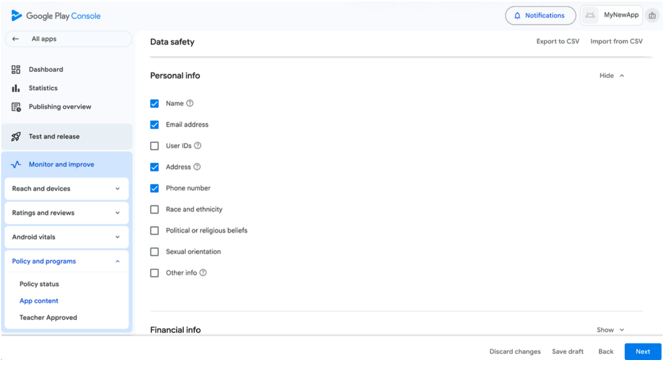
Step 13: Data types (personal & financial info)
Expand Personal Info and check:
-
Name
-
Email address
-
Address
-
Phone number
Expand Financial Info and check:
- User payment info
Click Next
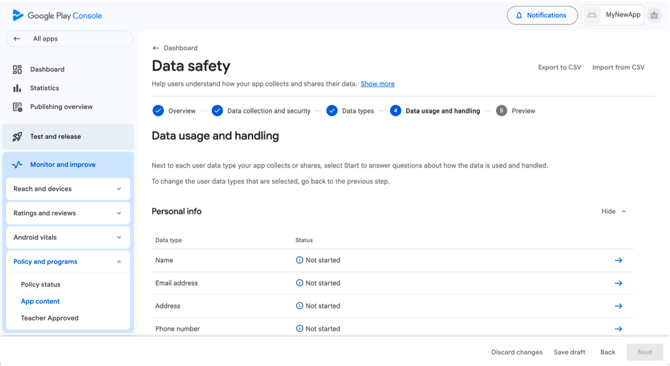
Step 14: Data usage (personal info fields)
Click the blue arrow next to Name and select:
- Collected
- Yes, this collected data is processed ephemerally
- Data collection is required (users can't turn off this data collection)
- App functionality, Personalization, Account management
Repeat for Email address, Address, and Phone number.
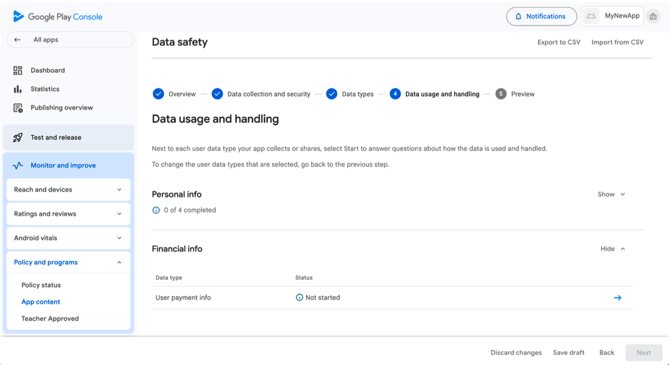
Step 15: Data usage (user payment info)
-
Collected
-
Yes, this collected data is processed ephemerally
-
Data collection is required (users can't turn off this data collection)
-
App functionality
Phase 4 - Additional settings
Complete the remaining required policy sections.
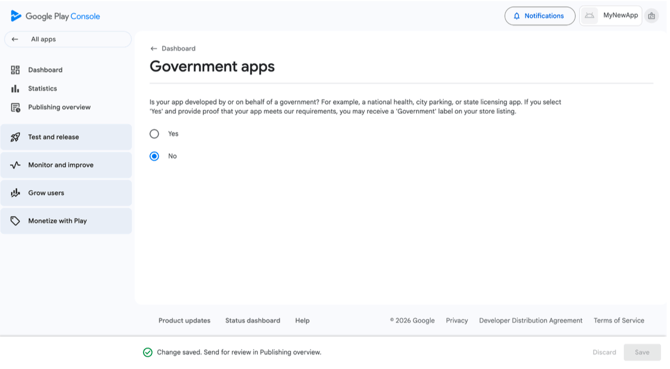
Step 16: Government apps
- Click Government apps
- Select No
- Click Save, then click the back button next to Dashboard
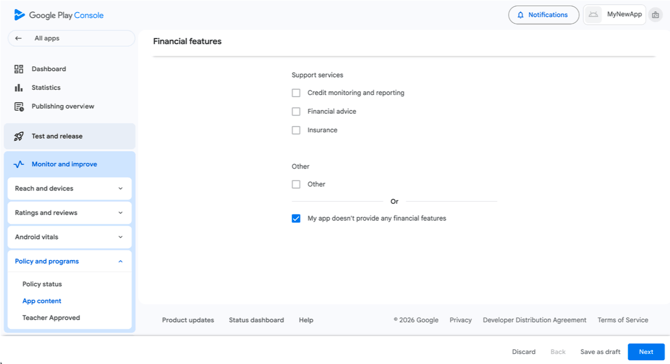
Step 17: Financial features
-
Click Financial Features
-
Select My app doesn't provide any financial features
-
Click Next > Save > back button next to Dashboard
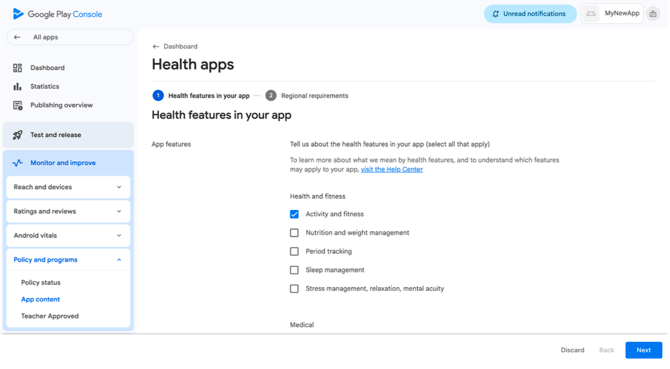
Step 18: Health apps
-
Click Health Apps
-
Select Activity and fitness
-
Click Next > Save > back button next to Dashboard
Phase 5 - Store listing & release
Set up your store listing and submit your app for review.
Step 19: App category and contact details
-
Click Select an app category and provide contact details

-
Click Edit next to App Category > Select Health & Fitness > Click Save
-
Click Edit next to Store listing contact details > enter your email address > click Save

-
Click the back button next to Dashboard
Step 20: Store listing
Select Create default store listing and fill in:
-
App name: Your app name (should match your Apple app name)
-
Short description: Something simple like "Your school's mobile app."
-
Full description: Example: "Receive important notifications, view curriculum videos, class schedules, sign up for special events and memberships, refer friends, and get all pertinent information right on your mobile device."
-
App icon: 512 × 512 px image of your logo
-
Feature graphic: 1024 × 512 px banner image of your brand or logo
Phone screenshots
-
Download the template screenshots from the provided link
- Drag and drop screenshots for Phone, 7-inch tablet, and 10-inch tablet
Click Dashboard from the left side menu
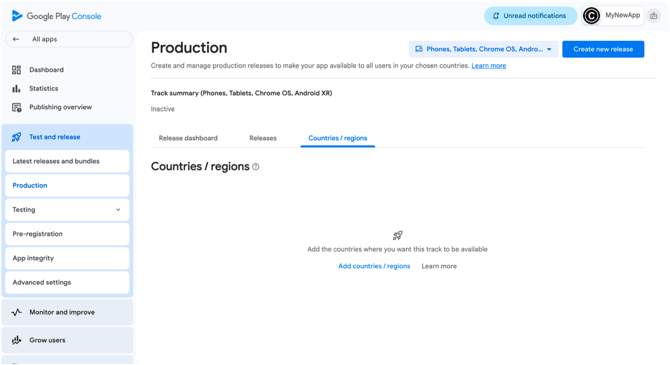
Step 21: Countries and regions
-
Expand Create and publish a release
-
Click Select countries and regions > Add countries/regions
-
Select all countries > click Save
-
Click Dashboard from the left side menu
Step 22: Create a new release
-
Expand Create and publish a release
-
Click Create a new release > Create new release
-
Click Upload under App bundles and select the Skeleton APH from Step 1
-
For Release name, enter the latest MyStudio app version (found in the App Store What's New section)
-
Click Next > Save
-
Click Review release > Start rollout to production > Rollout
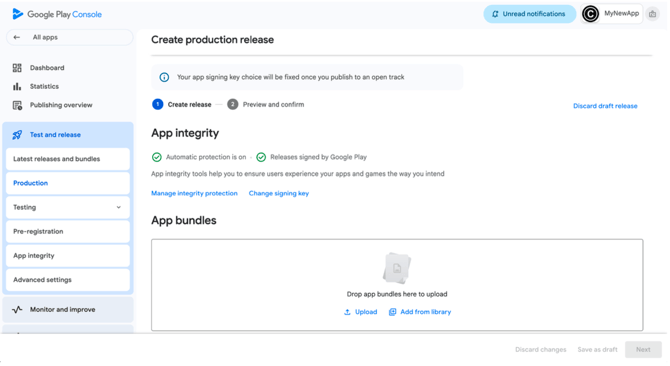
Your app status will now show as Under review. Monitor your Google Play Console for the release of your app on the Google Play Store.
Still need help? Contact your MyStudio account manager or reach out to our support team.