
Overview
Creating a class/appointment schedule allows studios to customize who can view and register for the classes they offer. This frees time for you and empowers your members to register on their own.
Permissions and Accessibility
Staff Access:
- Admin: Full Access
- Manager: Has access to view a class setup but NO access to edit, unpublish, or delete classes
- Staff: No access
MyStudio Plan Restrictions:
- Only MyStudio plans that have the SMS add-on can permit SMS class reminders.
- Number of staff members to assign to classes is based on MyStudio plan restrictions for staff member quantity
- 2 staff for Starter
- 10 staff for Growth
- 50 staff for Scale
- Waitlist is only available for Scale plans
Specifications
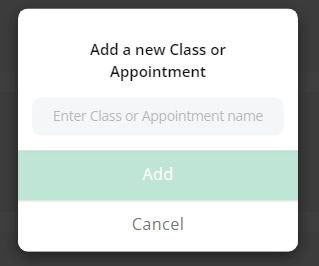
In Services and Products > Class Schedule > Live, you can create a class by clicking “Add Class/Appointment Type” at the top right. If there are no live classes, you will be prompted to create one. You will then enter a class/appointment name.
Details
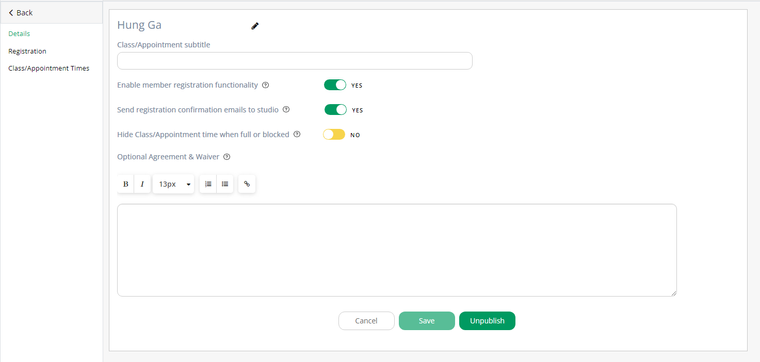
After entering a class/appointment name, you will be redirected to the details page. Here you can edit the following fields:
- Class/Appointment Title: Click the pencil icon next to the title
- Class/Appointment subtitle: add text in the text box
- Enable member registration functionality: “Yes” means that members can register for classes via the member app or URL as long as classes are live. “No” means that members can view the class schedule, but cannot register for the classes.
- Send registration confirmation emails to studio: “Yes” means studios will receive an email each time a member registers for class. “No” means studios will not receive an email each time a member registers for a class. The member will receive a confirmation email regardless of this setting.
- Hide Class/Appointment time when full or blocked: “Yes” means that members will not see a class at all on the calendar if class capacity is reached or if it falls under a blockout date. “No” means that members will still see the class on the calendar, but will not be able to register.
- The Staff POS will also take this setting into account
- Optional Agreement & Waiver: Enter your class waiver if necessary
You will have to save this section before continuing to the “Registration” or “Class/Appointment Times” sections. You will publish/unpublish a class from this section as well.
Registration
The registration section contains settings that limit or pertain to registration for the class/appointment.
Drop-In Pricing
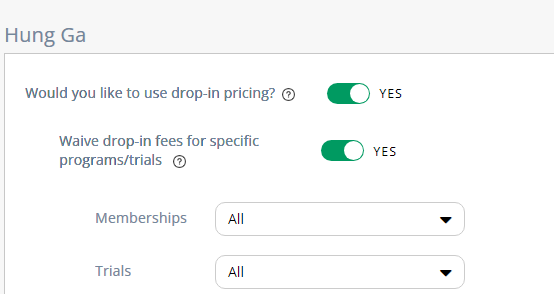
- Would you like to use drop-in pricing?: This determines if a member has to pay to attend a class. “No” means that a class does not cost anything to attend. “Yes” means that the class costs money to attend. If you select “Yes” you will have other settings:
- Waive drop-in fees for specific programs/trials: “No” means that all customers have to pay to attend the class. “Yes” means that you can select specific programs and/or trials that don’t have to pay the fee to attend the class. Options for waiving the fee include:
- All Memberships: Anyone who is registered to any active membership won’t have to pay
- No Memberships: Members have to pay for the class even if they are registered to any active membership
- Custom Memberships: You select which specific active membership options in the program don’t have to pay the fee
- All Trials: Anyone who is registered to any active trial won’t have to pay
- No Trials: Members have to pay for the class even if they are registered to any active trial
- Custom Trials: You select which specific active trials don’t have to pay the fee
- If you select “None” to both members and trials waived, the system will automatically switch the “Waive drop-in fees for specific programs/trials” back to “no.”
- Waive drop-in fees for specific programs/trials: “No” means that all customers have to pay to attend the class. “Yes” means that you can select specific programs and/or trials that don’t have to pay the fee to attend the class. Options for waiving the fee include:
The actual cost of a class is entered in each “Class/Appointment Time.”
NOTE: If a class has a fee, it cannot be registered as ongoing unless the fee is waived.
NOTE: If you select to waive the drop-in fee, members will have to sign into their member app when registering from the public POS or a URL so that the system can properly connect a registration.
NOTE: If a class has a fee, it does not count towards program attendance requirements unless the fee is waived.
Registration Access
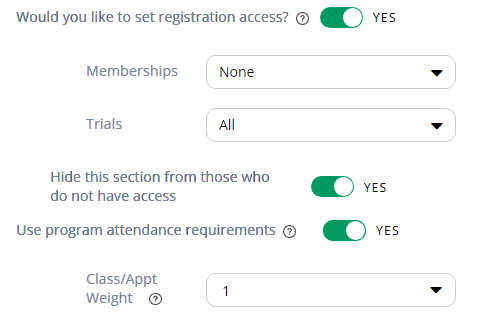
- Would you like to set registration access?: This determines who is allowed to register for a specific class/appointment. “No” means that anyone can register for the class regardless of their registration to a program or trial. “Yes” means that only customers who are registered to a program or trial can register for the class. Options for these restrictions include:
- All Memberships: Anyone who is registered to any active membership can register for the class
- No Memberships: Those who are registered to any active membership cannot register for the class
- Custom Memberships: You select which specific active membership options in the program can register for the class
- All Trials: Anyone who is registered to any active trial can register for the class
- No Trials: Those who are registered to any active trial cannot register for the class
- Custom Trials: You select which specific active trials can register for the class
- If you select “none” to both membership and trial registration access, the system will automatically switch the “Would you like to set registration access” setting back to “no.”
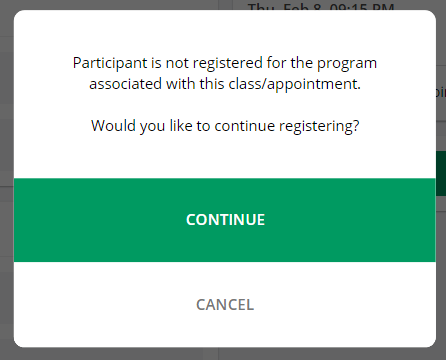
- Admin and Managers can override registration if a customer is not registered to the appropriate program/trial for the class.
- Hide this section from those who do not have access: “Yes” means that members will not see a class at all on the calendar if they cannot register to it. “No” means that members will still see the class on the calendar, but will be blocked from registering. Admin and Managers can override registration if a customer does not have the appropriate access levels.
- The Staff POS does not take this setting into account and will always show the class.
- Use program attendance requirements: “No” means the class will not be counted towards the attendance limits of a member’s program registration. Attendance limits are set up in Services and products > Programs > Membership Options > Pricing.
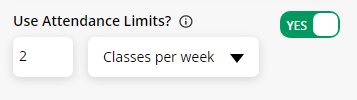
If set to “No,” members can attend the class as often as they want. “Yes” means the class will count towards the attendance limits of a member’s program. Members can attend the class equal to the weight you set.- Class/Appt Weight: This determines how many classes count towards 1 attendance. A weight of 1 would equal 1 class per 1 attendance. A weight of .5 equals 2 classes per 1 attendance.
-
- If the class does not utilize drop-in pricing, this setting only appears if you have set registration access. If the class utilizes drop-in pricing, this setting will only appear if you have selected to waive drop-in pricing for programs/trials.
Class Reminders
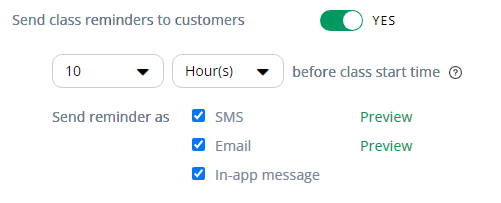
- Send class reminders to customers: “No” means that reminders will not be sent to customers before their class/appointment start time. “Yes” means that reminders can be sent to the customers before their class/appointment start time based on the follow up settings:
- [Amount] [Interval] before class start time: set how far in advance of the class/appointment start time members will receive the reminder for the class.
- Up to 60 minutes
- Up to 10 hours
- Up to 14 days
- Send reminder as: select what kind of reminders are sent
- SMS: studio plans must have the SMS add-on for this option to be activated
- Email: sends to the primary customer email
- In-app message: sends a message through the member app. Members will not receive this notification if they do not have member app access
- [Amount] [Interval] before class start time: set how far in advance of the class/appointment start time members will receive the reminder for the class.
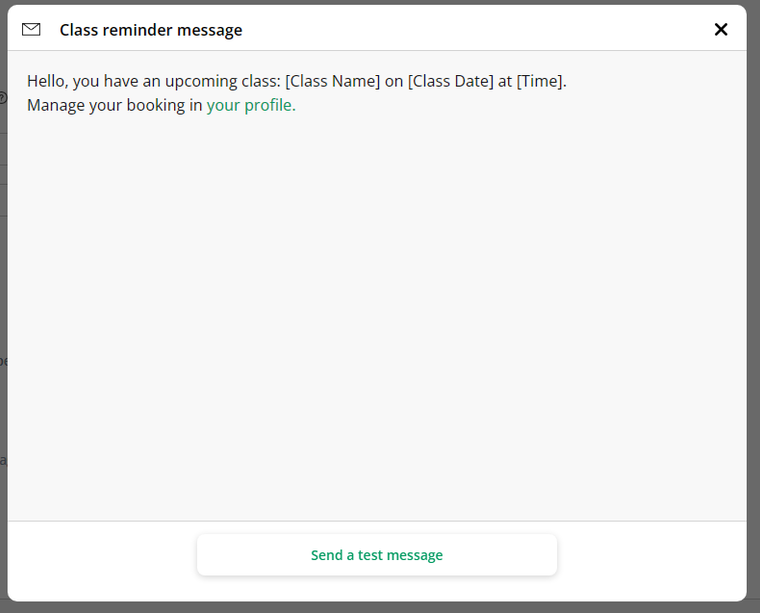
- You can preview the SMS or email notification and send a test message to yourself.
Class/Appointment Times
Create a class/appointment time by going to the Class/Appointment Times section and clicking “Add Class/Appointment Time.” You will then have the following sections and settings to configure.
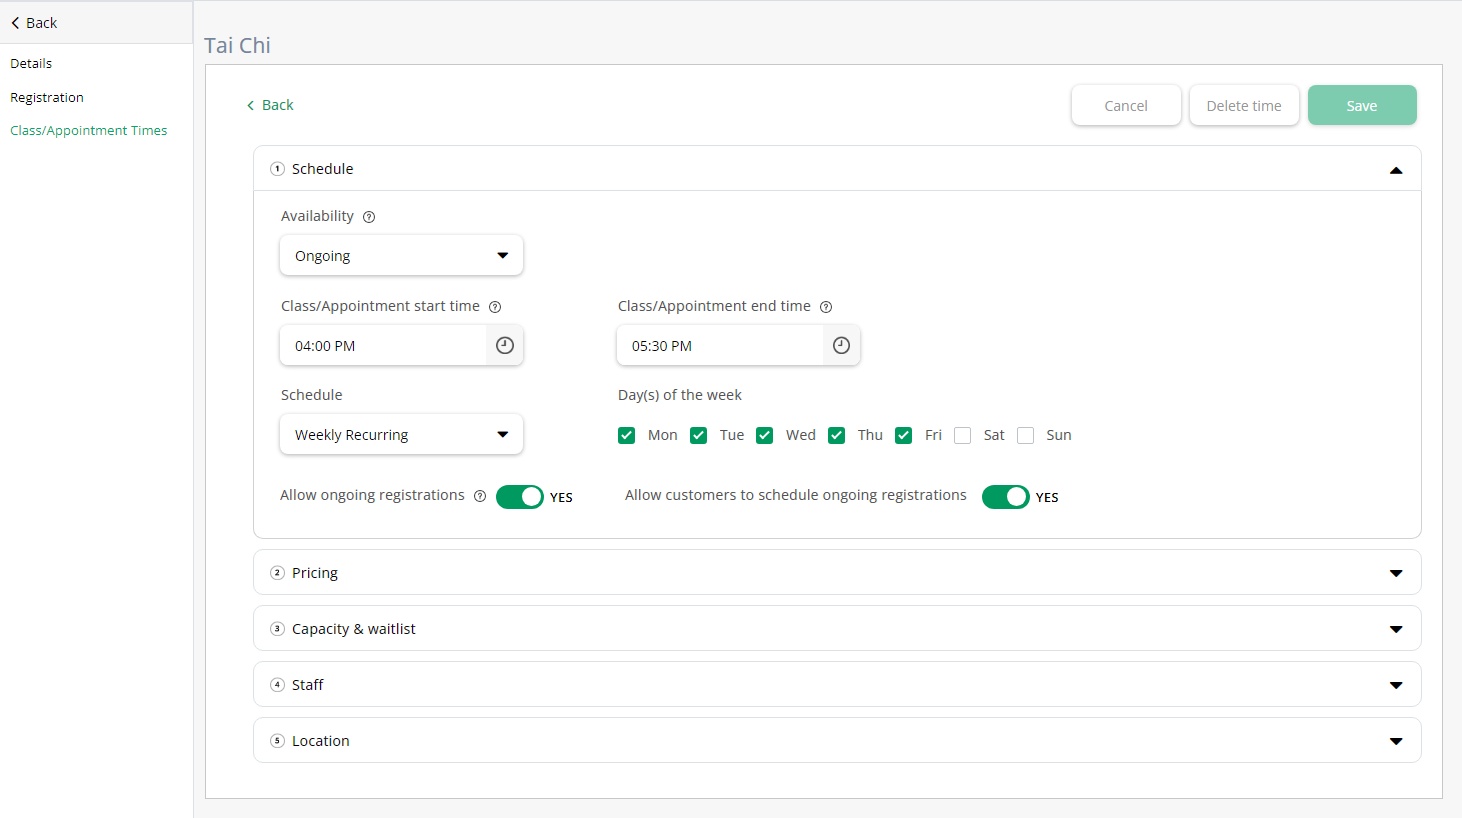
Schedule
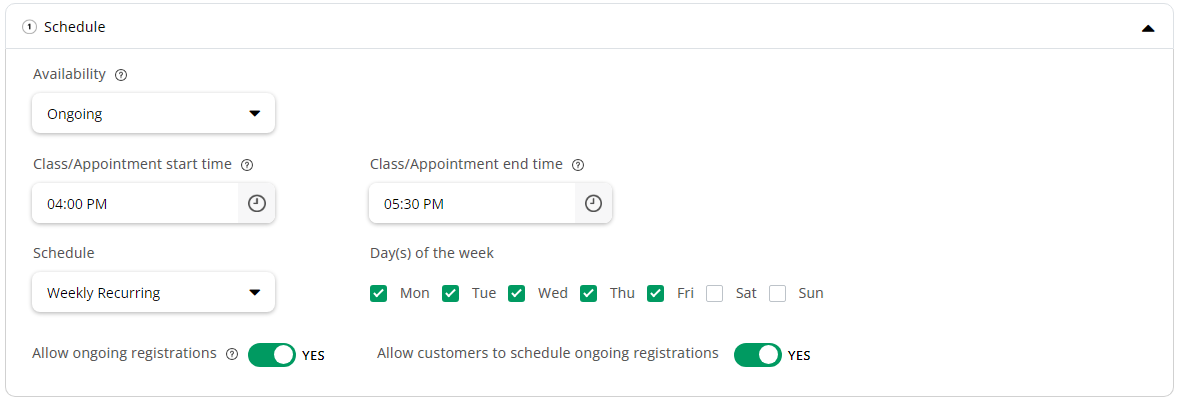
- Availability: “Ongoing” means the class is always offered. “Specify Start/End Date” means the class is only offered during a specific date range.
- If you select “Specify Start/End Date,” you will then have to enter a start date and an end date.
- Class/Appointment Start Time: Enter the time the class starts. This can be selected from the drop down or typed in. If you type this in, they must follow a format of HH:MM AM or HH:MM PM (for example: 01:30 PM)
- Class/Appointment End Time: Enter the time the class ends. This can be selected from the drop down or typed in. If you type this in, you must follow a format of HH:MM AM or HH:MM PM (for example: 01:30 PM)
- Schedule: Currently our system only allows a setup of a weekly schedule.
- Day(s) of the week: Select the days of the week the class is offered. If a class has different class times for different days, you will need to create different class/appointment times to accommodate.
- Allow ongoing registrations: “Yes” means that the class can be scheduled for an ongoing basis. So if a participant wants to attend a class at the same time and day every week. This works up to 180 days in the future, or based on the client scheduling limits in Services and Products > Class Schedule > Settings. “No” means customers will only be able to schedule a single class at a time.
- Allow customers to schedule ongoing registrations: “Yes” means that the ongoing option during registration will appear in the member app or URL. Customers can also reschedule their class to a different ongoing schedule. “No” means that the ongoing option is only available from the Staff POS.
Pricing

- Drop-in Pricing: enter the amount of the class fee. This setting only appears if “allow drop in pricing” in the Registration section is set to “Yes.”
- Show drop-in price on calendar: “Yes” means that the price will be displayed on the registration calendar. “No” means that the price will not be displayed until registration is under way.
Capacity & waitlist
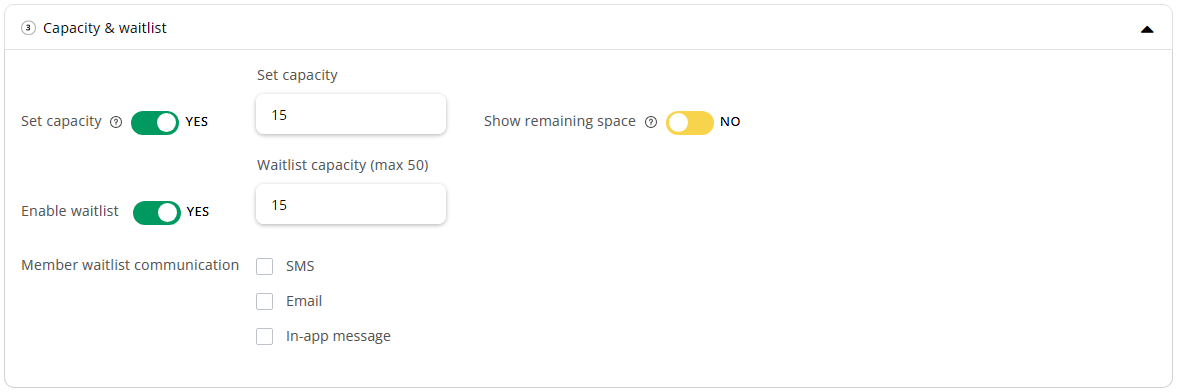
- Set Capacity: “Yes” means there is a limited number of spaces for the class. “No” means that an unlimited number of customers can register for the class time. If this is set to “yes,” there are a couple other settings to consider:
- Set capacity: enter the amount of customers who are allowed to register for the class before it is considered full
- Show remaining spaces: “No” means that the number of available spots in a class will not be displayed during registration. “Yes” means that the number of available spots left in a class will be displayed during registration.
- Enable waitlist: “Yes” means that members are able to sign up for a waitlist if the class time is full. “No” means that members are not able to sign up for a waitlist if the class time is full. If this is set to “yes,” there are a couple other settings to consider:
- Waitlist capacity (max 50): Enter the amount of members allowed to sign up for the waitlist. The max amount is 50.
- Member waitlist communication: Check which forms of communication you want to enable. This allows the members on the waitlist to be informed immediately when a spot in the class time is free. If no options are checked, members on the waitlist will not get notification of an opening. If you have a set class capacity of 1 and the waitlist is enabled, communication is required.
Staff

- Specify Staff: This setting only appears if “Use Staff” is set to “On” in Services and Products > Class Schedule > Settings. Assign staff to the class for specific days of the week.
Location

- Class/Appointment location: Enter the details of the class location if needed.
You can create as many class/appointment times as needed for a class type in order to accommodate different schedules.
Class/Appointment Management
Live
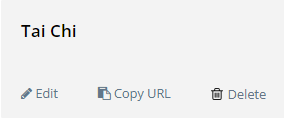
In Services and Products > Class Schedule > Live, you can edit a class type by clicking the pencil, copy the individual URL for a class, or delete a class type, and a class type can be unpublished from the details section. You can also edit or delete an individual class time within a class type.
| Live Class/Appts | Details Section | Class/Appt Times |
 |
 |
Drafts
In Services and Products > Class Schedule > Drafts, you can edit a class type by clicking the pencil or delete a class type, and a class type can be published from the details section. You can also edit or delete an individual class time within a class type.
Completed / Deleted
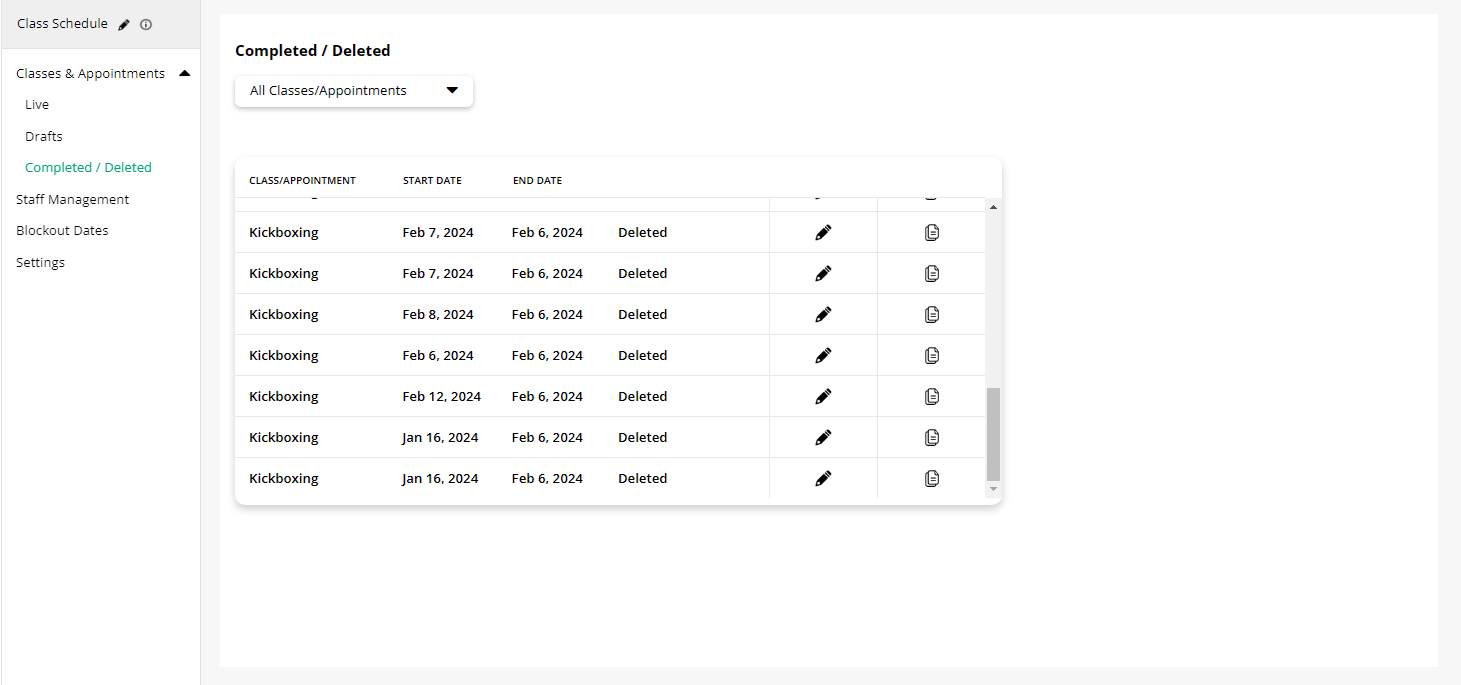
In Services and Products > Class Schedule > Completed / Deleted, you will see a list of classes times that were deleted or completed based on class times with specific start and end dates. You can see all classes/appointments of all time, or select a date range. This list will show the class title, the date that class time started or was created, the date that class time ended or was deleted, and the status of completed or deleted.
You can move a completed / deleted class back to drafts by clicking the pencil icon. This will only move the settings for the class type. You will have to re-add class times. You can also duplicate an entire class type and all it’s class times by clicking the paper icon and moving the duplicate to drafts.
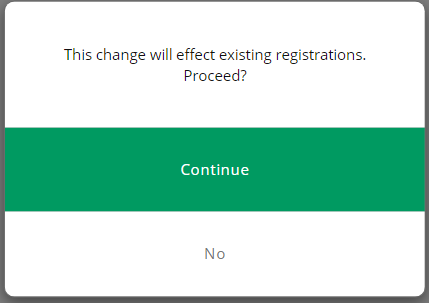
Changes to Settings With Registrations
The following pop ups will occur with the following scenarios:
Class time is edited: Edit will affect current registrations. You will select whether or not to send an email to the customers registered.
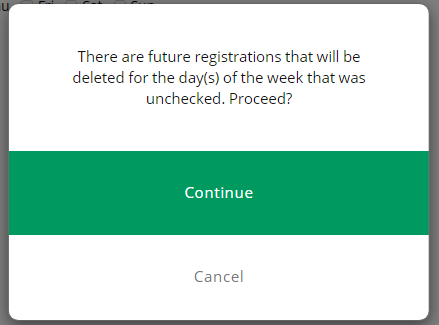
Class day is deselected: Current registrations for the deselected day will be deleted if you proceed. Th system will retain past data. You will select whether or not to send an email to the customers registered.
Class time is deleted: Current registrations for class time will be deleted if you proceed. The system will retain past data. You will select whether or not to send an email to the customers registered.
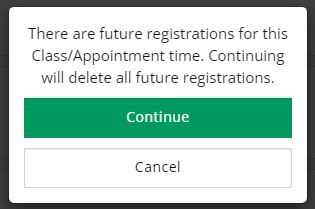
Class type is deleted: Current registrations for all times of the class type will be deleted if you proceed. The system will retain past data. You will select whether or not to send an email to the customers registered.
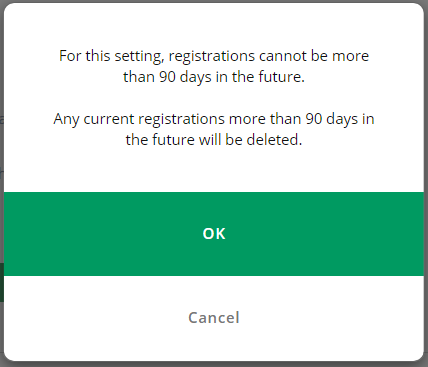
Scheduling limits in settings are changed: Current registrations that are scheduled more than the amount of days allowed to register in the future will be deleted if you proceed. You will select whether or not to send an email to the customers registered.
Staff assignment is changed: Edit will affect current registrations. You will select whether or not to send an email to the customers registered.
