
Table of contents
Permissions and accessibility
Staff access:
- Admin: Full access
- Manager: No access
- Staff: No access
MyStudio plan restrictions:
- The business website is only available for our growth and scale plans.
Step 1: Color & template
Access the settings for your business website from sales > business website. In color and template, you can choose a color closest to your business’s branding color.
Step 2: Banner & header
Decide to give the website home page a banner. This is a yellow strip at the top of the home screen that displays text and can hyperlink to a service or product you provide through MyStudio. This is often used in cases of advertising events or current sales you have.
Add the text you would like in the text box. To add a link, type in the name of an existing offering in your system and click search. If you want to add the full category link, such as the main events list page, you will still need to search for a specific event first.

The header displays below the banner. Choose whether this contains a video or images.
- Video: If you select to use video, enter a Vimeo or YouTube URL.
- Images: If you select to use images, add a title and subtitle to your header. Then you can upload up to six images which will scroll through on the homepage. Images must be JPEG or PNG files and be 2200px width x 985px height in size.
- If images are smaller: if your image is smaller than the size above, our system will automatically re-size it to the correct size. This will result in pixelated images and croppings on larger screens.
-
- If images are larger: if your image is larger than the size above, our system will automatically crop it to the correct size.
If you want the full image to be visible at all times, we recommend putting the image on background. To do this:
- Edit your image to be a height of 985px. Be sure to keep the size ratio the same.
- Create a blank canvas in paint, photoshop, or other software that is sized at 2200px width x 985px height.
- Paste your image to the canvas and center it. Then save.
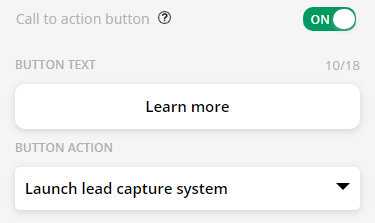
You can also turn on a call to action button on the images. Set up the call to action in step 8 below first. Then come back to this step and enter the button text and choose the button action.
Step 3: Lead capture

The lead capture section allows you to set up a form for potential customers to fill out. You can turn this capture form on or off. If on, you will need to set the following:
- Form title
- Form subtitle
- Form button text: this is the text displayed on the button to submit the form
- Decide which contact fields are required to fill out. Email will always be required
- First name
- Last name
- Mobile phone number
- Program interest: make sure you create these options in all customers > leads > settings. Otherwise, the program interest can only be “not specified.” Click on the arrow to be redirected in a new tab.
- How did you hear about us?: make sure you create these options in all customers > leads > settings. Click on the arrow to be redirected in a new tab.
- Confirmation message
- Confirmation button: the button the customer presses acknowledging the confirmation
You can also choose to forward the customer to a different page on your website after filling out the form! This can be to send them to:
- The home page
- A specific page: such as an event
- A page based on their program interest: such as a program
If you choose a specific page you will need to link the URL. Similarly to step 2, type in the name of an existing offering in your system and click search. If you want to add the full category link, such as the main events list page, you will still need to search for a specific event first.
Step 4: Offerings

Turning on different services in the offerings section will determine if and how they are displayed on your website’s homepage. If these are turned off, they will still be in the website, just not on the home screen. You are able to add three items to the homepage: programs, events, and trials.
Each will also let you choose the order in which they display.
Step 5: Reviews & awards
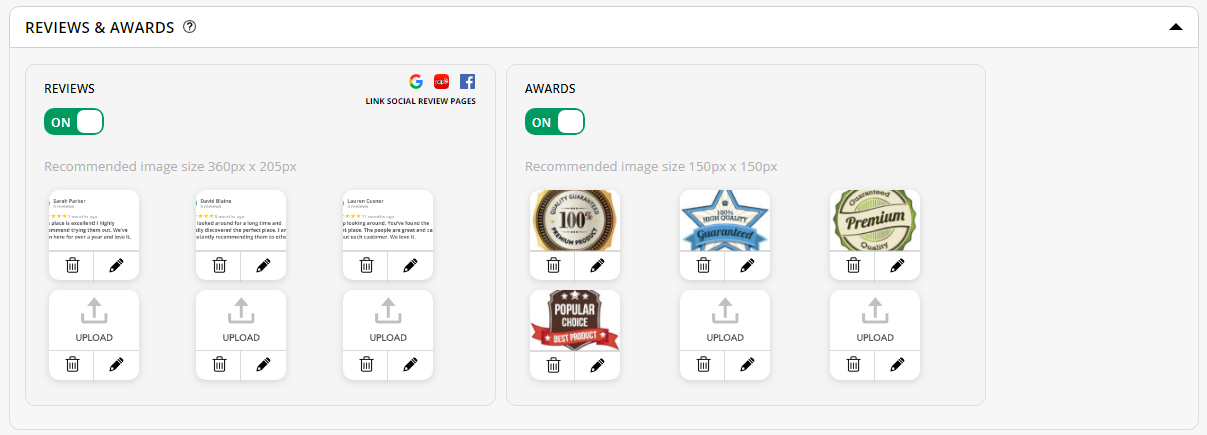
Turning on the reviews and awards section will display images you upload of different reviews or awards.
- Reviews: image size must be 360px x 205px
- Awards: image size must be 150px x 150px
You will be asked to crop the images before uploading.
Use the same steps mentioned above in “banner and header” to get your photo ratios correct, but edit the photo to a 360 px (for reviews) or 150px (for awards) height instead.
You can also link a social reviews page that customers can click on to be redirected. To add this, see below in the “social media integrations” section of this article. This will display as a “see more reviews” button below the review images.
Important: Linking the social review page will NOT auto-fill the images. You must upload images manually.
Reviews will display above your images and awards will display below your header.
Step 6: About

The about section tells customers what your business is all about. This is a great place to put mission statements or brand values. This displays at the bottom of the homepage.
Step 7: Image gallery
The image gallery allows you to add up to 12 photos to the homepage. We recommend using all of these spaces for the best visual effect. These images must be 1200px width x 800px height.
Use the same steps mentioned above in “banner and header” to get your photo ratios correct, but edit the photo to a 800px height instead.
Images will display closer to the bottom of the home screen and customers can click on the images to view it in full.
Step 8: Call to action
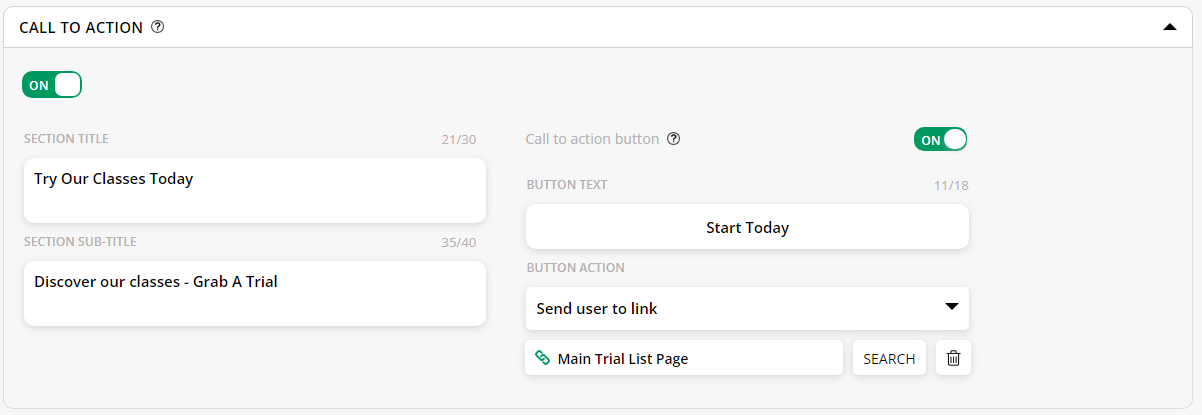
Turning on the call to action will allow you to set up a link that will redirect customers to a specified location. You will need to fill out:
- Title
- Subtitle
- Turn call to action button on or off: if this is turned on, there will be a button to redirect customers. If this is turned off, it acts as a notice
- Button text
- Button action
- Send user to link: you will then need to search for a specific page within your website
- Launch lead capture system: this will open the lead capture form you created in step 3
Step 9: Map & footer
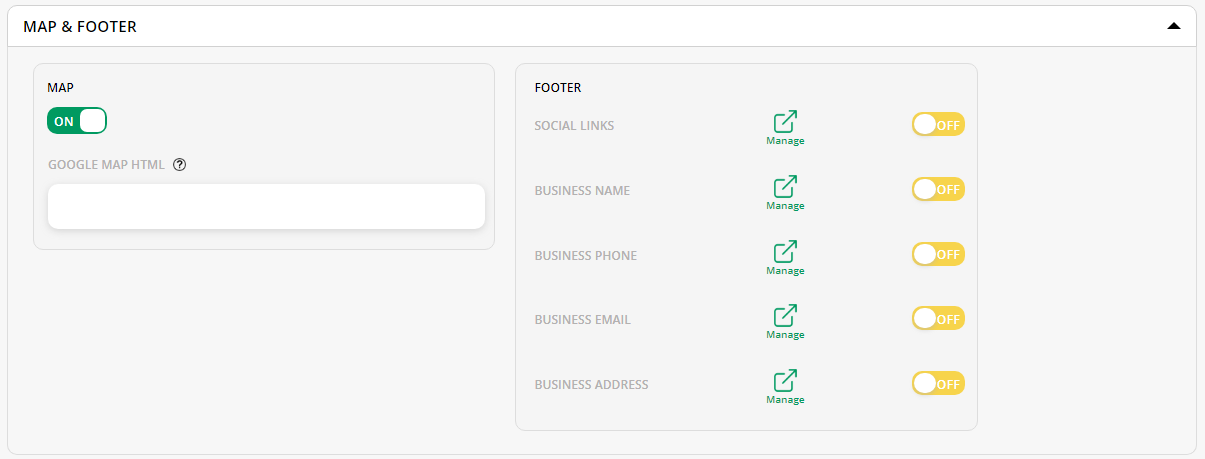
Turning on your map will allow customers to more easily find your business!
Additionally, you can turn on any business information that will appear at the bottom of your website. These items include:
- Social links: clicking manage will redirect you to sales > member app/portal > social media integration
- Business name: clicking manage will redirect you to my account > business profile
- Business phone: clicking manage will redirect you to my account > business profile
- Business email: clicking manage will redirect you to my account > business profile
- Business address: clicking manage will redirect you to my account > business profile
Step 10: SEO

SEO stands for search engine optimization. This section allows you to enter words and descriptions to allow your business to more likely show as a search result when potential customers search for those keywords or phrases.
Enter your business or website name, add a page description (up to 160 characters), and enter up to 6 keywords.
Step 11: Domain and GDPR (optional)
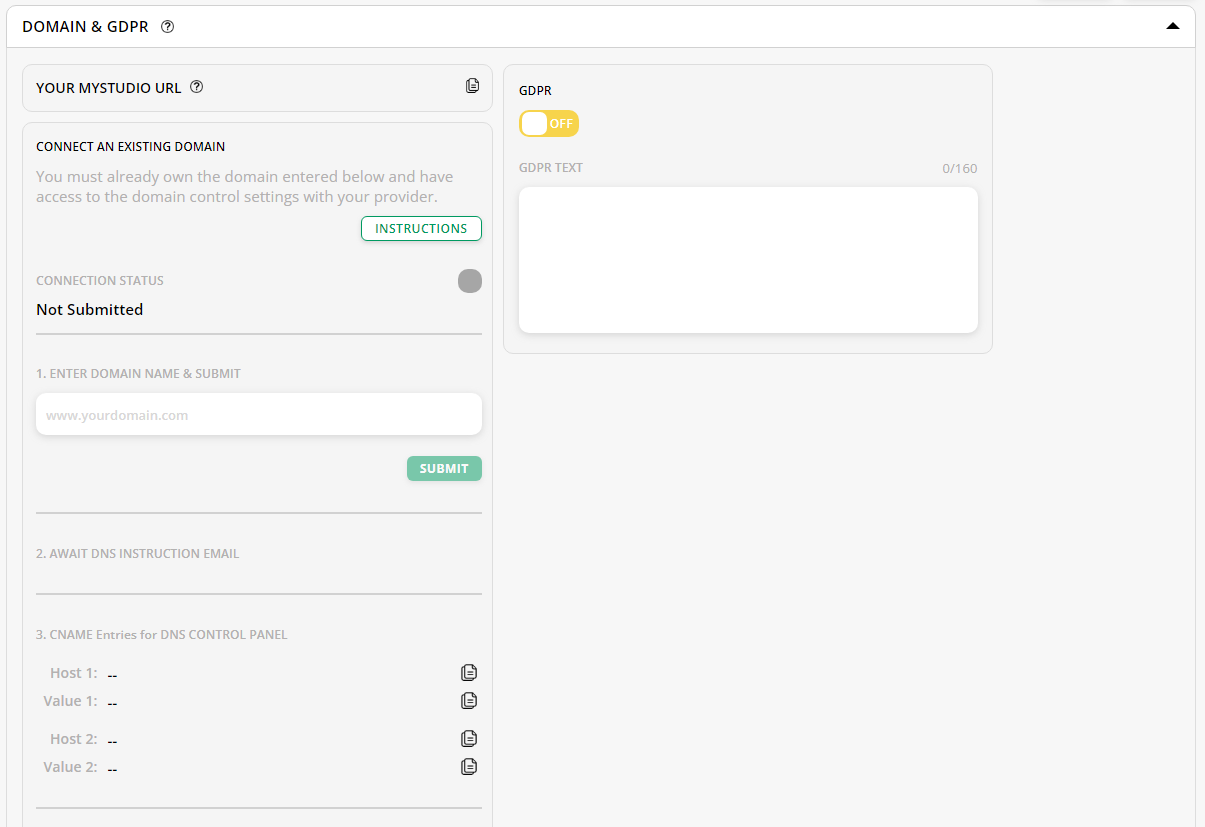
If you have a domain but don’t know how to build a website, or just prefer the look of ours, you can connect your domain to the MyStudio website we provide you. If you don’t have a domain or don’t want to connect one, you can get the link to your MyStudio website by clicking the copy button on “your MyStudio URL.”
To connect an existing domain, click “instructions” to view the step-by-step guide (or just keep reading here).
Note: we do not sell domain names. This is only applicable if you already own a domain, which you can get from any third-party company such as GoDaddy, Namecheap, Ionos, etc.
Important: if you made any changes in this process, you must publish these changes before you can connect your domain.
Step 1: enter domain name
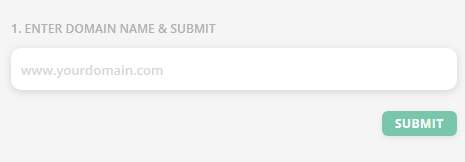
In your MyStudio account, enter your domain name formatted as www.yourdomain.com. Then click submit and confirm.
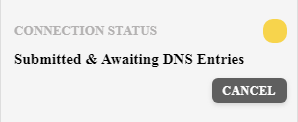
Your connection status will automatically update to “submitted & awaiting DNS entries.”
Step 2: email and CNames
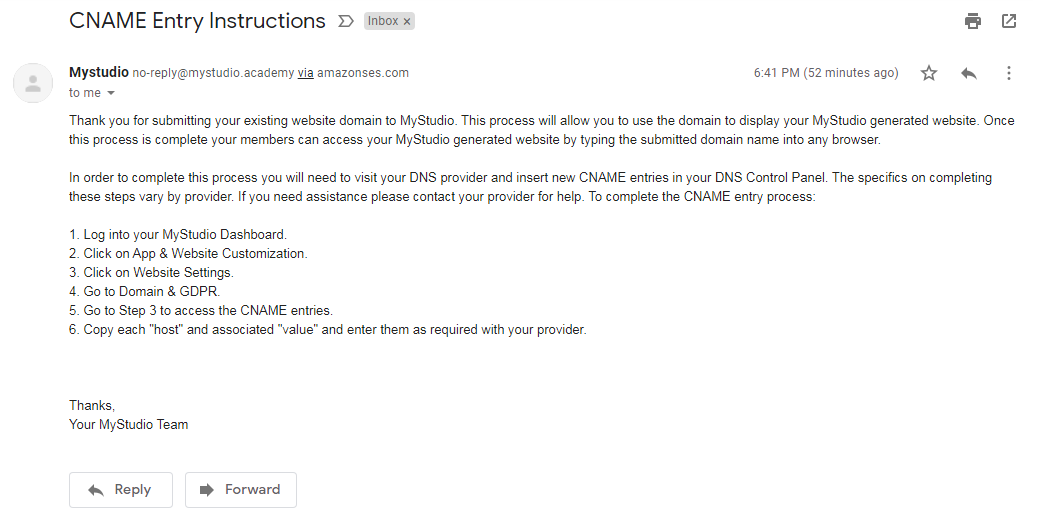
The owner email connected to your MyStudio account will receive further information on how to create CNames in your domain provider. Check back in your MyStudio account > sales > business website > domain & GDPR to see host names and values listed in step 3. If these are there, you will create these in your domain provider.
Note: this process differs between DNS hosts. If you have any questions on where to put these hosts and values, please reach out to your domain registrar for further assistance.
Example: GoDaddy
To enter these values in GoDaddy, login to your account and click “DNS” next to your domain.
Click “add record” and select “CNAME” from the drop down.

Go back into MyStudio and copy the host 1 and value 1 and enter the information in the name and value fields respectively in your GoDaddy account. Do this again for host 2 and value 2.
Once saved, continue to step 3.
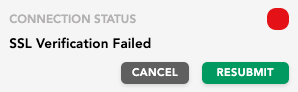
Note: If SSL verification is not completed within 48 hours the request may become void, and the domain will need to be resubmitted. If this occurs the connection status will change to "SSL verification failed" and you will need to either cancel or resubmit your domain name.
Step 3: waiting
Once the CNAME entries are complete, MyStudio will initiate an SSL certificate process (a necessary security step). It may take up to 24 hours for your connection status to change to "generating SSL certificate."
Note: If a couple business days have passed and you are still seeing the “generating SSL certificate” or “submitted & awaiting DNS entries” status, please reach out to our customer support team for further assistance.
Once the SSL certificate process is complete, the connection status will change to “connected” and you’ll receive an email notifying you that your website is ready to go after a final step.

Step 4: redirect
Lastly, once your domain is connected please visit your domain host's website and create a “redirect” for domain entries where a site visitor does not use the www. prefix.
This redirect will ensure that users always find your site whether or not they type the www. prefix into their browser!
If you have more specific questions on how to do this, we recommend that you contact support at your DNS provider as the specifics of where to do this varies with each provider.
Important: The next time you log into MyStudio, you will no longer see a connection status or CNAME Entries. This is because your domain has already been connected.
Need help or have more questions? Please reach out to our support team directly via our chats at the bottom right corner of your control panel, or by calling us at (757)997-1233.