
Now in V2: A more powerful version of mobile messaging is available, with improved templates, scheduling, and tracking. Refer to the V2 mobile messaging article for more details.
Table of contents
- Permissions and accessibility
- What is an in-app message vs. SMS?
- Can I add emojis and/or images to my mobile messages?
- How do I connect to Twilio?
- Where can I send a mobile message from?
- Can I schedule a mobile message?
- Can I also send the mobile message as an email?
- "Send message once to each participant"
- Creating a mobile message template
- Viewing conversations
- Message all customers
Permissions and accessibility
Staff access:
-
Admin: Full access
-
Manager:
-
Full access to sending communication
-
Does not have access to the communication enhancement add-on
-
-
Staff: No access
MyStudio Plan Restrictions:
-
Two way communication for in-app messaging is not available for starter plans.
-
To use emojis and send images through in-app messaging, you must have the communication enhancement add-on.
-
To use emojis and send images through SMS, you must have the communication enhancement add-on as well as a Twilio connection.
-
There may be differences with SMS usage based on your Twilio plan.
What is an in-app message vs. SMS?
An in-app message is sent directly to the member app, similar to a chatbox. An SMS is a text message to the member’s phone number on file.
Can I add emojis and/or images to my mobile messages?
If you would like to utilize emojis or image uploads, you will need to purchase the MyStudio communication enhancement add-on, but you will not be required to connect a Twilio account if you are only sending emojis and/or images through in-app messages.
Sending these through SMS requires the purchase of the communication enhancement add-on as well as a connection to a Twilio account.
How do I connect to Twilio?
For more information on integrating Twilio, please see our setup articles:
If you have been with MyStudio for a while and have an old number provided to you, you will need to connect to Twilio in order to send any SMS containing emojis or image uploads.
Where can I send a mobile message from?
There are several places in the system to send a mobile message:
- Payments sections: click on any existing mobile phone icon to send a mobile message.
- All customers sections: check the box next to each person you would like to send the message to, then click the mobile message option above the table. Utilize the different sections to send communications to specific groups of people.
- Internal profiles: select the mobile message icon within profiles and registrations below the customer’s name.
- Automations: all automations have a mobile message option
- Communications > Mobile Message > Conversations
- Communications > Mobile Message > Message all customers: send a message to every person in your system regardless of registrations or status.
- Operations > Class Appointment Calendar > Click to see a roster: send a mobile message to participants of a particular class time
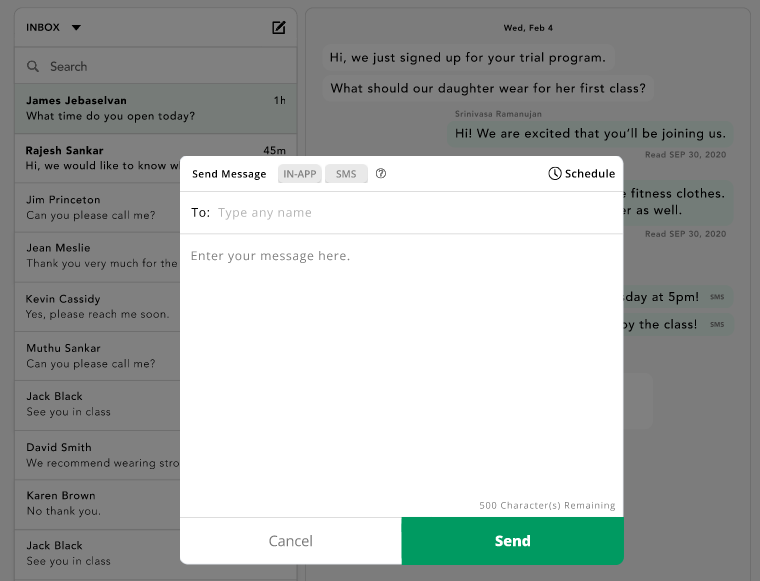
Can I schedule a mobile message?
Schedule a mobile message from the communications > mobile message > conversations section. Drafting a mobile message from this section will give you the “schedule” option at the top right of the draft box. Here is a picture of what to look for:
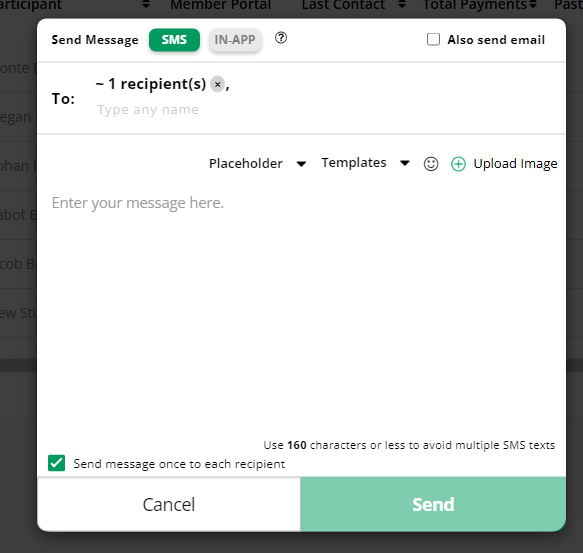
Can I also send the mobile message as an email?
In most mobile message sending locations, there is a checkbox at the top right of the draft box to also send the mobile message as an email as well. Here is a picture of what to look for:
“Send message once to each participant”
The “send message once to each participant” setting in the mobile message draft box ensures that you do not spam customers with the same message. This is particularly helpful when sending mobile messages from participant registrations lists, where the family may have more than one registration.
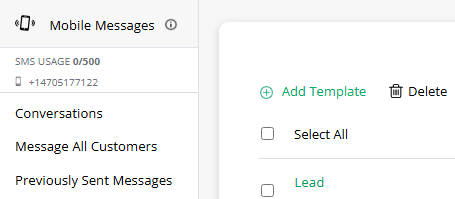
Creating a mobile message template
To create a mobile message template:
- Go to communications.
- Click “mobile messages.”
- Select “templates” from the left submenu.
- Click “custom.”
- Click “add template” at the top.
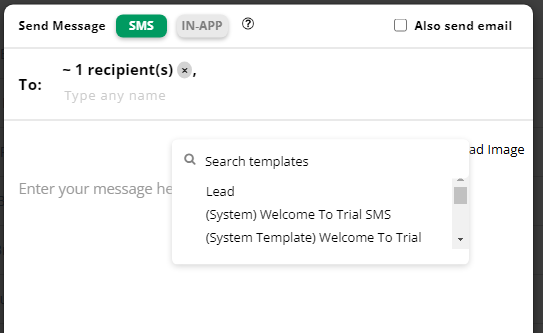
Use a template by choosing from the drop down in mobile message sending points. Here are images of what to look for:
|
|
|
Viewing conversations
View and respond to conversations by going to communications > mobile messages > conversations. This is not available for starter plans.
Message all customers
Send a message to all customers in your system regardless of registration or status by:
- Go to communications.
- Click “mobile messages.”
- Select “message all customers” from the left submenu.
You can also schedule to send this type of mobile message.