Updated: April 1, 2026
Table of contents
Permissions and accessibility
Staff access:
-
Admin: Full access
-
Manager: Access to see setup, but cannot edit
-
Staff: No access
MyStudio plan restrictions:
-
Starter plans do not have access to belt testing events
Settings
General settings

Begin with your event settings in services and products > events > settings. In the general settings, you can turn your events off or on. If events are turned off, they cannot be registered for at any registration point. You can also copy the main events URL to share with customers or your social media.
Tax and processing fees
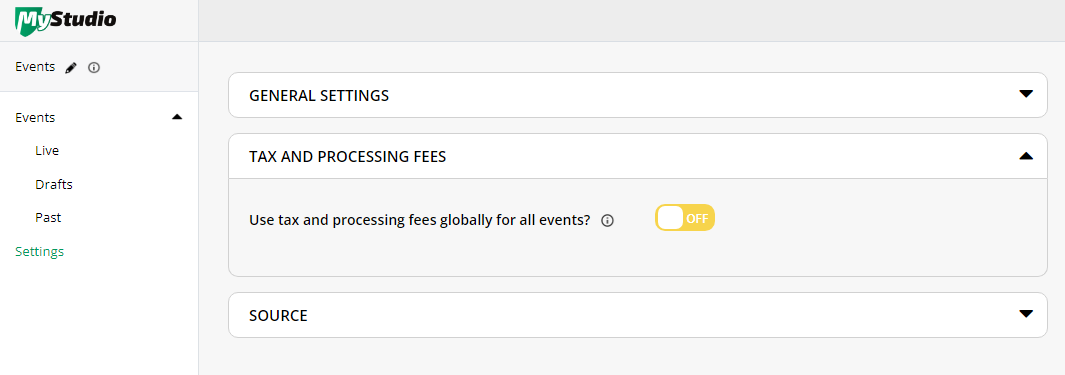
In the tax and processing fees section, choose whether you would like to use the same tax and processing fee for all events. If this is turned on, the same processing fee setting and tax percentage will be applied to all events created. If this is turned off, you will set up this information for each event.
Source
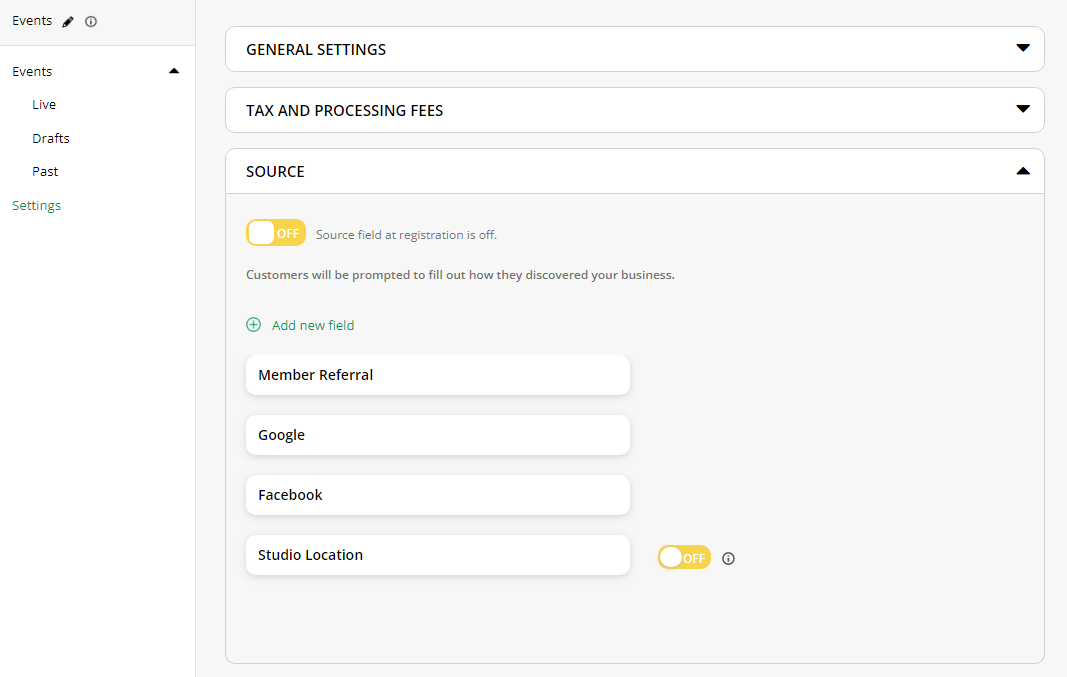
In the source section, choose whether customers have to answer how they discovered your business during the event registration process. We have three default fields that cannot be edited or deleted as options: member referral, Google, and Facebook. Google ad and Facebook ad are separate and will be automatically verified at registration.
You can also turn the studio location option off or on or create new custom field options.
Creating events
Single events
A single event is an event that only occurs once or does not require multiple options or dates attached to it. This is great for one-time convention dates, a holiday party, etc.
Create this event type by going to services and products > events > add event.
Hint: Save time by selecting from one of our event templates!
Choose “ single event.”

You will then only have one page to fill out.
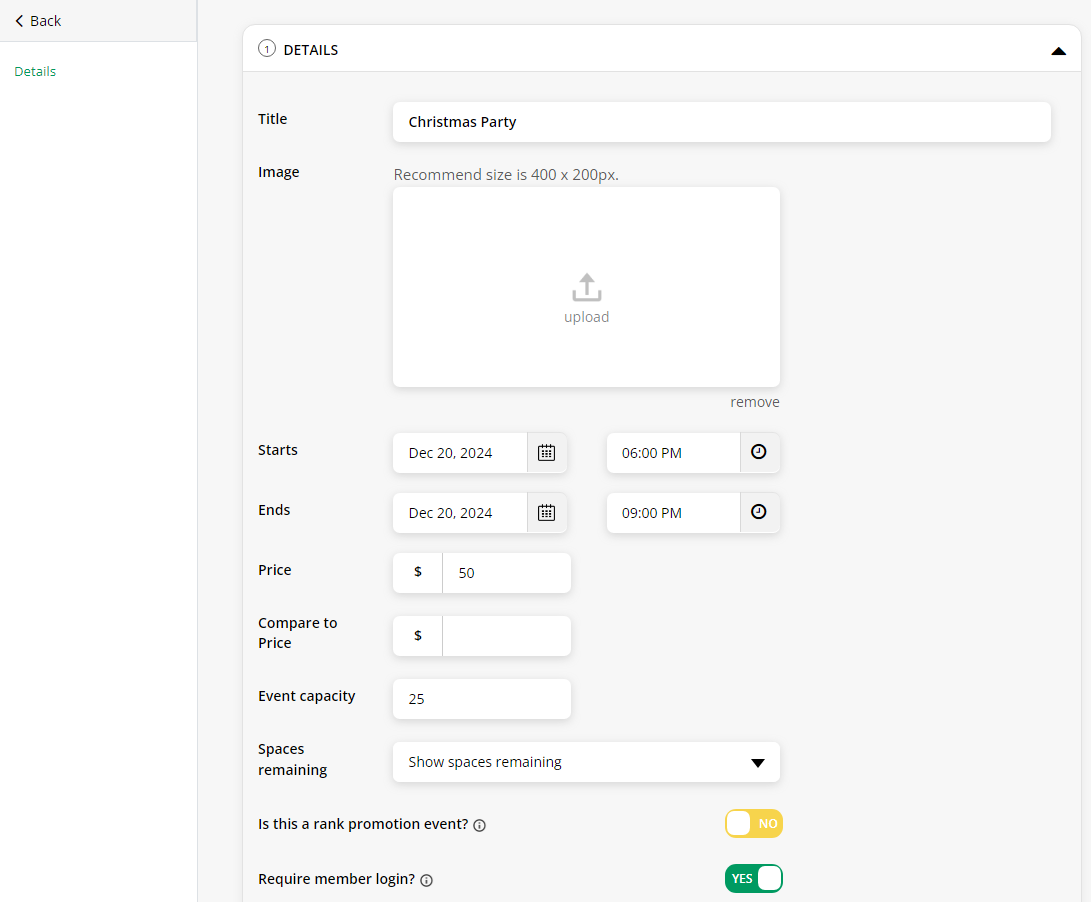
1. Details
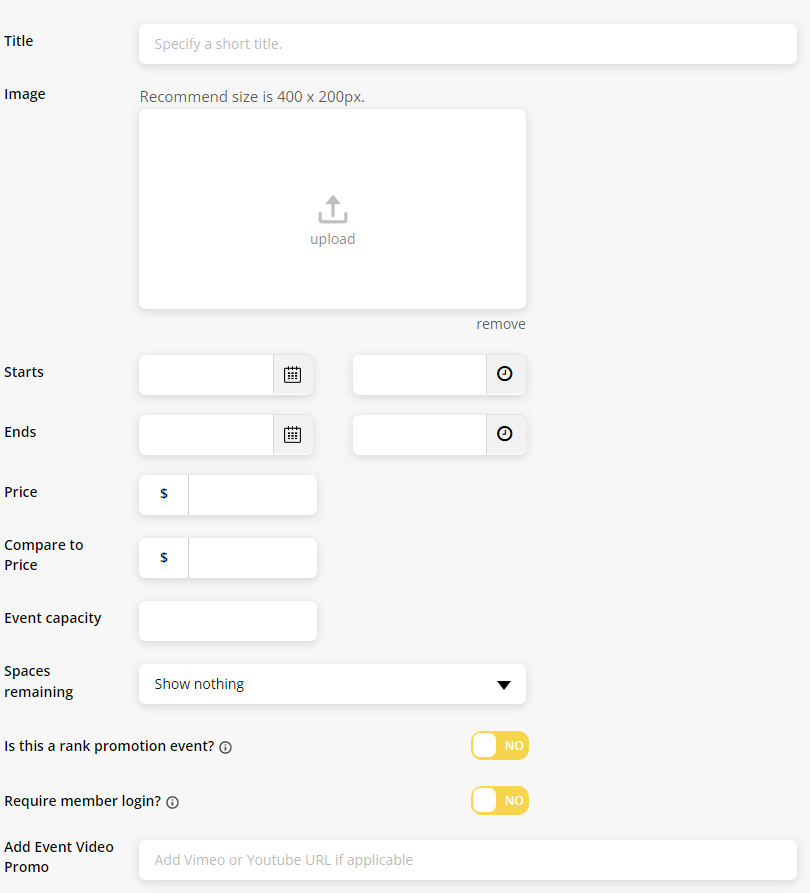
On the details page, fill out the following fields:
- Title
- Image: images must be 1600 x 800 px
- Start date and time (if applicable)
- End date and time (if applicable)
- Price
- Compare to price: if you’re running a sale or sell the item at a discount, you can show a comparison of how much customers could have paid. This number is crossed out and your actual price will show next to it.
- Event capacity
- Spaces remaining
- Show nothing: event will disappear when capacity is met
- Show spaces remaining: event will show “full” when capacity is met
- Show spaces remaining at 50%: sparks urgency. Will display 50% of the actual capacity left
- Show “limited spaces remaining”: shows that phrase. Sparks urgency in customers
- Is this a rank promotion event: if this is set to “yes,” you will be able to utilize the mass rank updater in all customers.
- Require member login: if this is set to “yes,” customers will need to login to the member app in order to register for the event.
- Add event video promo
- Call to action text: instead of “register,” you can customize the button
- Description
2. Payment
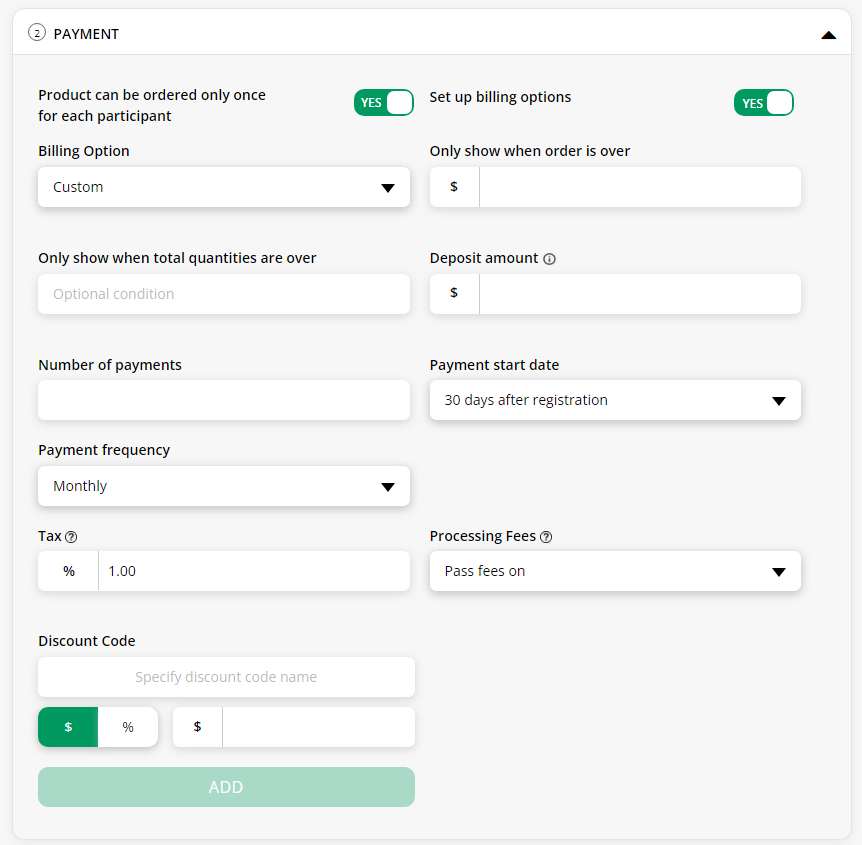
After entering your details for the event, click into the payment section and fill out the following fields:
- Product can be ordered only once for each participant: if this is set to “yes” then each participant can only order the event once per transaction. This does not prevent a customer from re-registering for the event later. If this is set to “no,” then customers can order more than one quantity of the same event.
- Set up billing plans: if this is set to no, customers will pay in full at registration. If this is set to yes, customers will be able to choose to pay in full or pay with the billing option.
There are two types of billing options:
Custom: billing is determined by a set number of payments and payment frequency. You will have the following settings to fill out:
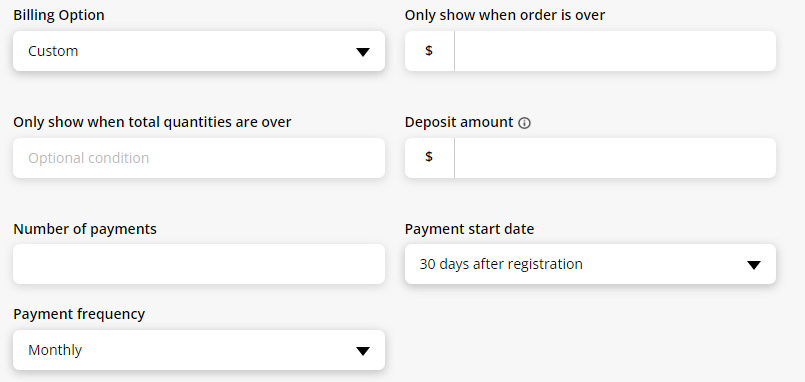
- Only show when order is over: billing plan is only presented as an option if customer purchases more than a certain dollar amount before fees and tax. This does not apply to transactions that are equal to the dollar amount. If the requirement is not met, the customer will pay in full. This is an optional field
- Only show when total quantities are over: billing plan is only presented as an option if customer purchases more than the specified quantity of events. This is specific to multiple event dates or if you allow the product to be ordered more than once. This is only applicable within the same event. This is an optional field.
- Deposit amount: if you want the customer to pay a deposit, enter the amount here. This will be taken out of the first payment owed. This is an optional field.
- Number of payments
- Payment start date:
- 30 days after registration
- 1 week after registration
- 2 weeks after registration
- Select specific start date
- Payment frequency:
- Monthly
- Weekly
- Bi-weekly: this is every two weeks, not twice per week
Bill on each event start date: billing is charged on the event’s start date. If you have a multiple date event, this will charge on each event date’s start date. You will have the following settings to fill out:
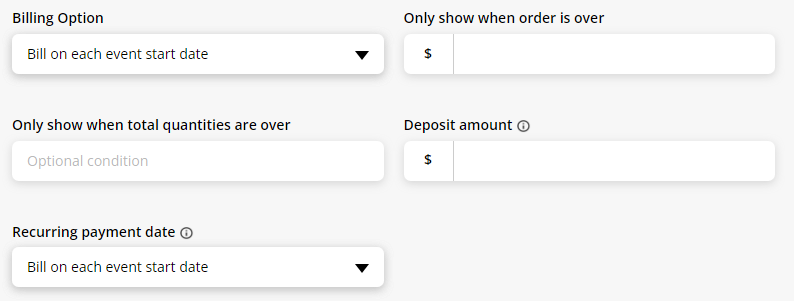
- Only show when order is over: billing plan is only presented as an option if customer purchases more than a certain dollar amount before fees and tax. This does not apply to transactions that are equal to the dollar amount. If the requirement is not met, the customer will pay in full. This is an optional field
- Only show when total quantities are over: billing plan is only presented as an option if customer purchases more than the specified quantity of events. This is specific to multiple event dates or if you allow the product to be ordered more than once. This is only applicable within the same event. This is an optional field.
- Deposit amount: if you want the customer to pay a deposit, enter the amount here. This will be taken out of the first payment owed. This is an optional field.
- Recurring payment date:
- Bill on each event start date
- Custom: choose to charge a specified amount of days before the event start date
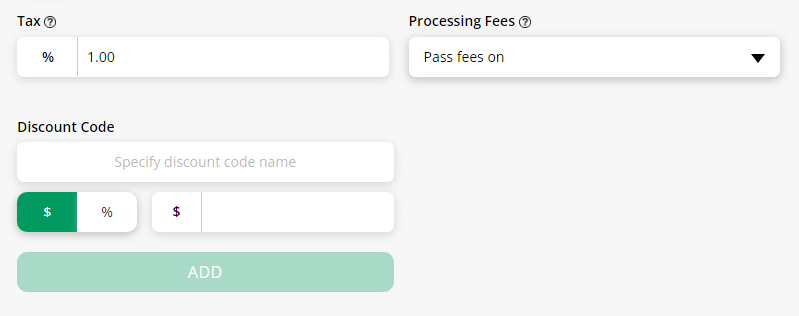
The payments section will also contain the tax field and processing fees field if you choose to not have global amounts set.
Enter any discount codes you would like to have for this event. You can choose between a set dollar amount or a percentage.
3. Registration fields
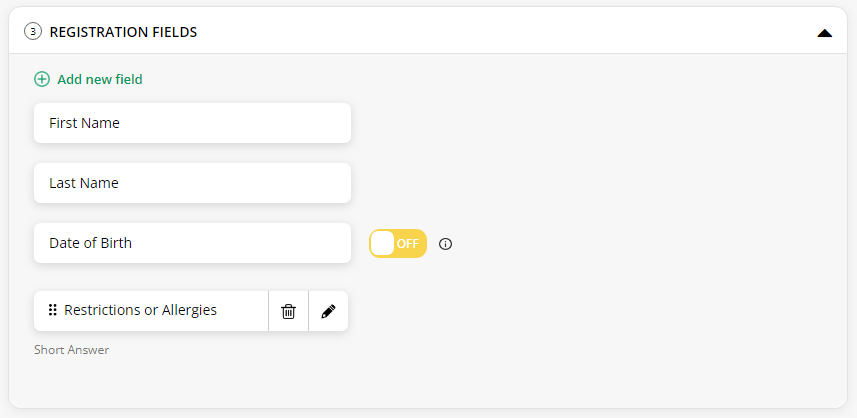
Add any custom registration fields by clicking “add new field.” These event registration fields can be short answer or dropdown selection fields that customers will fill out during registration. You can also select to make the field mandatory to fill out or optional.
You can also select to turn off the birthday registration field.
4. Waiver
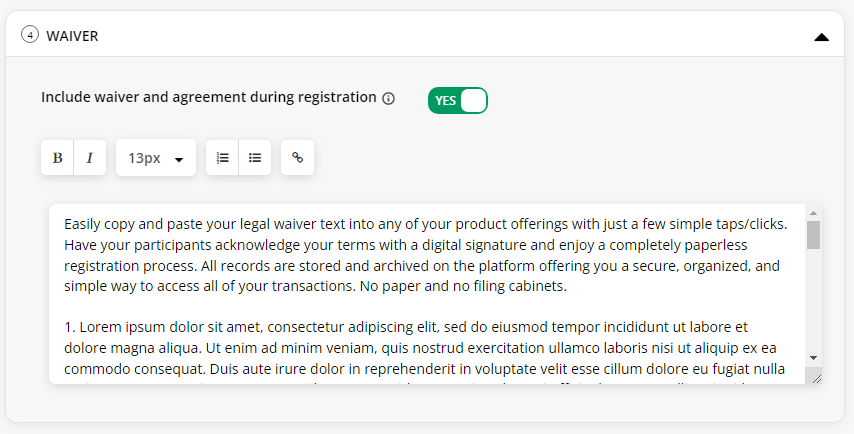
Select whether customers need to sign a waiver during registration. If this is set to “yes,” include your waiver and agreement.
Multi-date events
A multiple-date event is an event that has multiple options or dates attached to it. This is great for birthday parties, summer camps, belt testing, etc.
Create this event type by going to services and products > events > add event.
Hint: Save time by selecting from one of our event templates!
Choose “ category with multiple events.”
You will then have two sections to fill out.
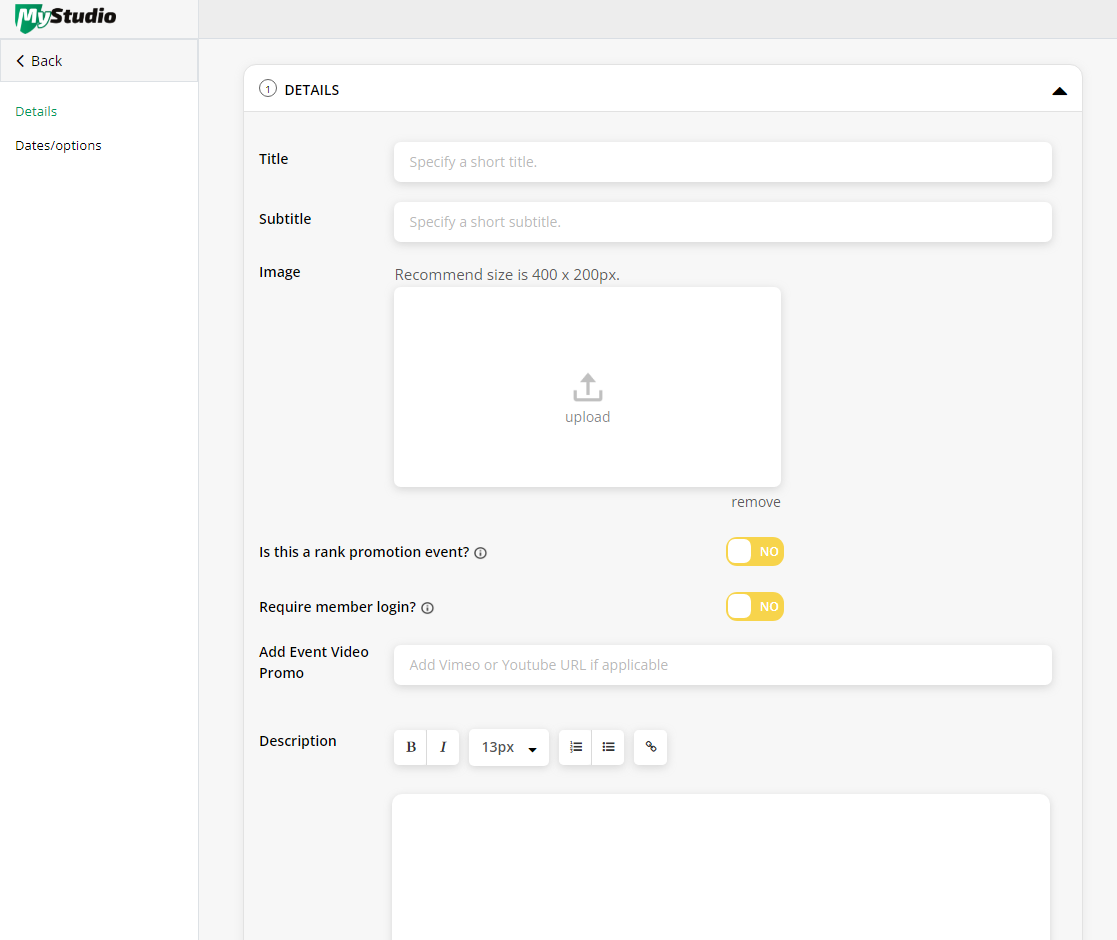
1. Details
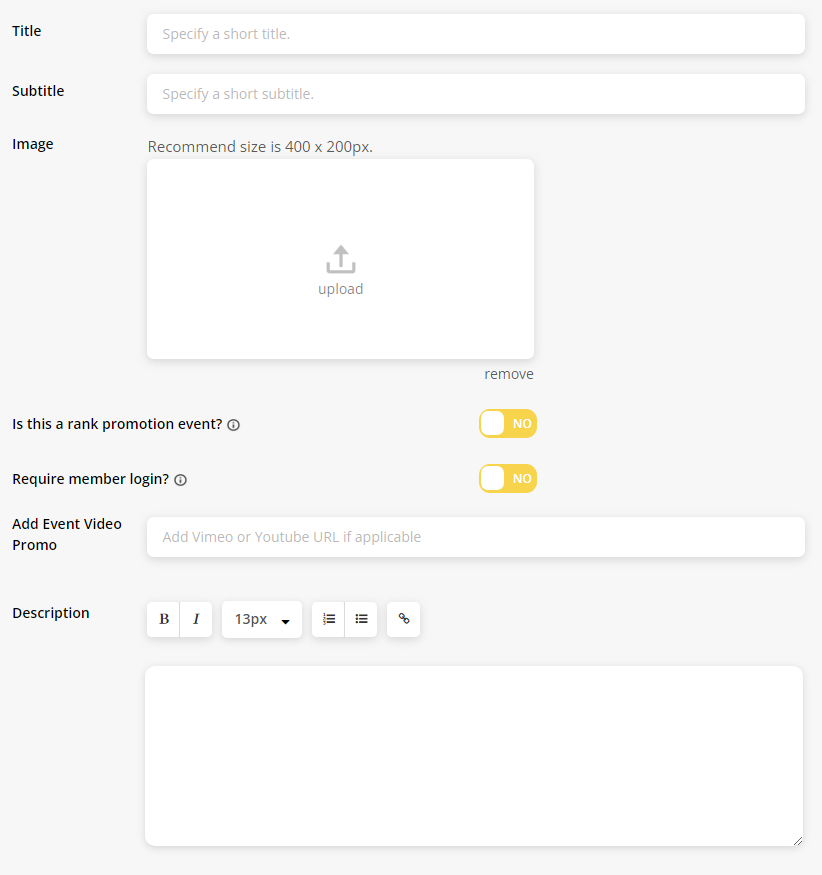
On the details page, fill out the following fields:
- Title
- Subtitle
- Image: images must be 1600 x 800 px.
- Is this a rank promotion event: if this is set to “yes,” you will be able to utilize the mass rank updater in all customers.
- Require member login: if this is set to “yes,” customers will need to login to the member app in order to register for the event.
- Add event video promo
- Description
2. Payment
After entering your details for the event, click into the payment section and fill out the following fields:
- Product can be ordered only once for each participant: if this is set to “yes” then each participant can only order the event once per transaction. This does not prevent a customer from re-registering for the event later. If this is set to “no,” then customers can order more than one quantity of the same event.
- Set up billing plans: if this is set to no, customers will pay in full at registration. If this is set to yes, customers will be able to choose to pay in full or pay with the billing option.
There are two types of billing options:
Custom: billing is determined by a set number of payments and payment frequency. You will have the following settings to fill out:
- Only show when order is over: billing plan is only presented as an option if customer purchases more than a certain dollar amount before fees and tax. This does not apply to transactions that are equal to the dollar amount. If the requirement is not met, the customer will pay in full. This is an optional field
- Only show when total quantities are over: billing plan is only presented as an option if customer purchases more than the specified quantity of events. This is specific to multiple event dates or if you allow the product to be ordered more than once. This is only applicable within the same event. This is an optional field.
- Deposit amount: if you want the customer to pay a deposit, enter the amount here. This will be taken out of the first payment owed. This is an optional field.
- Number of payments
- Payment start date:
- 30 days after registration
- 1 week after registration
- 2 weeks after registration
- Select specific start date
- Payment frequency:
- Monthly
- Weekly
- Bi-weekly: this is every two weeks, not twice per week
Bill on each event start date: billing is charged on the event’s start date. If you have a multiple date event, this will charge on each event date’s start date. You will have the following settings to fill out:
- Only show when order is over: billing plan is only presented as an option if customer purchases more than a certain dollar amount before fees and tax. This does not apply to transactions that are equal to the dollar amount. If the requirement is not met, the customer will pay in full. This is an optional field
- Only show when total quantities are over: billing plan is only presented as an option if customer purchases more than the specified quantity of events. This is specific to multiple event dates or if you allow the product to be ordered more than once. This is only applicable within the same event. This is an optional field.
- Deposit amount: if you want the customer to pay a deposit, enter the amount here. This will be taken out of the first payment owed. This is an optional field.
- Recurring payment date:
- Bill on each event start date
- Custom: choose to charge a specified amount of days before the event start date
The payments section will also contain the tax field and processing fees field if you choose to not have global amounts set.
Enter any discount codes you would like to have for this event. You can choose between a set dollar amount or a percentage.
3. Registration fields
Add any custom registration fields by clicking “add new field.” These event registration fields can be short answer or dropdown selection fields that customers will fill out during registration. You can also select to make the field mandatory to fill out or optional.
You can also select to turn off the birthday registration field.
4. Waiver
Select whether customers need to sign a waiver during registration. If this is set to “yes,” include your waiver and agreement.
Dates / options
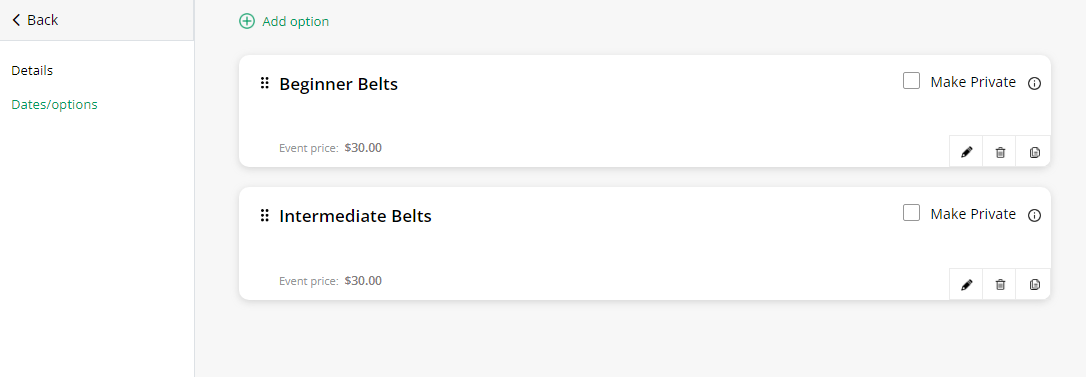
Once you’ve completed the details section, click on “dates / options” on the left. Click “add option.” You will then need to fill out the following fields for one date / option:
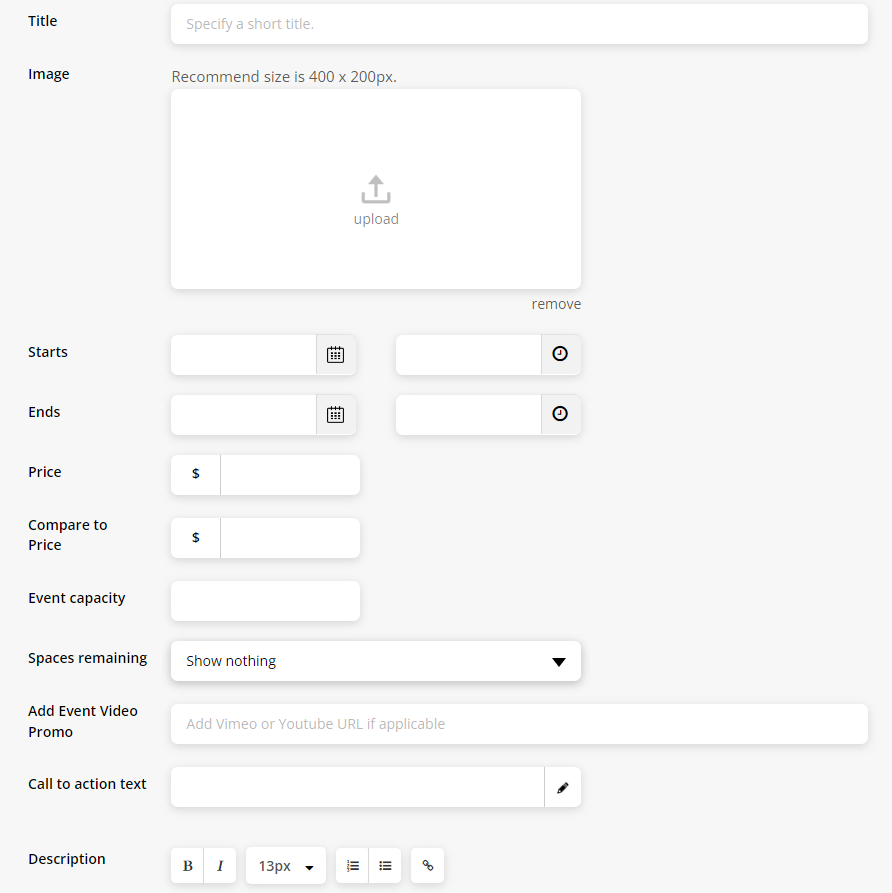
- Title
- Image: images must be 1600 x 800 px
- Start date and time (if applicable)
- End date and time (if applicable)
- Price
- Compare to price: if you’re running a sale or sell the item at a discount, you can show a comparison of how much customers could have paid. This number is crossed out and your actual price will show next to it.
- Event capacity
- Spaces remaining
- Show nothing: event will disappear when capacity is met
- Show spaces remaining: event will show “full” when capacity is met
- Show spaces remaining at 50%: sparks urgency. Will display 50% of the actual capacity left
- Show “limited spaces remaining”: shows that phrase. Sparks urgency in customers
- Add event video promo
- Call to action text: instead of “register,” you can customize the button
- Description
After saving the option, you can add more options by clicking “add option” and doing the process again for each option within that event.
Be sure to go back to the details page and click publish at the bottom to publish your event.
Table info
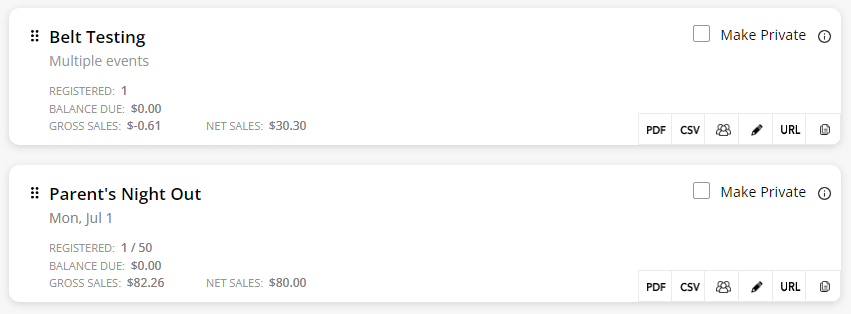
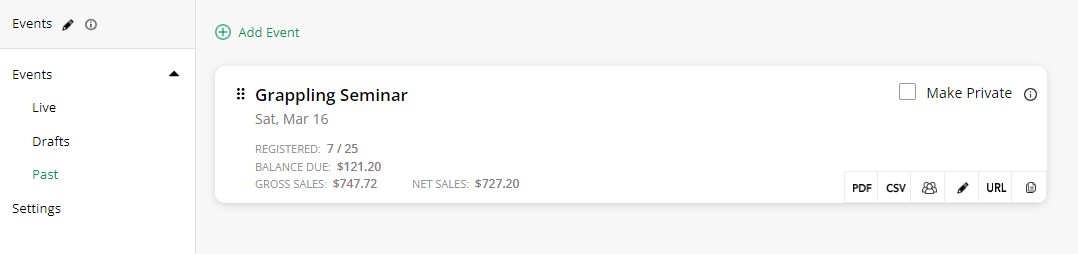
In services and products > events > live, you will see your full list of live events. Here, each event card will display the following:
- Multiple events: multiple date events will say “multiple events” and single events will display the start date (if there is one)
- Registered: the total amount of customers who have registered for the event
- Balance due: the total amount that still needs to be paid towards the event
- Gross sales
- Net sales
You can also do the following actions:
- Make the event private: This will hide the event from registration points except for the staff point of sale or sharing the specific event URL. If it is a multiple date event and you share the URL, customers will not see private event options within the event.
- PDF: export a PDF of the registrants in a specified status. You can select up to 3 fields (in addition to participant and buyer name) to include in the CSV file. This is to ensure the table isn’t cut off in the PDF.
- CSV: export a CSV of the registrants in a specified status. This will include all fields.
- Participants: view all participants who are registered for the event. This will redirect you to all customers > events > filtered by the event
- Pencil icon: edit the event setup
- URL: copy the URL for the specific event
- Duplicate
You can also see the list of event date / options in an event by editing the event and going to dates / options.
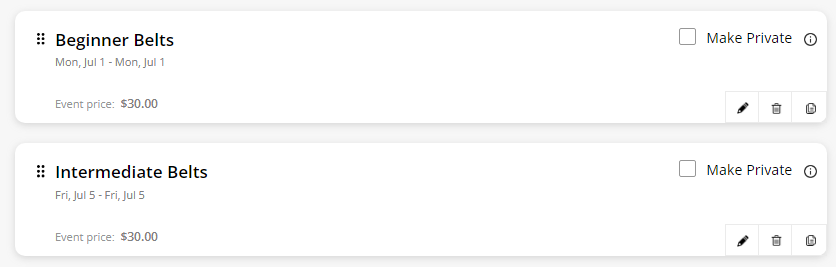
This will list the date range of the event and the price of the event. You can also do the following actions:
- Make the event date / option private: This will hide the option from registration points except for the staff point of sale or sharing the specific event option URL.
- Pencil icon: edit the option
- Trash icon: delete the option
- Duplicate the option
Drafted events function the same way, but will also display “this event has not been published” if the event has never been published.

Past events function the same way as live events but are in a completed status so they cannot be registered for. However, you can edit these events’ start / end dates in order to re-activate them. If the event has both a start and end date, edit the end date first.