
Table of contents
Permissions and accessibility
Staff access:
- Admin: Full access
- Manager: Cannot access manual discounts
- Staff: Only access to public point of sale
MyStudio restrictions:
- Card reader is only available to Stripe accounts
Settings
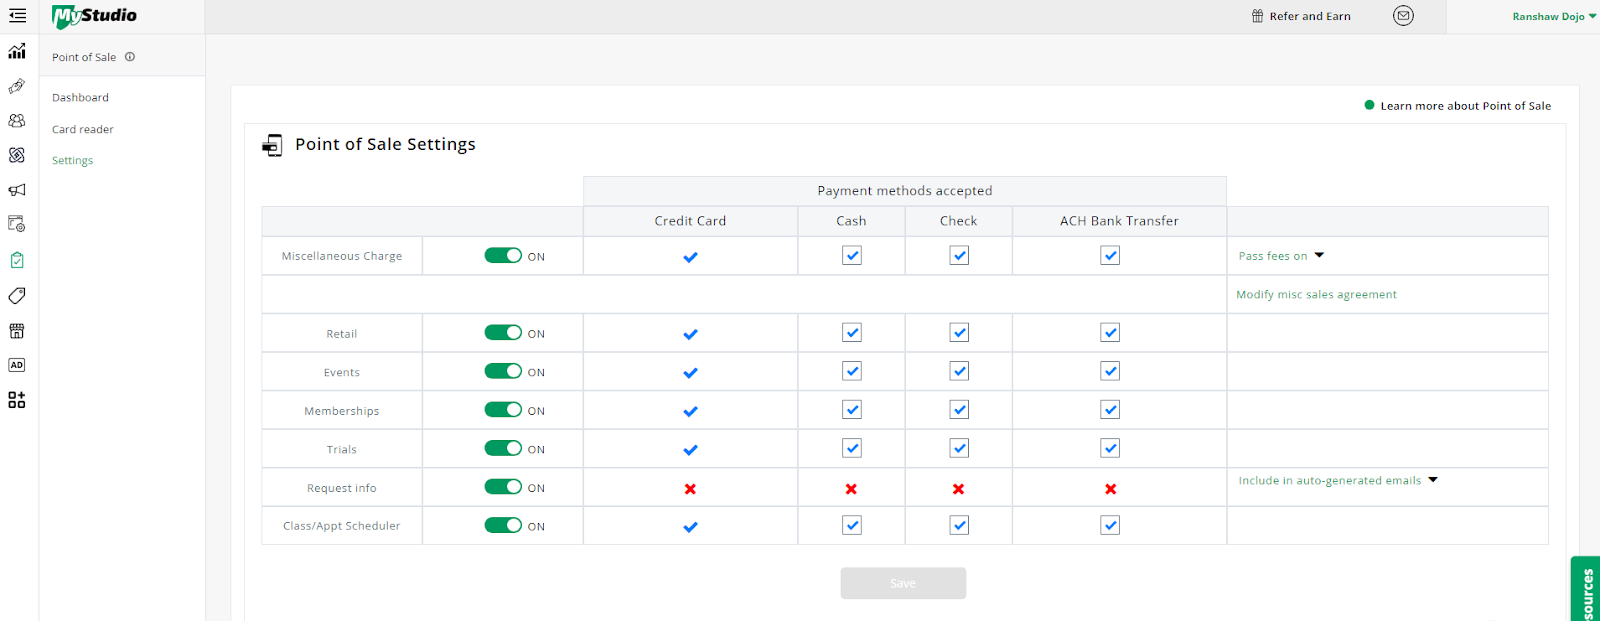
In operations > point of sale > settings you can turn specific transactions on or off. If turned off, they will not appear in the point of sales for registrations.
While credit card will always be selected as a payment method, you can select whether certain transactions allow certain payment methods. These include cash, check, or ACH bank transfers.
Note: If you do not see the ACH column, go to my account > payment processing options and turn ACH on first.
This section is also where you can set the administrative fees for miscellaneous charge to pass on or absorb and add a sales agreement.
You can also select to include or exclude leads in auto-generated emails. In this section, leads are the “request info” option.
Card reader
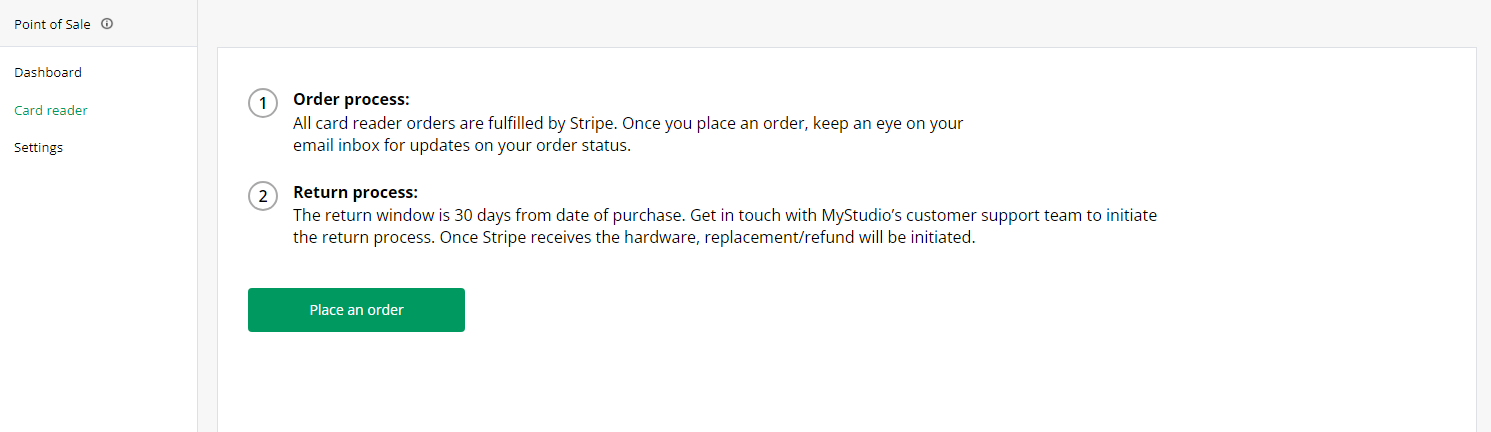
The card reader section of operations > point of sale allows you to place an order for a card reader.
For more information on the card reader, check out our other article here: Card reader
Dashboard
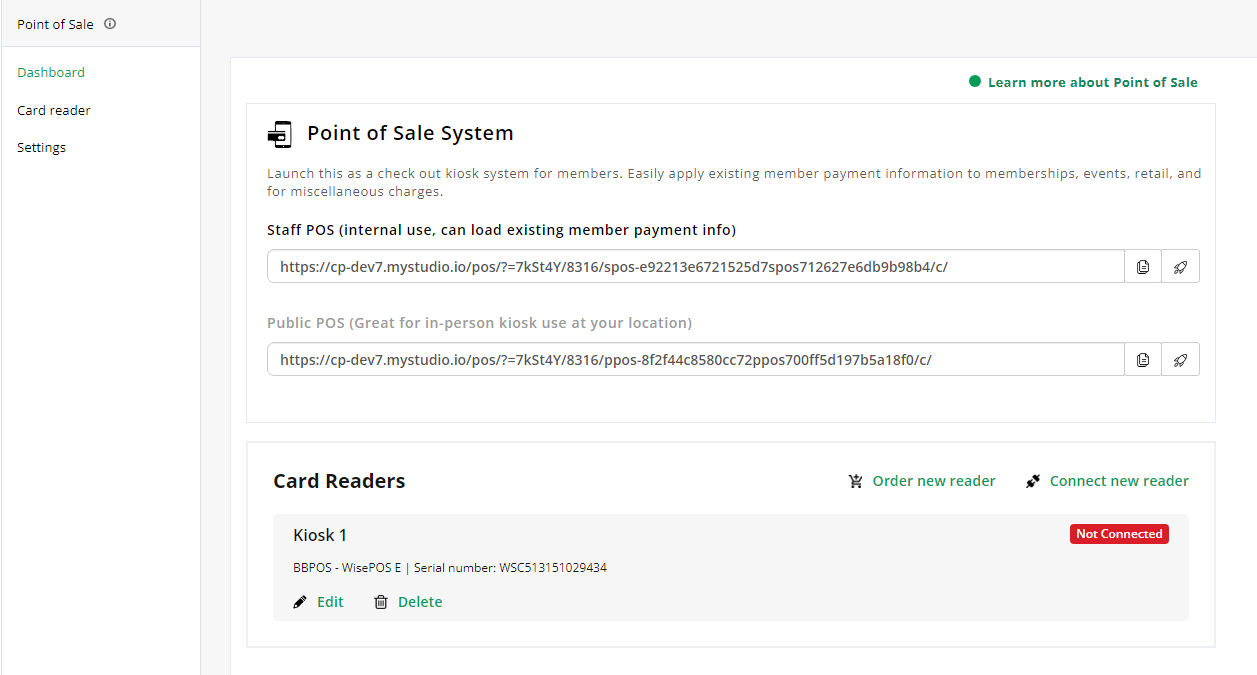
The dashboard is where you can open the staff or public points of sales or connect, edit, or delete card readers.
For more information on the card reader, check out our other article here: Card reader
To launch a point of sale, simply click the rocket next to the link or copy and paste the link.
Note: MyStudio only allows you to be logged into the point of sale and attendance portal one device at a time. If you would like to have multiple POS running on different devices, you will need to set up different staff accounts for the kiosks.
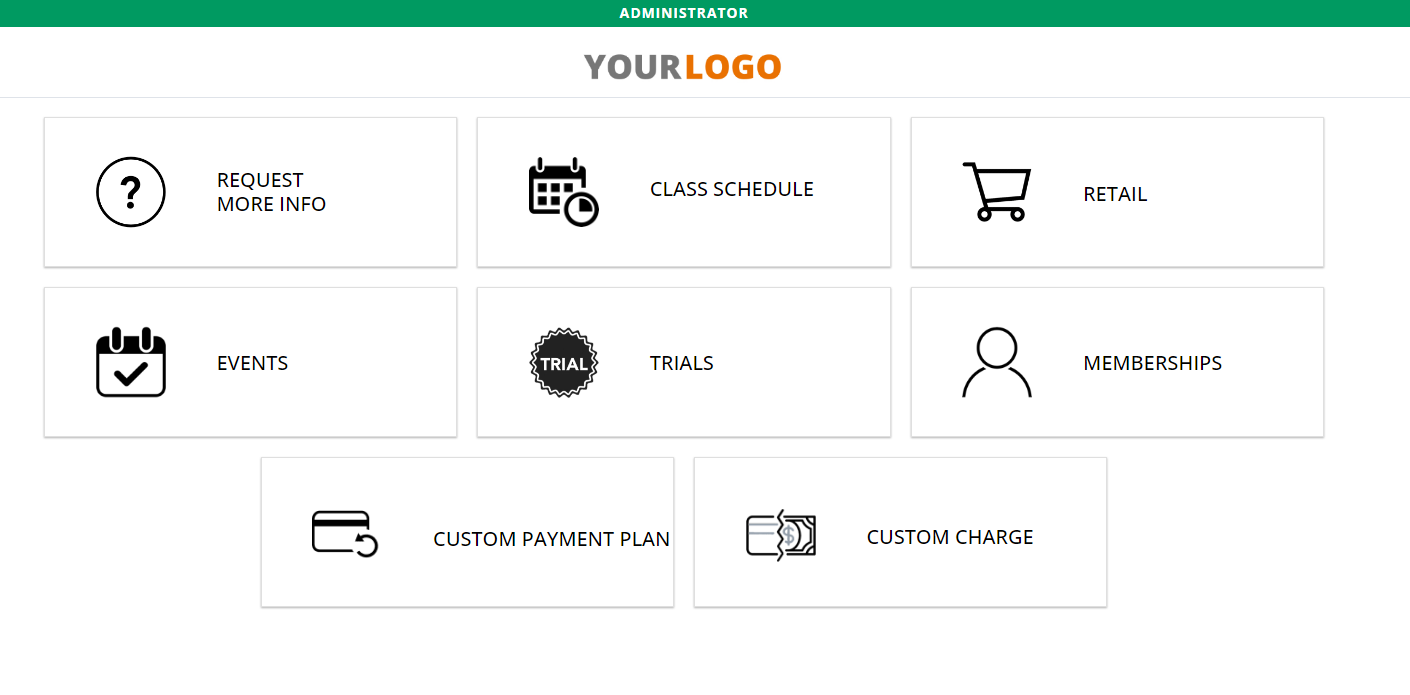
General setup
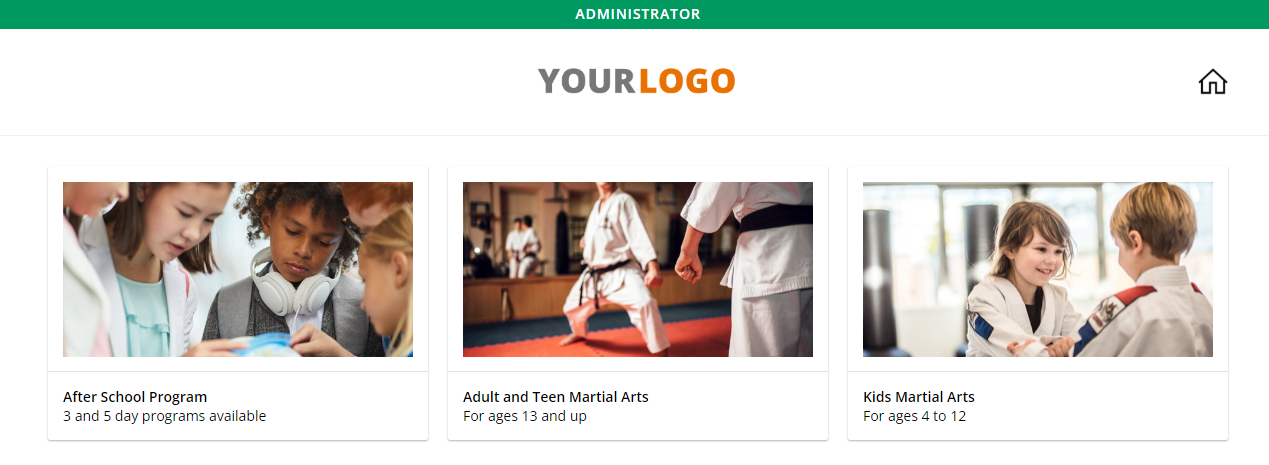
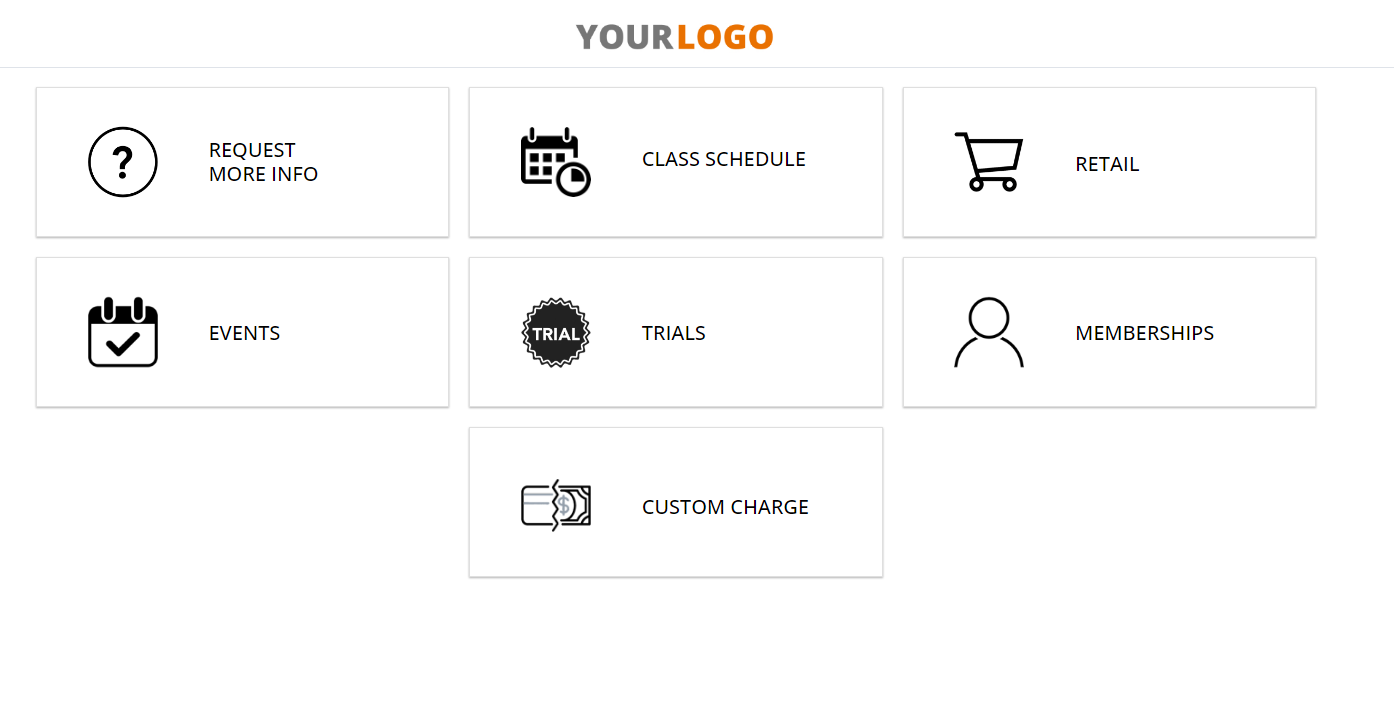
Both the staff and public POS have generally the same setup. Each allows registration or transactions to occur for the items you selected in settings.
Request more info
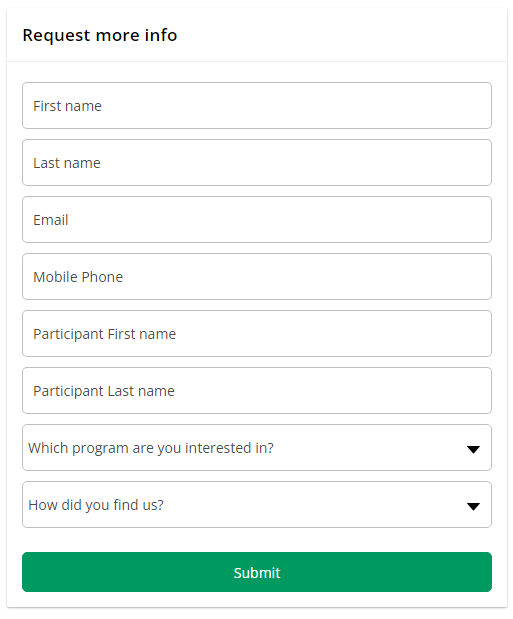
“Request more info” is the lead capture form. Here, potential customers will fill out their contact info to receive more information about the program they’re interested in or to get general info about your studio.
Class schedule
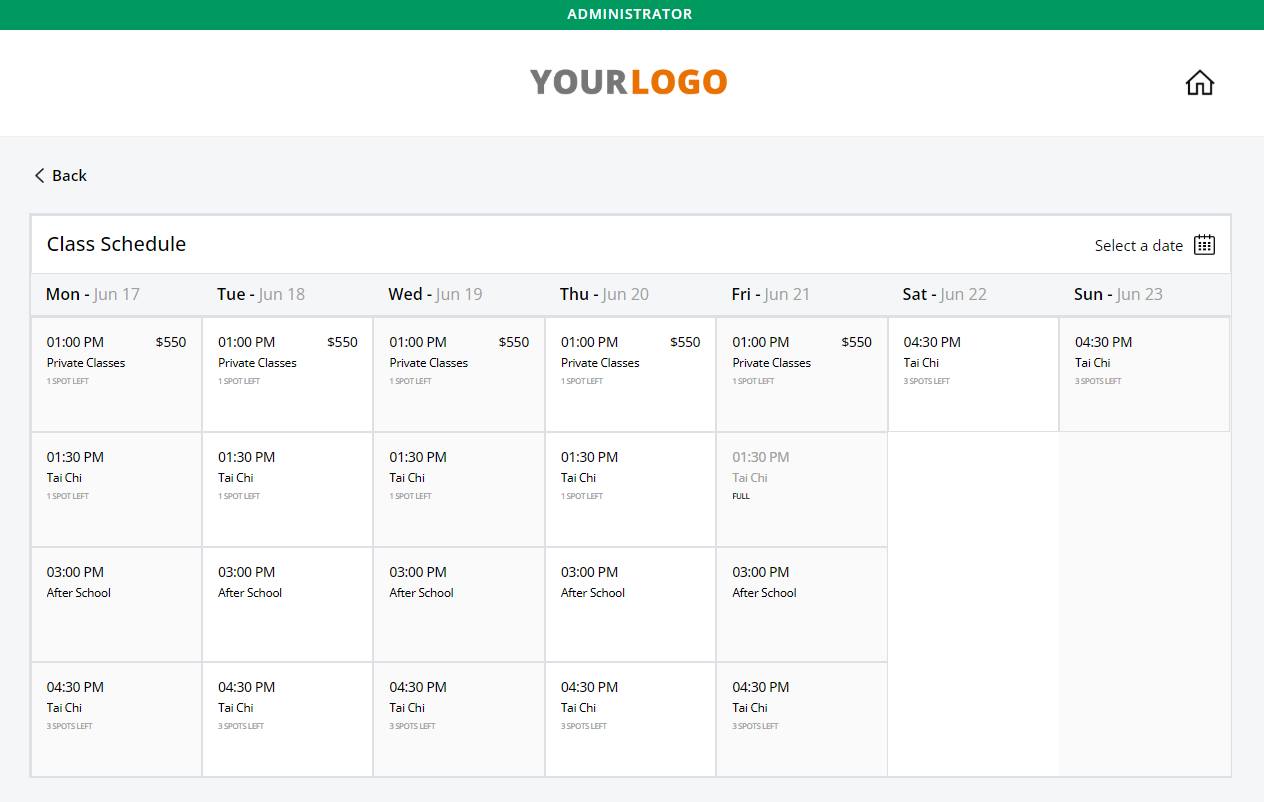
First select to view all classes, or see the options for a specific class. You will then choose the desired class time and proceed with registration.
If you are in the public point of sale and are trying to register for a class with registration restrictions, you will need to login to the member app or open the staff point of sale instead.
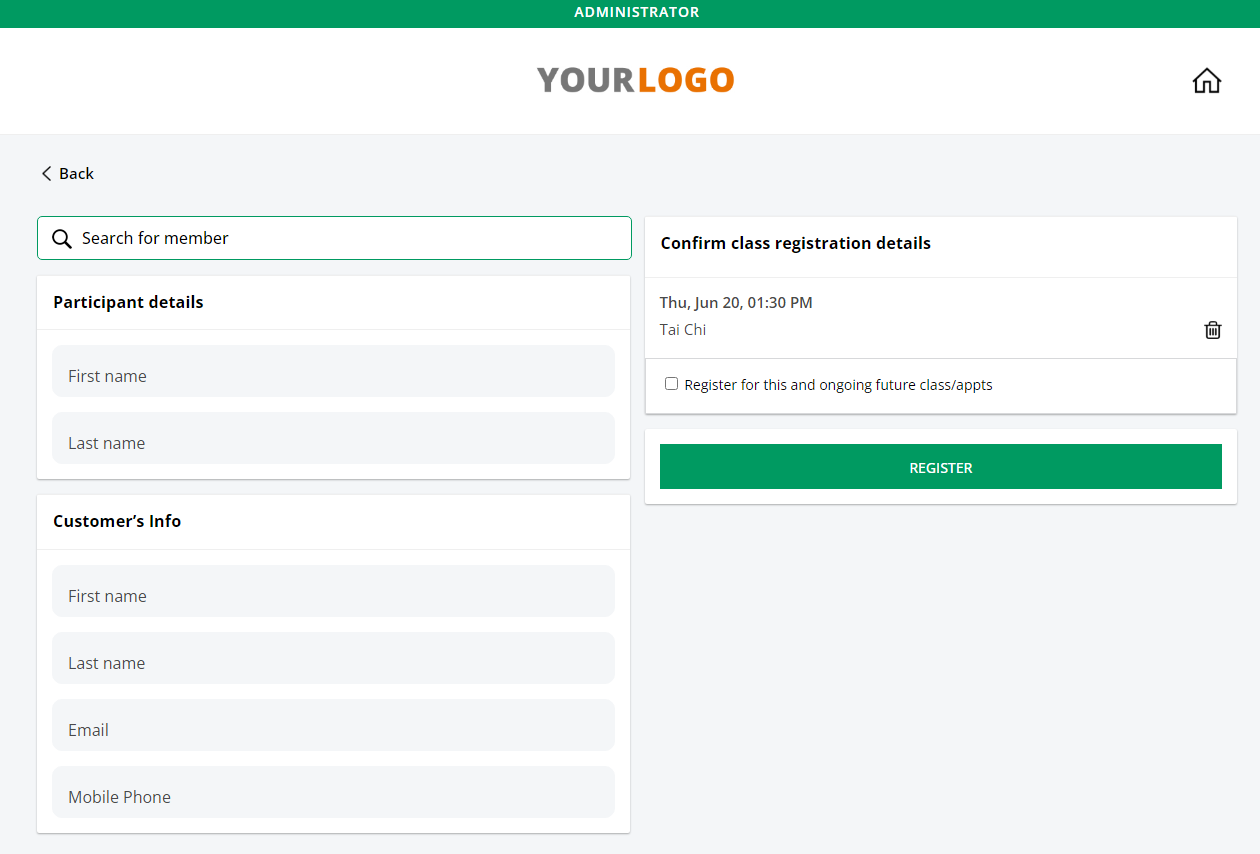
The items required for class registration include:
- Participant first name
- Participant last name
- Buyer first name
- Buyer last name
- Buyer email
- Buyer mobile phone number
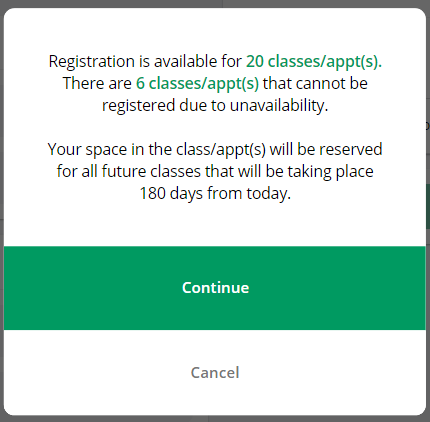
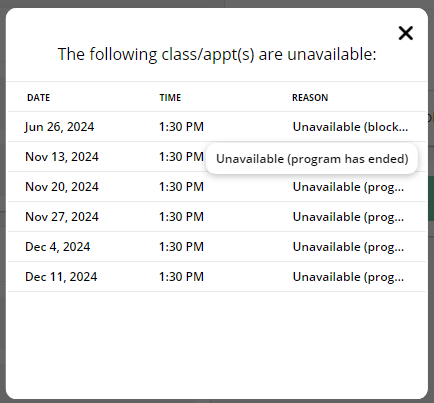
If you register for ongoing class/appts and there are some future dates that could not be registered for, you will see a breakdown of which dates were registered and which weren’t.
Discount codes are not available for classes and appointments at this time.
Retail
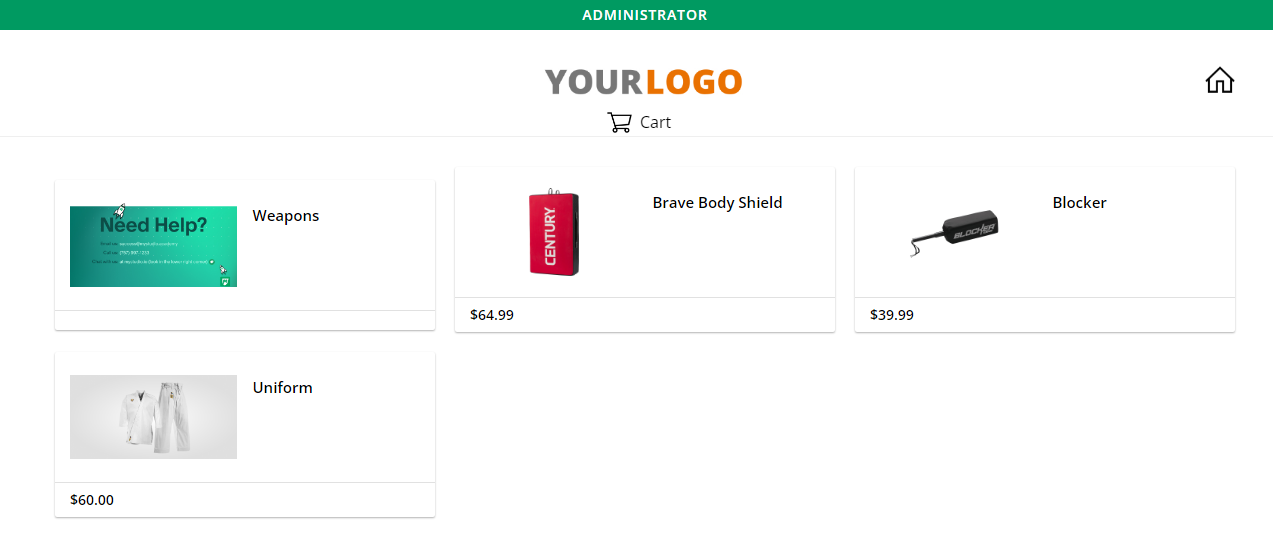
Multiple retail items can be purchased for a buyer at one time, but if you click away from the retail section before completing the purchase, the cart will clear. If the item is shipped via Century Direct, there will be a label above the cost saying so.
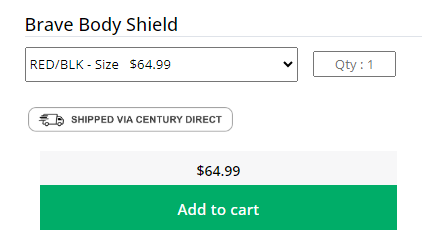
Retail orders are only attached to buyers and not specific participants. Because of this, only the buyer details including name, contact, and address are needed to make the purchase.
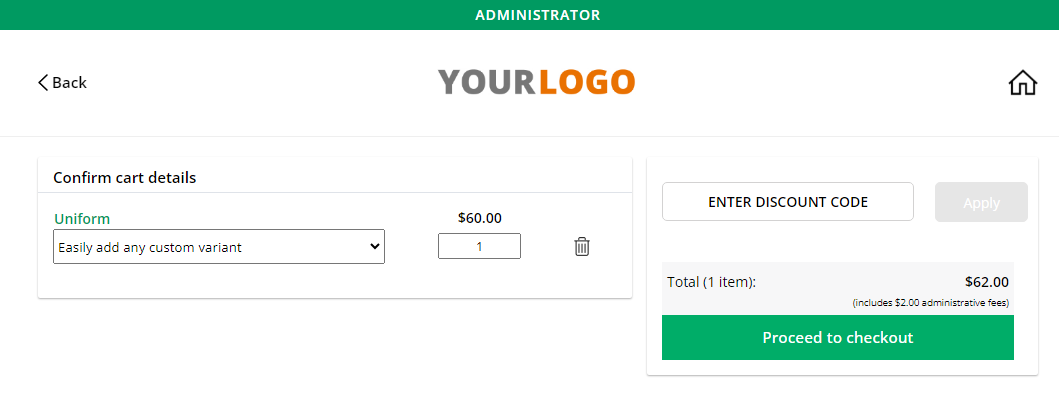
Discount codes can be entered during the first page of checkout where you confirm cart details.
Events
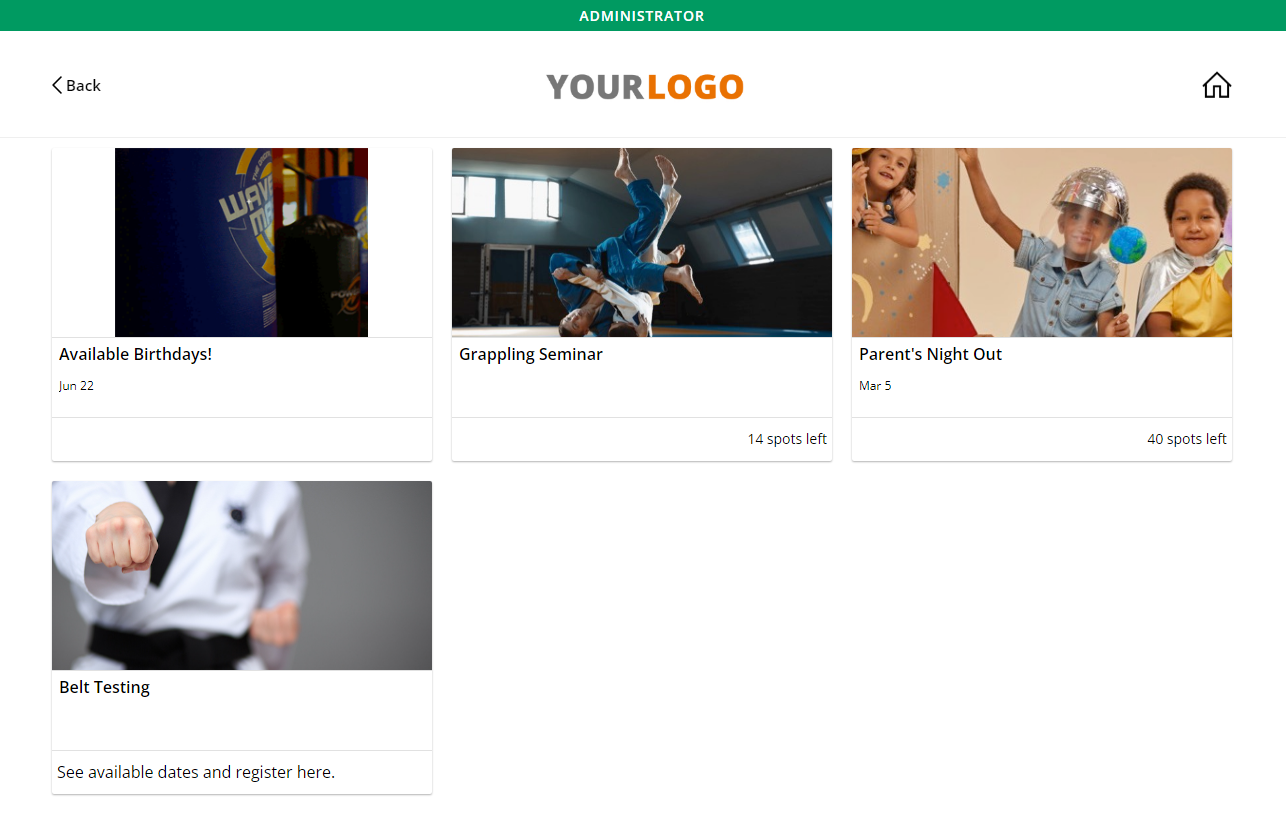
Multiple events can be purchased for a buyer at one time. The cart will save if you click away from it.
Discount codes are applied during the add-to-cart phase.
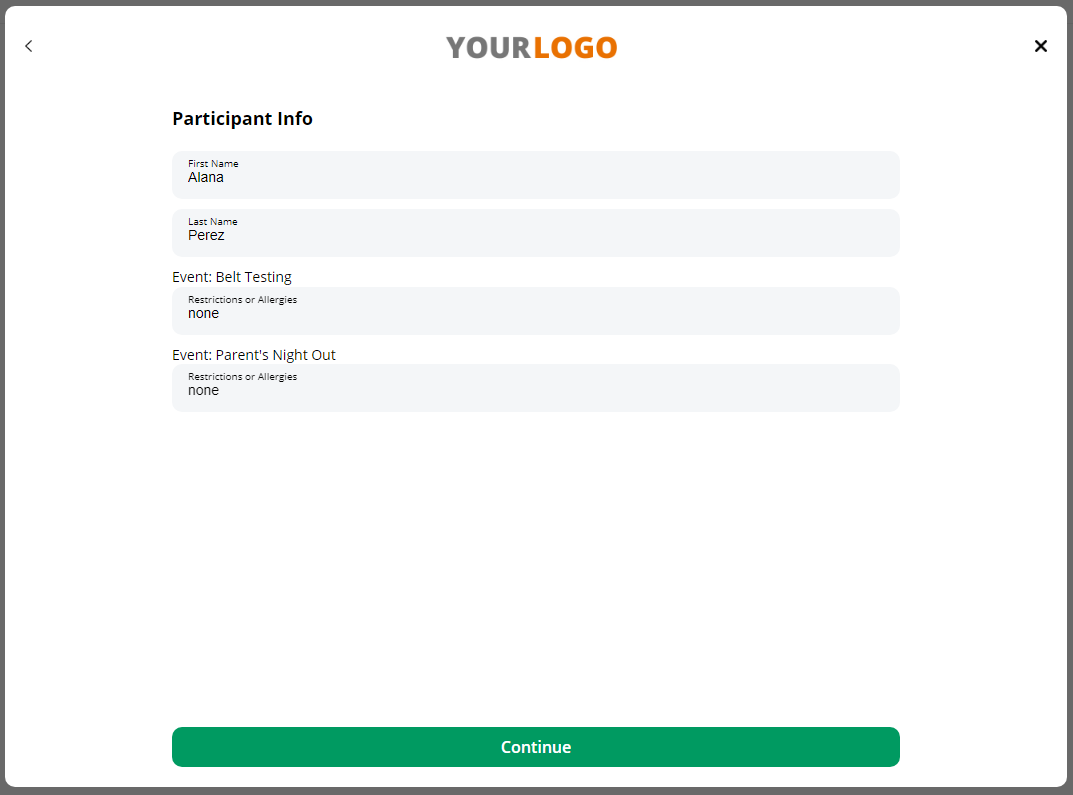
The items required for event registration include:
- Participant first name
- Participant last name
- Participant restrictions or allergies (if selected as required)
- Buyer first name
- Buyer last name
- Buyer email
- Buyer mobile phone number
- Buyer address
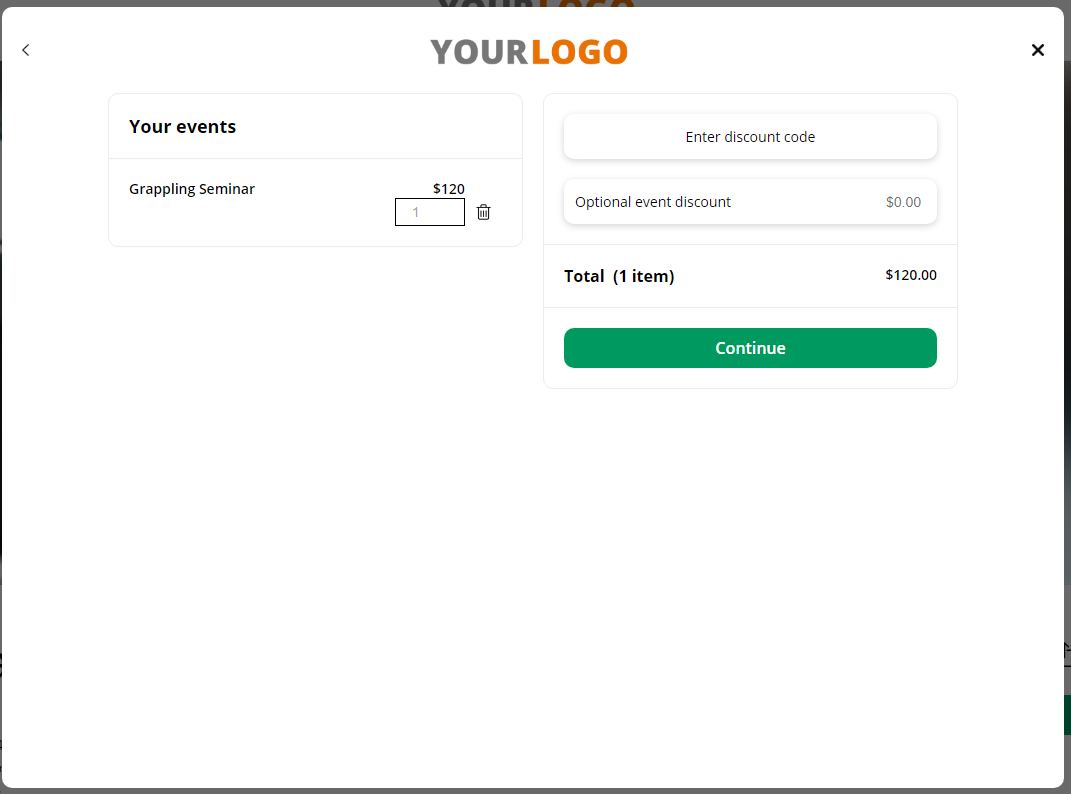
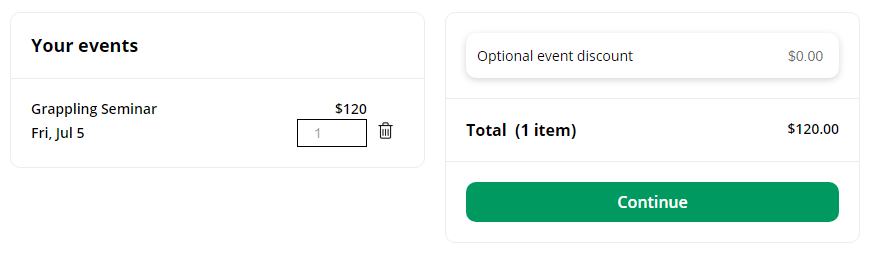
You can delete any events before checkout on the cart summary page by clicking on the trash can next to the event.
You can also edit the quantity of an event (if allowed) or enter a discount code by clicking on the event title.
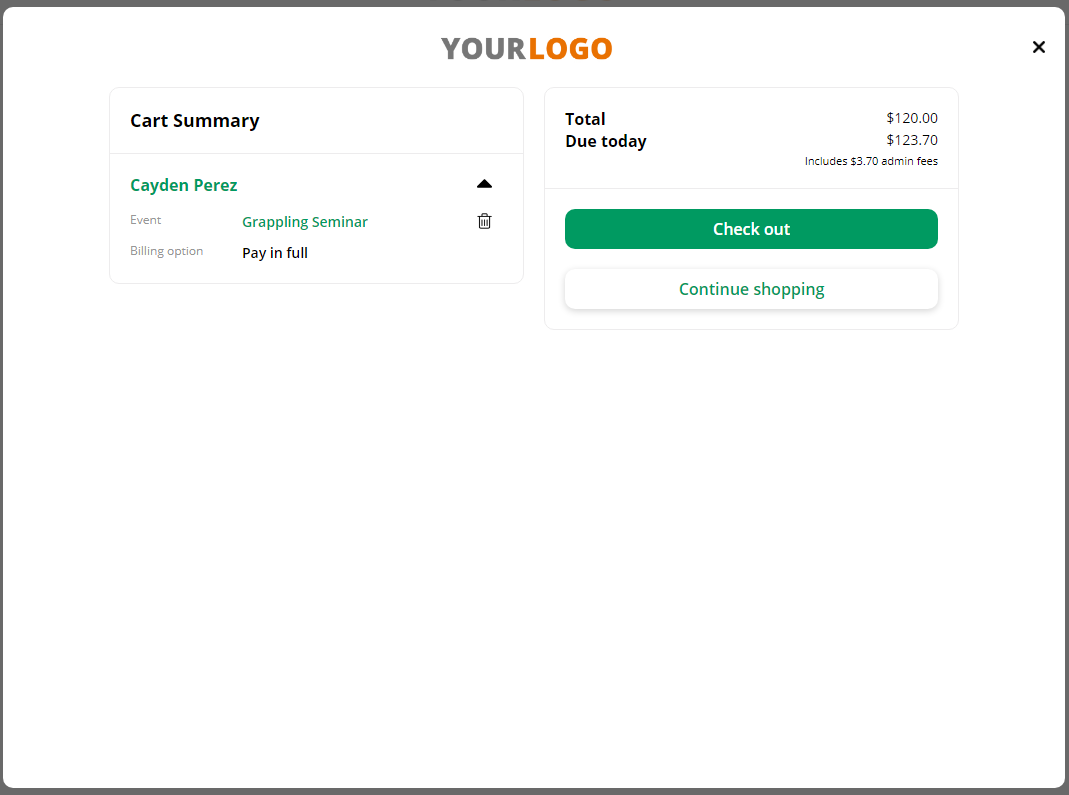
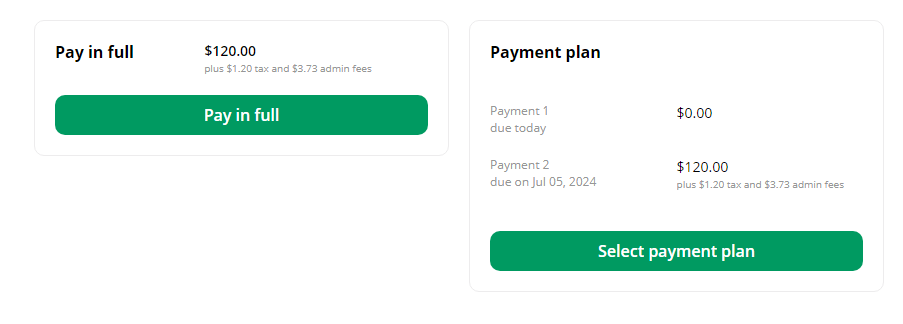
If the event has an option for a payment plan, you can quickly change the billing option as well by clicking on the billing option. This will show as green if editable.
Since you can register multiple participants under the same buyer for multiple events during a single transaction, you can click “continue shopping” to add more events to your cart. Your cart will save if you click away.

When multiple participants are added to the cart, they and their registrations will be listed separately on the verification page.
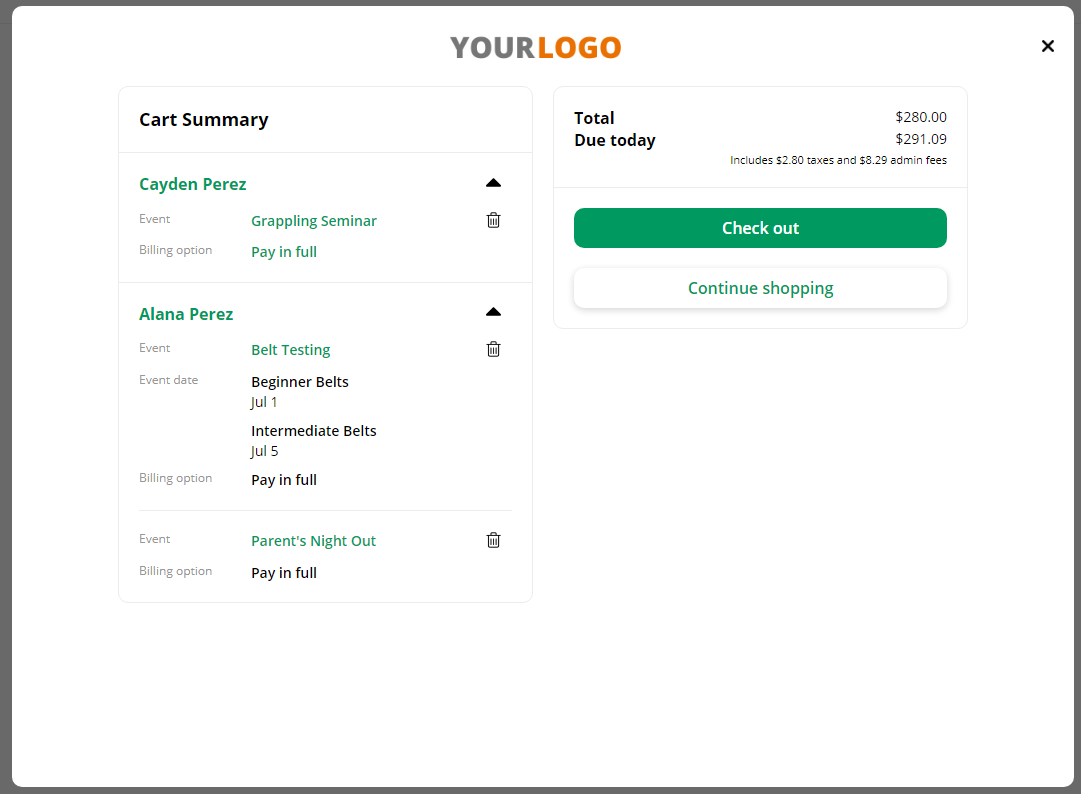
If a participant registers for multiple event dates in an event, these dates will be listed together under the associated event.
Clicking on the participant’s name will allow you to edit the name and registrations fields for each event they are registering for.
Trials
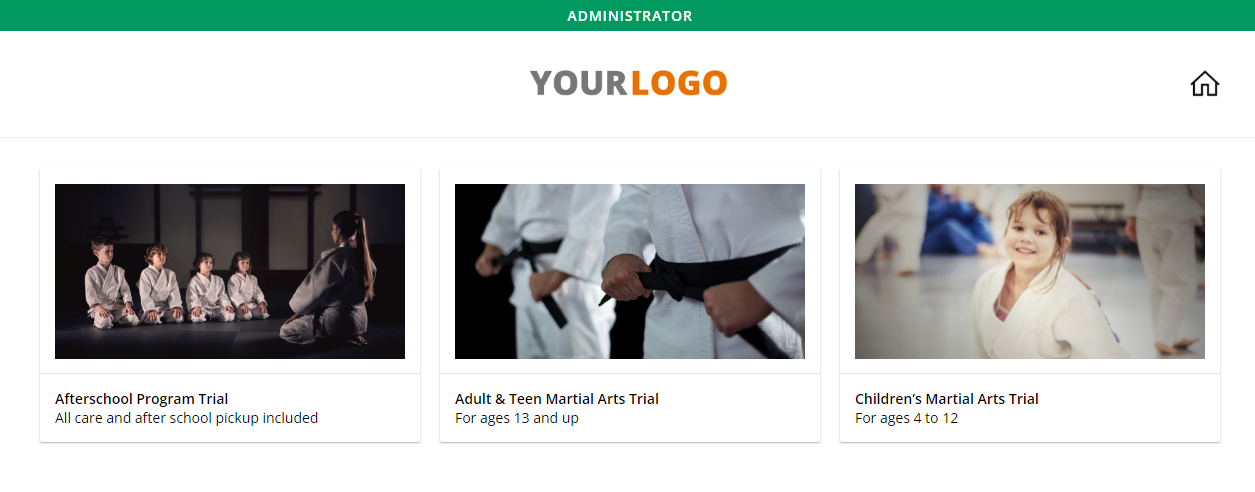
Clicking on a trial will display further information.
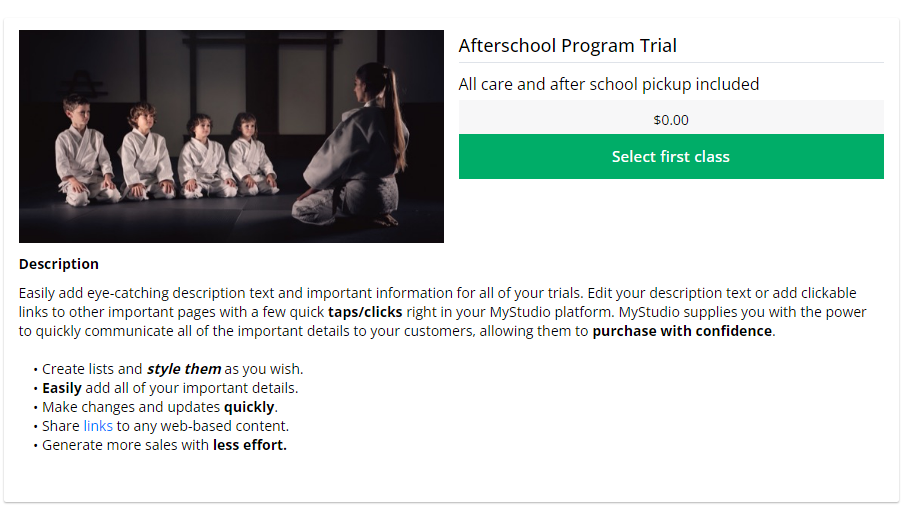
Select trial class, start date, or nothing depending on the trial setup in services and products. During checkout, you will also be able to see registration details for the trial start and end date. You will also enter any discount codes here.
Memberships
Clicking on a membership will show further information.
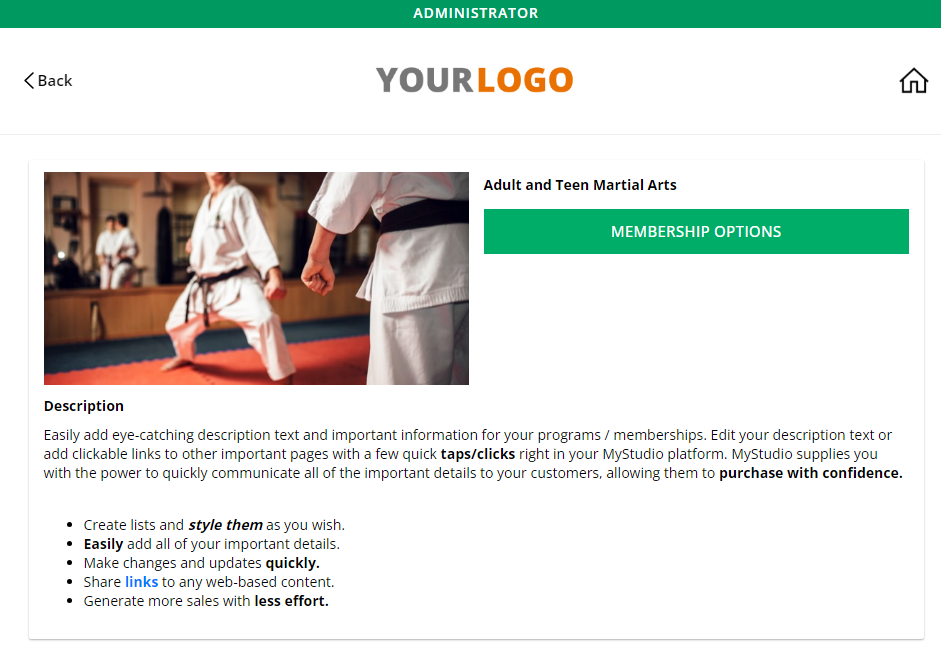
Selecting a membership option will also show further information.
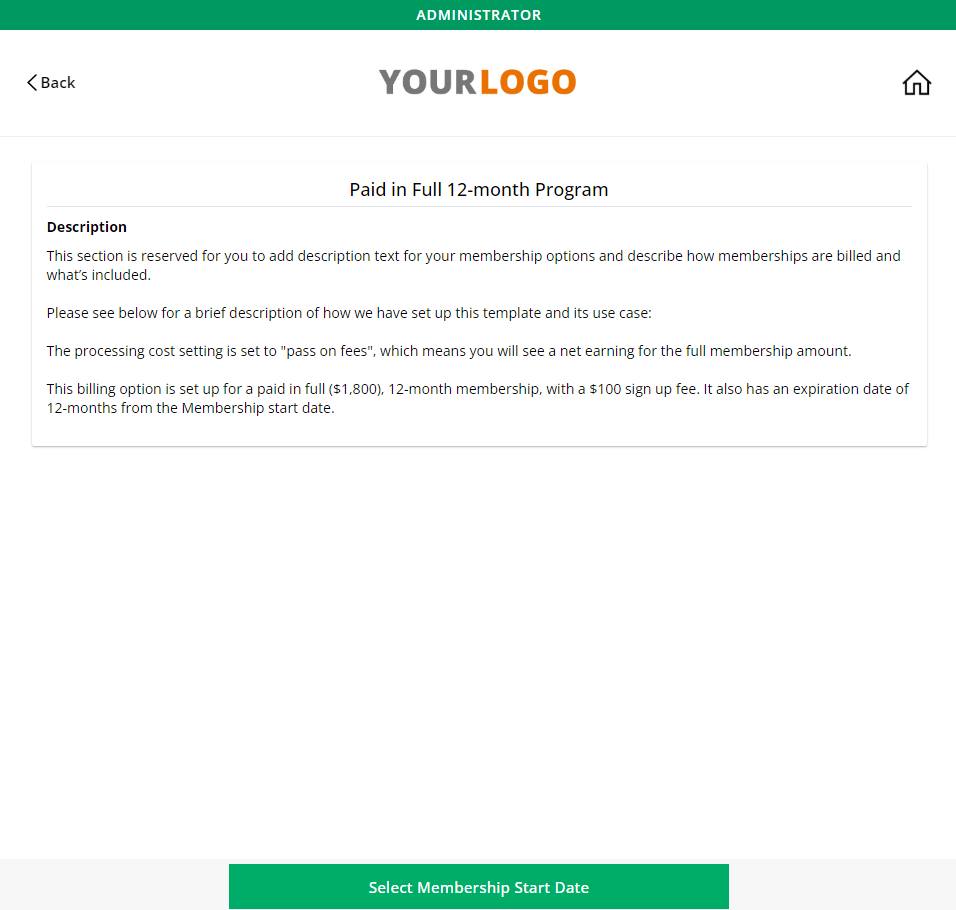
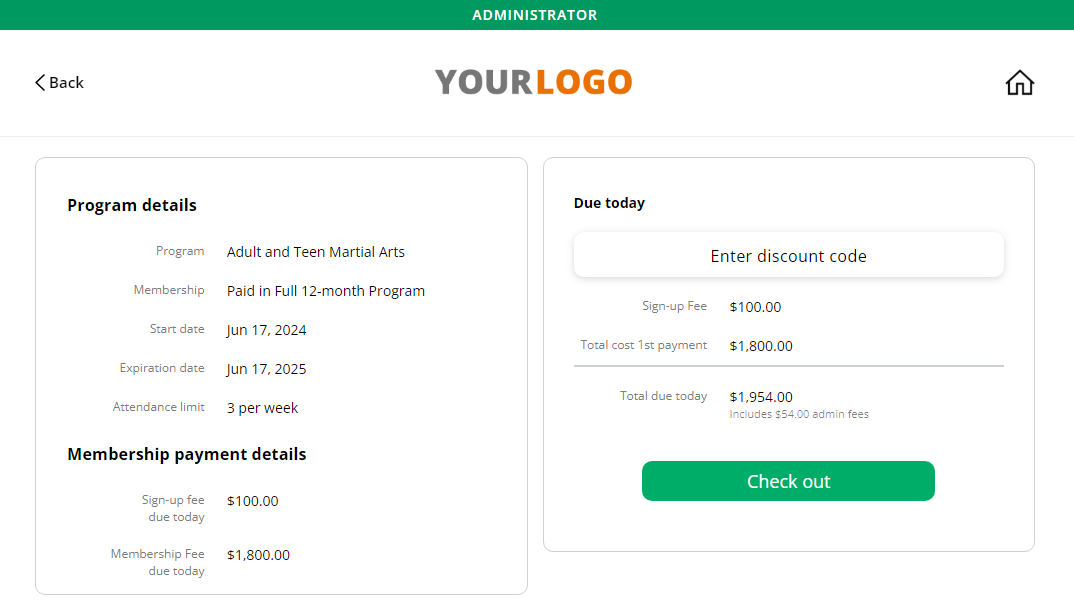
Once you select a start date, the program details page will show you a breakdown of the program including start and end date, sign up fee, and payment plan (if any). You will also enter any discount codes on this screen.
Custom charge
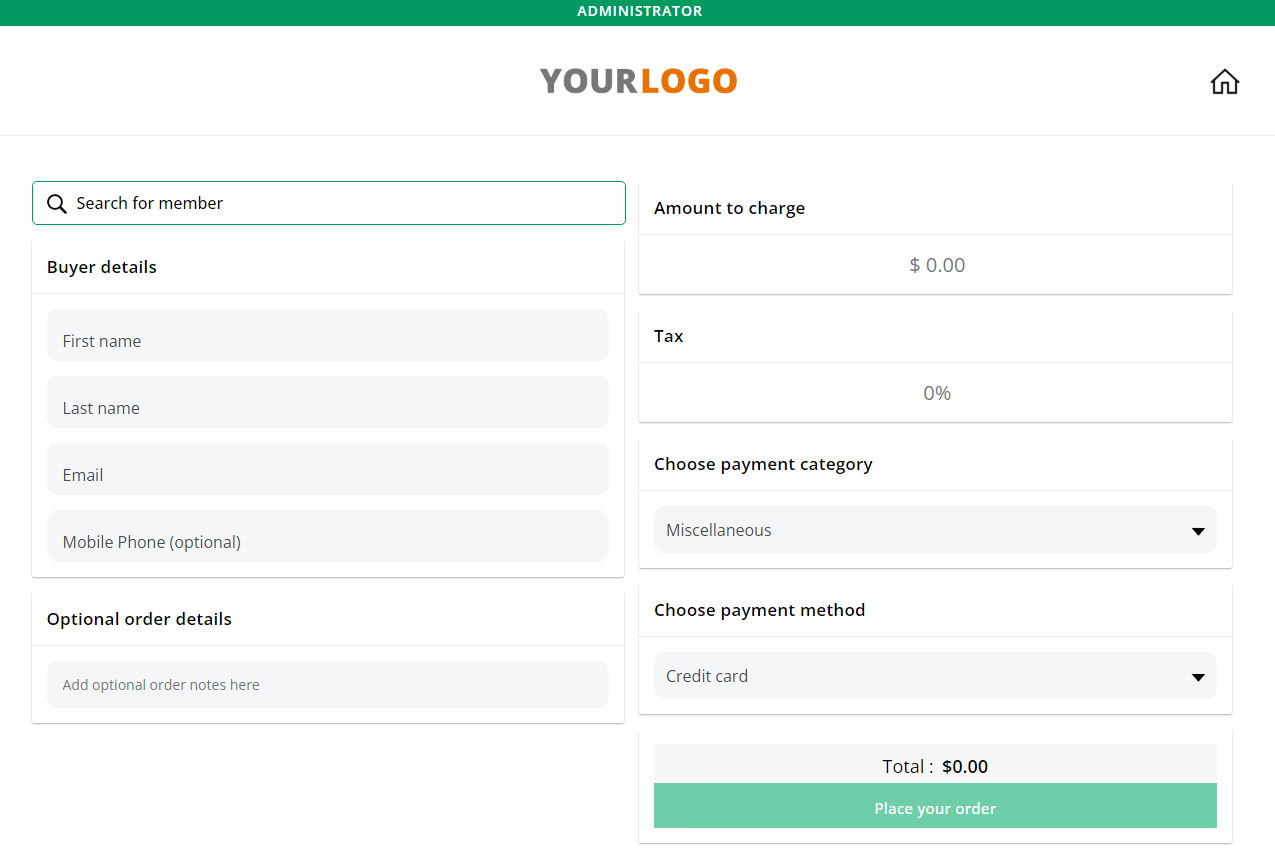
Custom charges, also known as miscellaneous charges, allow you to enter various additional payments for different categories. On this page, enter the buyer details and then enter the following:
- Order details: This is an optional field containing notes about the transaction.
- Amount to charge: This must be at least $1 for credit card or ACH bank transfer purchases.
- Tax: This can only go up to 2 decimal places
- Payment category: You can assign the payment to a category if you would like.
- Payment method
Staff POS
The staff POS should be used by you or your staff members (managers or admin). It should not be used by other customers because it allows you to search for a participant or buyer and pulls up their contact and payment information. The staff POS contains all transaction types that are turned on from the settings. However, it does have some major differences compared to the public POS.
1. The staff POS has a custom payment plan option for on-the-spot membership creation.
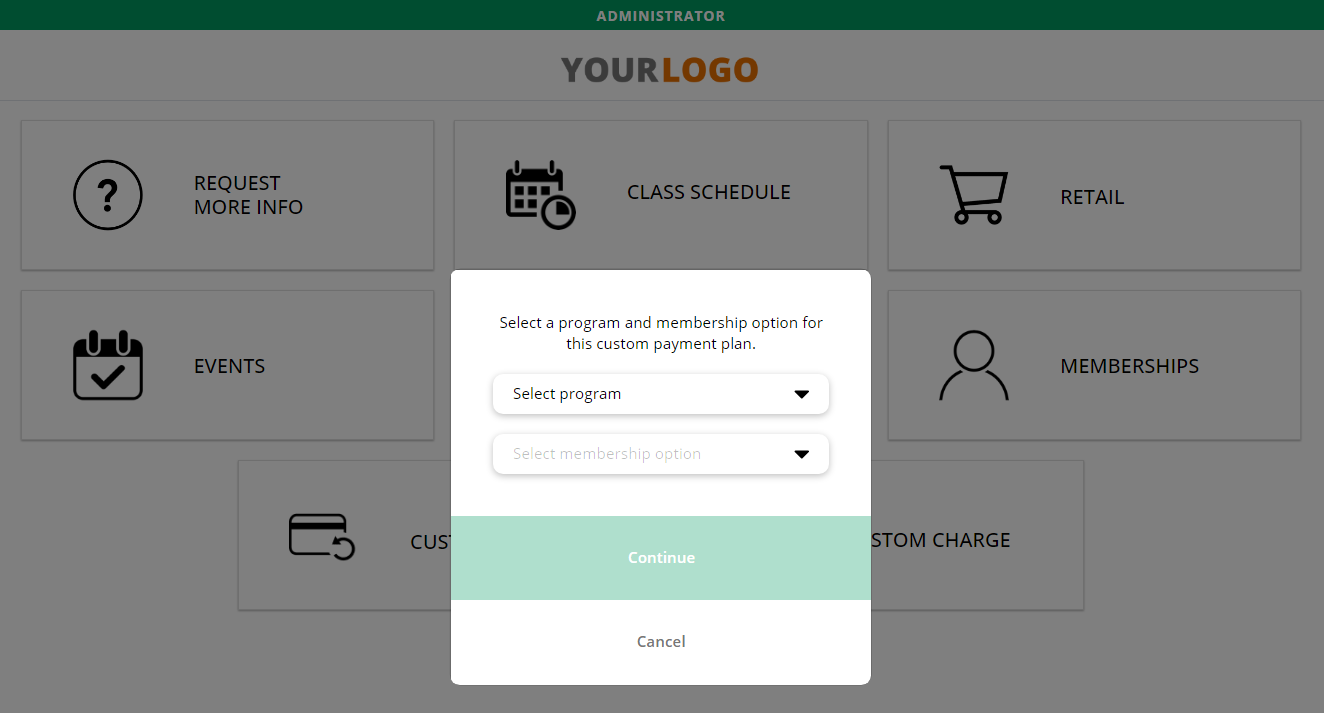
To create this, go into your staff POS and select “custom payment plan.” Then go through the following steps:
- Select program and membership option: this is by name only. It will count towards that program registration in the analytics section.
- Select a payment structure:
- Open enrollment: continues forever until manually cancelled
- Custom: has a set end date
- Specific start and end date: has a specific start and end date
- Class packages: allows registration and attendance for a specific number of classes
You will then need to go through different steps that vary according to the payment structure you selected. Some of these include:
- Start date: enter the start date
- Billing option: if you did NOT choose open enrollment, you will need to select whether the option is paid in full or has a payment plan
- End date: if you did NOT choose open enrollment, you will need to enter an end date
There are other settings that are specific to the membership option. For a thorough breakdown of these different settings, please check out our article here: Programs.
2. You can search for buyers and participants during check out.

Once you go through the registration selection process and you enter the check out page, you can enter the participant and buyer information. However, the staff POS also allows you to search for an existing buyer and participant. Simply begin searching for the member’s name in the search bar and make your selection.
The member’s information will automatically load into the appropriate fields as long as they’ve entered the information before. Any credit cards on file or added bank accounts will be listed as options for the payment method. You can also add new payment information.
3. Add manual discounts towards a transaction or registration.
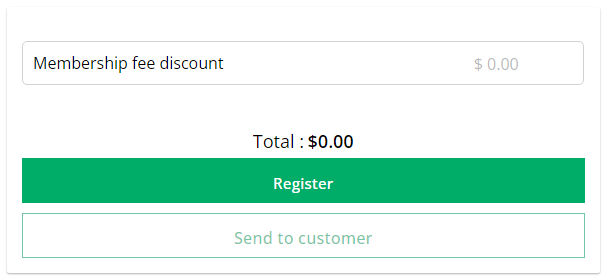
At the checkout screen, there will be an option to provide a discount towards the registration or transaction. This is a manually entered discount that differs from any discount codes created. Only admin accounts will have this option in the staff POS.
Note: If a discount is applied towards a membership with a payment plan, the discount will also be applied to every payment afterwards. So if the membership is normally $50 per month and you put a manual discount of $10, the new amount will be $40 per month.
4. The staff POS will display private items.
If you selected any programs, membership options, events, or event dates as private in order to hide them from the general public, these options will still display in the staff POS.
5. The staff POS can override some class registration restrictions.
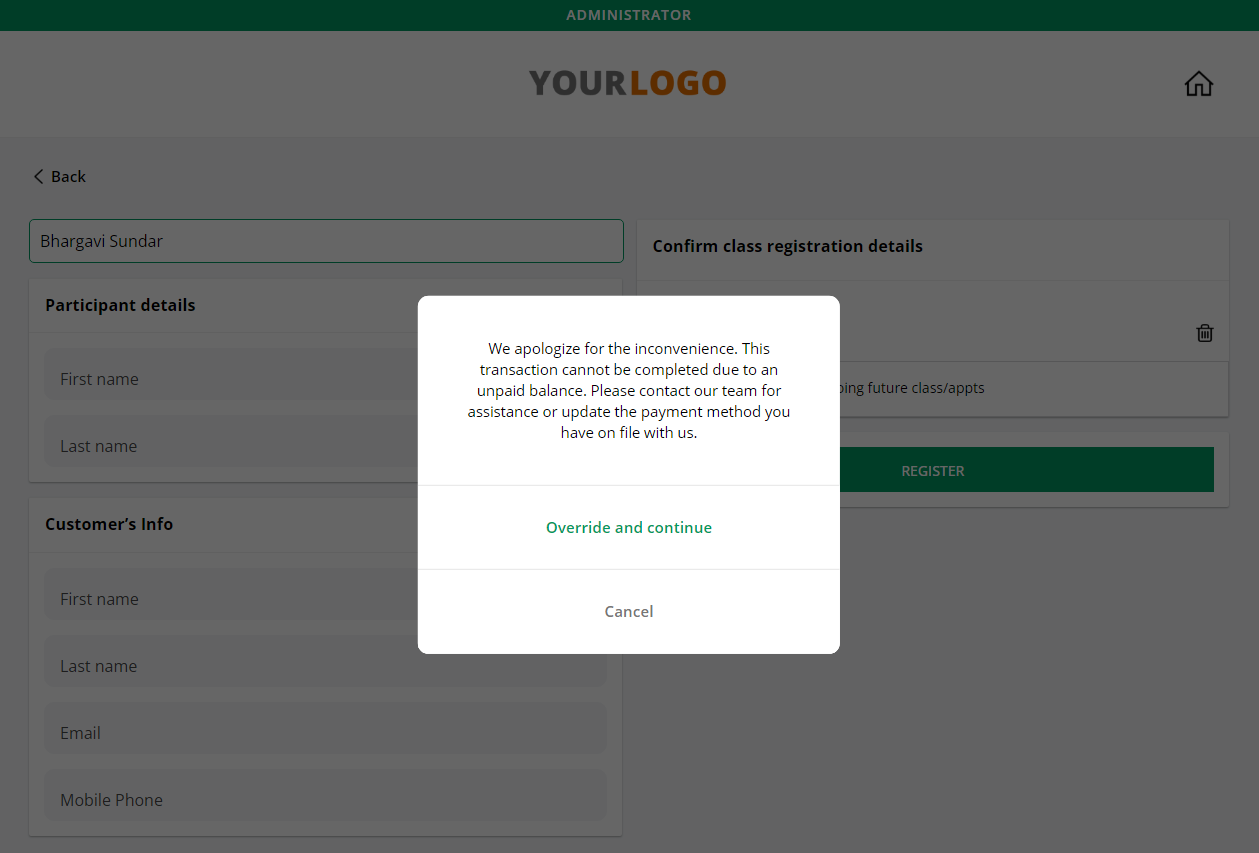
Compared to the public point of sale, the staff POS can override certain class registration restrictions. This includes registering a participant who has a past due balance or if they have reached their attendance limits.
Note: In the case of override, participants will not be able to register for ongoing classes.
Public POS
The public point of sale is great for in-studio kiosks. Customers can use this to make registrations or purchases all on their own.