
Table of contents
Permissions and accessibility
Staff access:
- Admin
- Full access
- Manager
- Full access
- Staff
- No access
MyStudio plan restrictions:
- None
Settings
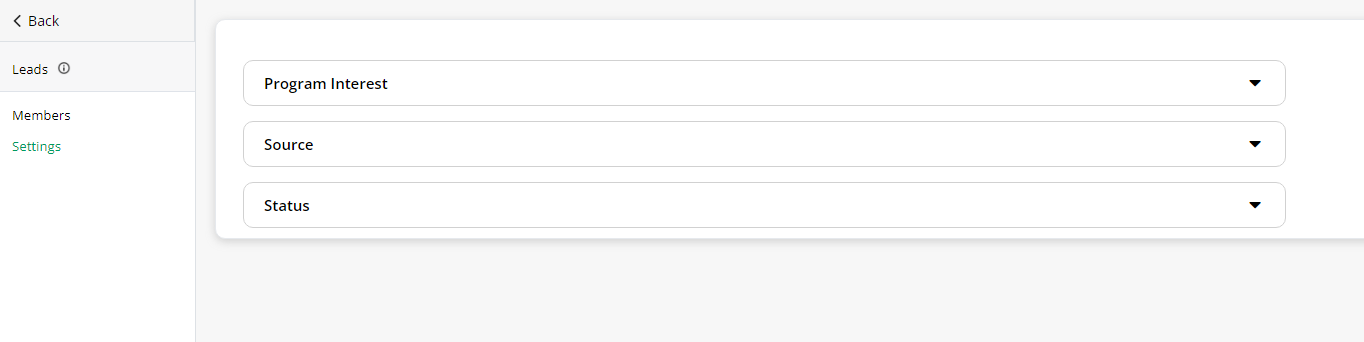
Program interest

The program interest is a list of your offerings that leads could be interested in receiving more information. You will need to add these for selection, otherwise the only option will be “not specified.” In all customers > leads > settings > program interest, click “add new field” to add an option for selection. You can rearrange these custom options by clicking and dragging from the dots, and you can delete or edit the custom options at any time.
Source
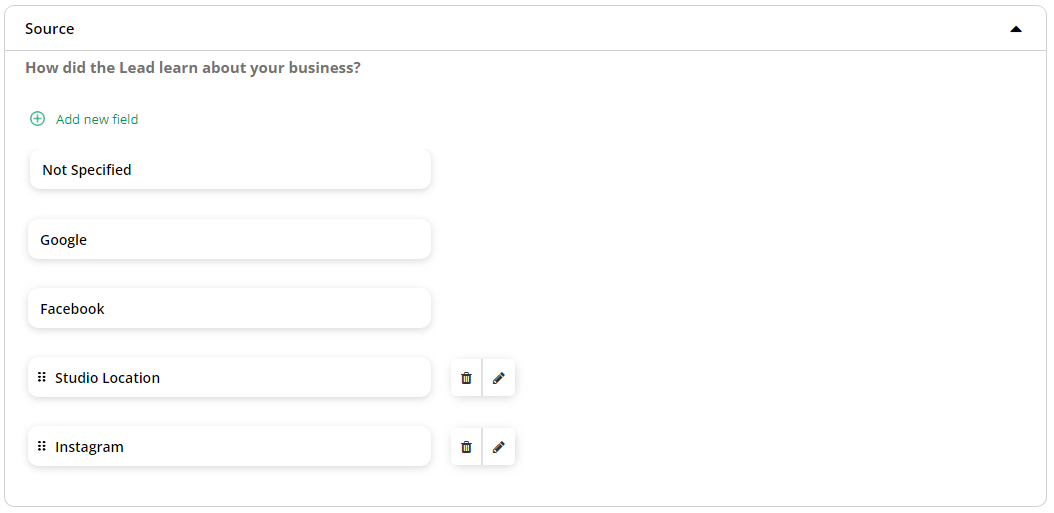
The source section is the list of options for how the leads heard about your business. The default options will be “not specified,” “Google” (Google ads), and “Facebook” (Facebook pixel). To add custom options for sources, click “add new field.” You can rearrange the custom options by clicking and dragging the dots, and you can edit or delete the custom options at any time.
Status
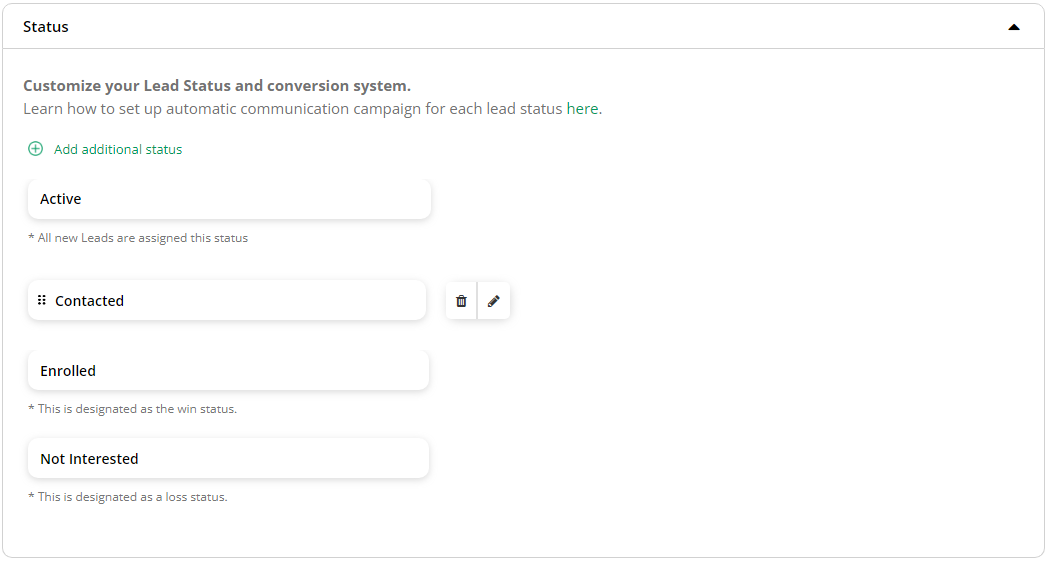
The statuses of leads are important for you to know accurate conversion rates. We have three default statuses that cannot be deleted.
- Active: all new leads and active leads who haven’t enrolled or canceled
- Enrolled: this counts as a win for your conversion rates. These are leads who have registered for trials or memberships
- Not interested: this counts as a loss for your conversion rates. These are leads who have decided they are not interested in your business
You can add custom statuses by clicking “add additional status.” Custom statuses can cover various steps in your lead to trial funnel. Custom statuses count, essentially, like specialized active statuses.
These settings are important to set up first so that you get accurate data around your leads and can customize lead automations for specific statuses, program interests, etc.
Import leads
Though you can get leads into your system through the point of sales, your website, Zapier, etc, you can also import leads directly into your system. To do so, go to all customers > leads > and click add / import new lead above the table.
Choose between adding leads individually or importing a list.
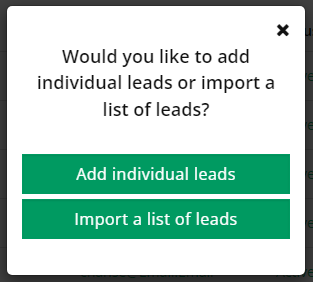
Add individual leads
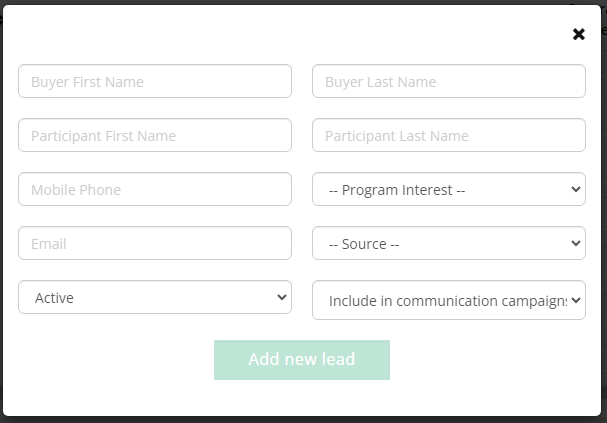
If you choose to add leads individually, you will need to fill out the following info:
- Buyer first name: required
- Buyer last name: optional
- Participant first name: optional. You will not be able to add one to the same listing after
- Participant last name: optional. This can be edited afterward if you have entered a first name
- Mobile phone number: this is optional if you enter an email. This is required if you don’t have an email address.
- Program interest: if nothing is chosen, the default will be “not specified.” This can be edited afterward
- Email: this is optional if you enter a mobile phone number. This is required if you don’t have a mobile phone number.
- Source: if nothing is chosen, the default will be “not specified.” This cannot be edited afterward
- Status
- Communication campaign: if included is selected, the member will be entered into appropriate automations. If excluded is selected, the member will not be entered into appropriate automations.
Import list
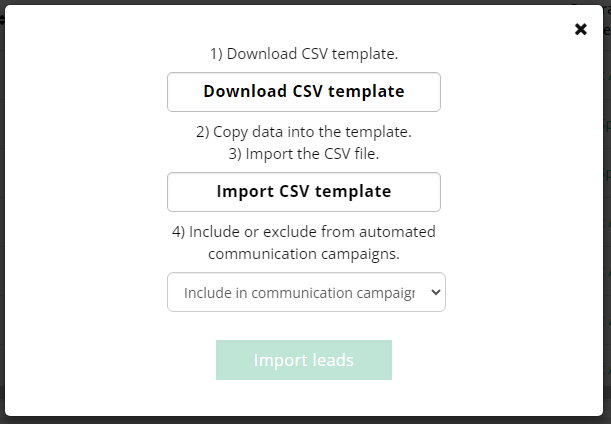
To add more than one lead at a time, select “import a list of leads.” Download the CSV template. Enter the information into the file. The only required fields are:
- Buyer first name
- Mobile phone number: unless you provide an email address
- Email: unless you provide a mobile phone number
The rest of the fields will be auto populated according to the default options. See the individual field list above.
Import the CSV template you filled out and choose whether those members are included in automations or not.
Table
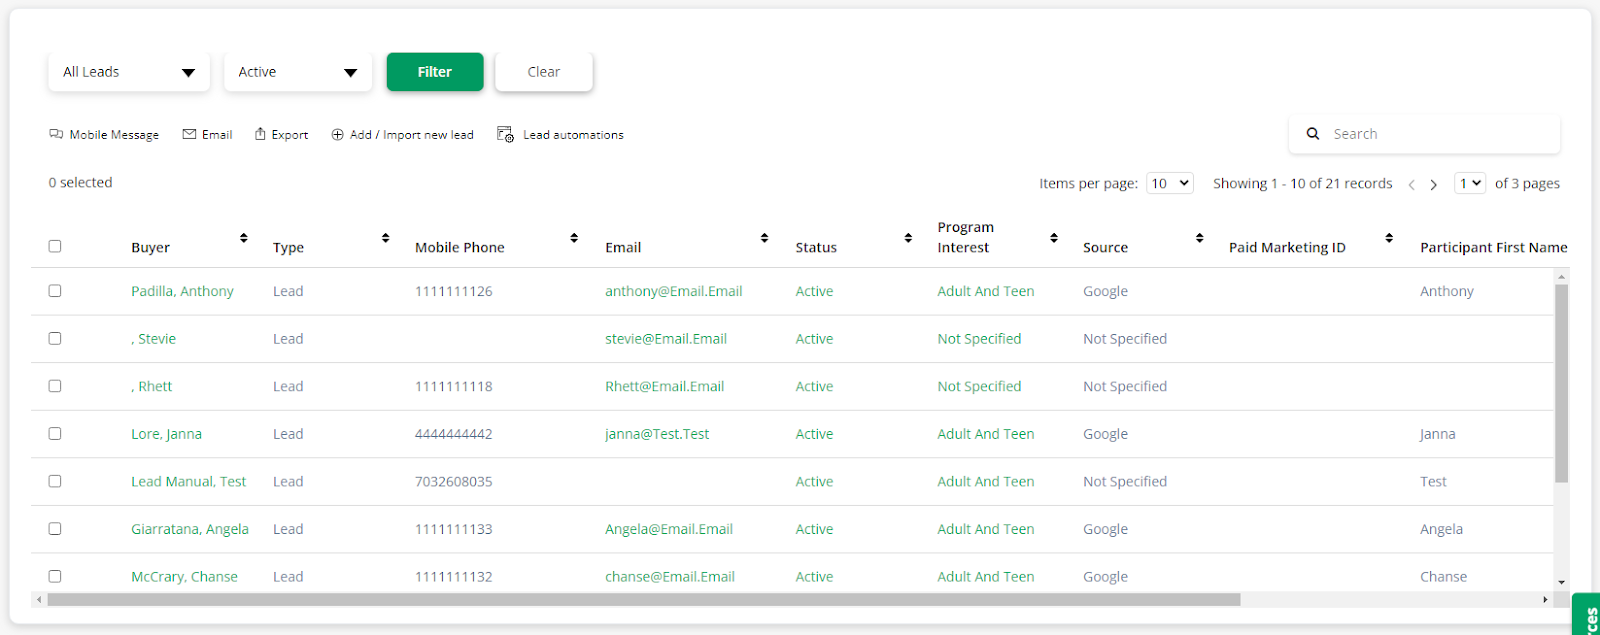
Access your list of leads from all customers > leads. You will see the following information in your leads list:
- Buyer: clicking this will redirect you to the primary customer profile
- Type: lead
- Mobile phone
- Email: clicking this will open the email creation
- Status: clicking this will allow you to change the status
- Program interest: clicking this will allow you to edit the program interest
- Source
- Paid marketing ID: when the source is Google ad or Facebook ad
- Participant first name
- Participant last name
- Opt in date: the date the lead was entered into the system
Above the table you have the following available actions:
- Mobile message
- Export
- Add / import new lead
- Lead automations: this will redirect you to the lead automation templates
- Delete: this will only appear if only one lead is selected
Above the actions, you have a couple filter options:
- All leads or “opt-in date”: if you choose to filter by opt-in date, you will enter the date range
- Filter by specific status(es)