Table of contents
- Permissions and accessibility
-
What is the difference between a participant and a customer / primary customer?
-
Adding custom information such as emergency contact or allergies to a participant’s profile
- How to send communications to participant’s list
- Getting QR code for V2 attendance portal
-
Editing the status of a participant’s program/trial/event registration
Permissions and accessibility
Staff access:
- Admin
- Full Access
- Manager
- Full Access
- Staff
- No Access
MyStudio plan restrictions:
- None
Accessing the list of participants
To access a list of your participants:
- Log into MyStudio.
- Go to all customers.
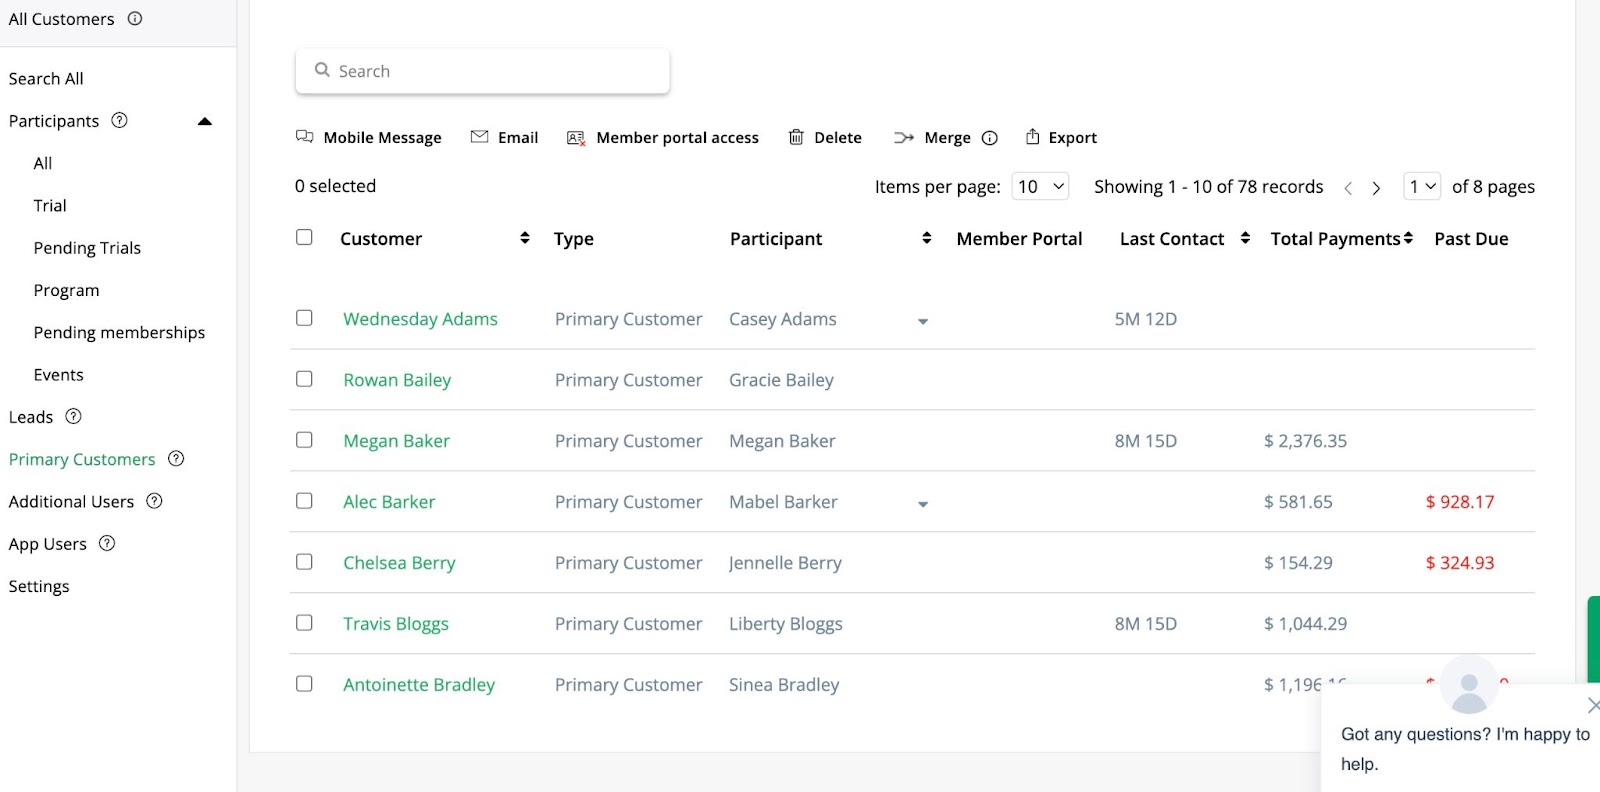
- Click “all” under the participants category.
This table will show you all the participant profiles in your system regardless of their registrations or status.
Here is a picture of what you are looking for:

What is a participant?
A participant is the student or customer utilizing your services.
What is the difference between a participant and a customer / primary customer?
A participant is the student or customer utilizing your services and attending classes and events. A primary customer (customer) is the individual paying for the services. Sometimes the primary customer can also be the participant, such as if your studio offers adult martial arts classes. However, in this case, there will still be two profiles for the individual, one for their information and payment records, and one for their registrations.
Adding custom information such as emergency contact or allergies to a participant’s profile
- To add custom fields to a participant profile:
- Login to MyStudio.
- Go to all customers.
- Click “settings” in the left submenu.
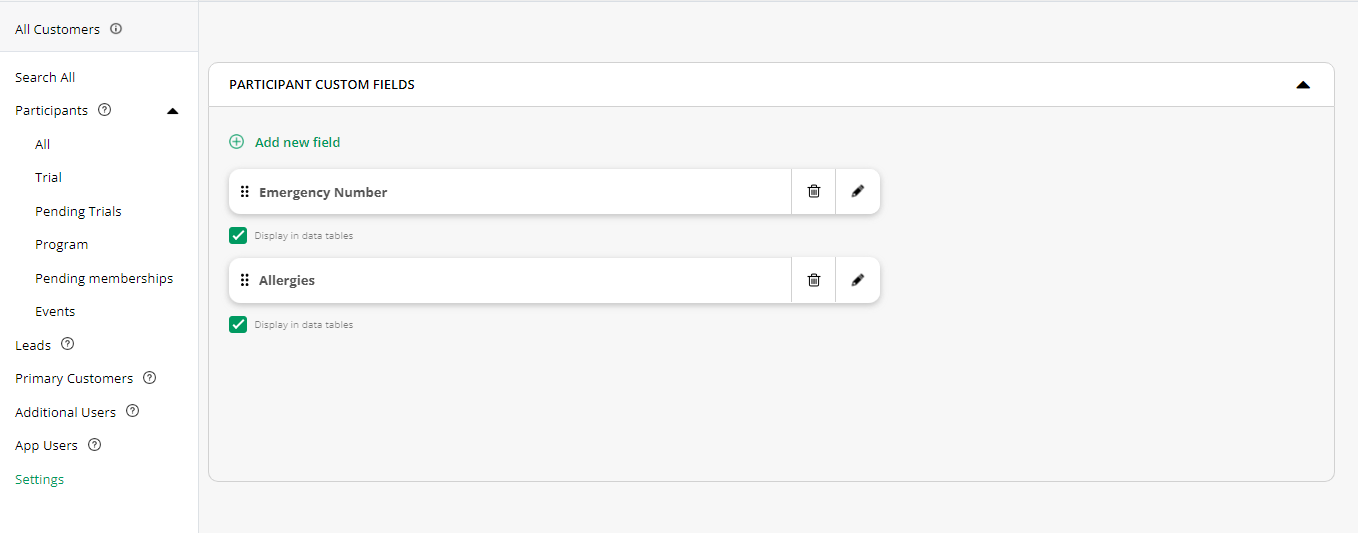
- Click “add new field” to add a custom information column for participants.
These can be edited or deleted by clicking the pencil or trash icon next to the listed field. You can also choose to display the information in the table by checking the “display in data tables” option. If this is unchecked, the information will only show within the participant profile.
Here is a picture of what this page looks like:
Once you’ve added the field, add the information to a participant by:
- Go to all customers > all participants.
- Click the participant name to access the profile.
- Click on the “custom fields” subsection on the left.
- Add the information to the fields.
How to send communications to participant’s list
To send communications to your entire participant’s list:
- Login to MyStudio.
- Go to all customers > all participants.
- Check the box next to some or all of the participants
- Click email or mobile message above the table to send communications
If you only need to send communications to one participant, you can click on a participant’s name to access their profile and click the email or mobile message icon below their name on the left.
Getting QR code for V2 attendance portal
The QR code in the participant profile can be used for the V2 attendance portal located at this URL: https://app.mystudio.io/attendance-portal/login. To get the participant’s QR code:
- Go to all customers > all participants.
- Click on the participant’s name to access their profile.
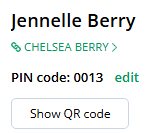
- Locate and click the “show QR code” button under the name on the left.
- This will open the QR code that you can export and send to participants.
Participants can also access the QR code through the member app. Here are pictures of what to look for:
|
|
|


Getting PIN code for V2 attendance portal
The pin code in the participant profile can be used for a later phase of the V2 attendance portal located at this URL: https://app.mystudio.io/attendance-portal/login. To get the participant’s pin code:
- Go to all customers > all participants.
- Click on the participant’s name to access their profile.
- Locate the PIN code under the name on the left.
- If the participant doesn’t already have a PIN code, you will need to “generate PIN code.” This will generate a random code.
You can also edit the PIN code if needed. If the participant doesn’t have an active registration for a year, the PIN code will be inactive and the participant will need to register for something to re-activate it.
Here is a picture of what to look for:
How to add a participant photo
To add a participant photo:
- Go to all customers > all participants.
- Click on the participant name to access their profile.
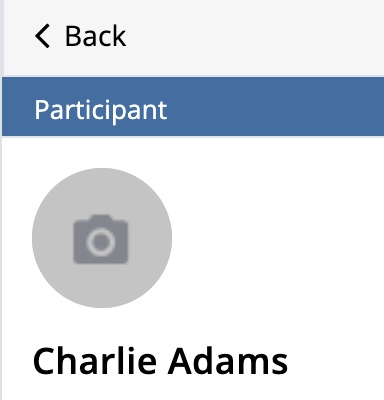
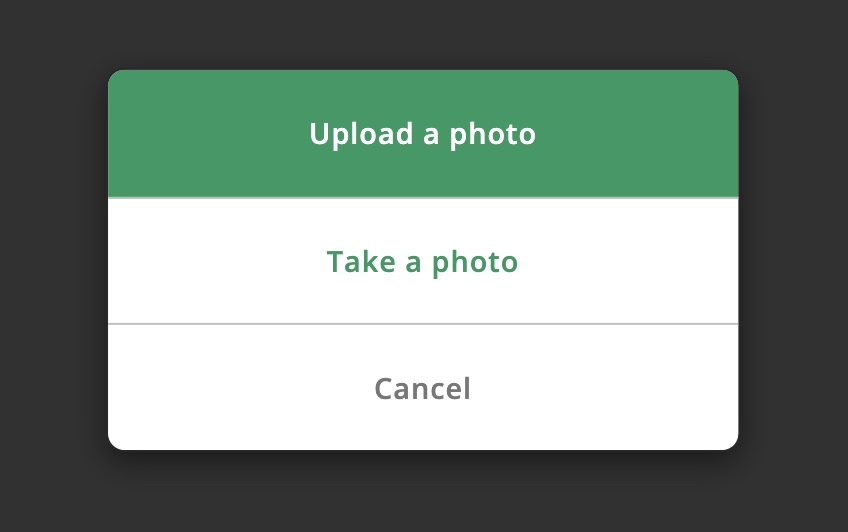
- Click on the photo icon above their name.
- Choose to upload a photo from your device or open the device’s camera to take a photo.
Here are pictures of what to look for:
|
|
|
Note: Currently this can only be done from the control panel. Members are not able to upload their own photos at this time.
How to add a participant to another registration
To add a particular participant to another registration:
- Go to all customers > all participants.
- Click on the participant’s name to access their profile.
- Click the plus button under their name.
- Choose the registration type and follow the prompts.
- You will be redirected to the POS to finish registration.
Here is a picture of what to look for:

Full list of a participant’s registrations
To see a full list of a participant’s registrations:
- Go to all customers > all participants.
- Click on the participant’s name to access their profile.
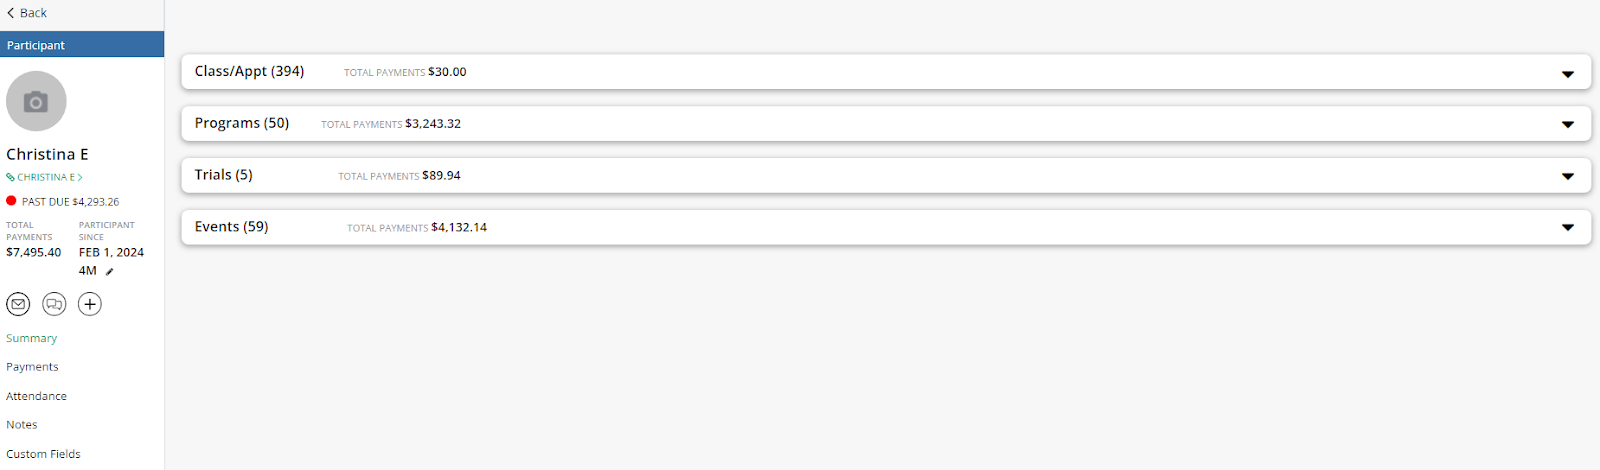
- You will see the participant’s summary section by default. The summary section will show you a list of a participant’s registrations.
- Click the drop down on different registration sections to see full details.
Here is a picture of what to look for:
Full list of a participant’s payments
To see a full list of payments associated with a particular participant:
- Go to all customers > all participants.
- Click on the participant’s name to access their profile.
- Click on the “payments” subsection on the left. This section will show you a list of payments associated with the participant. This includes payment history, past due payments, upcoming payments.
Here is a picture of what to look for:

Full list of a participant’s attendances
To see a full list of a participant’s attendances:
- Go to all customers > all participants.
- Click on a participant’s name to access their profile.
- Click on the “attendance” submenu on the left. This will default to showing you all attendances as well as data on attendances within specific time frames.
You can select specific registrations’ attendances by clicking the drop down above the calendar and selecting a registration. Here is a picture of this section to look for:

Manually adding attendance
If you need to manually add a class attendance for a participant for a previous date:
- Go to all customers > all participants.
- Click on a participant’s name to access their profile.
- Click on the “attendance” submenu on the left.
- Click “log attendance” above the calendar.
- Select the date of the attendance.
- Choose which program or trial registration the attendance counts towards, or choose drop-in to not connect it to a registration.
- Choose to log by a class or by time
- If you choose to log “by a class,” choose the class they attended. If you choose to log “by time,” enter the time.
You can click the trash can next to a listed attendance to delete it. Here is a picture of what to look for:

Differences between our attendance types
There are four types of attendance in our system:
1. Attached to a program, log by class/appointment:
-
- Shows the class name and the program attached to the class registration.
- Counts towards rank requirements and attendance limits (as long as there is class weight in the class setup).
- Shows for “view all” attendances and a specific registration’s attendance.
-
- Shows “attendance by time” and the program attached to the time logged.
- Counts towards rank requirements and attendance limits (as long as there is a class weight in the class setup).
- Shows for “view all” attendances and “drop in” attendances.
-
- Shows the class name and “drop in.”
- Does not count towards rank requirements or attendance limits. The only classes that can be logged for drop in are ones that do not have program requirements to register. These attendances are not attached to programs, so they do not bear any effect on rank or attendance limits.
- Shows for “view all” attendances and “drop in” attendances
-
- Shows “attendance by time” and “drop in”
- Does not count towards rank requirements or attendance limits. The only classes that can be logged for drop in are ones that do not have program requirements to register. These attendances are not attached to programs, so they do not bear any effect on rank or attendance limits
- Shows for “view all” attendances and “drop in” attendances
Tip: If you want the attendance to count towards a rank requirement or attendance limits, the attendance has to be attached to a program or trial.
Participant notes
The participant notes section shows actions towards registrations and other notes. To see these:
- Go to all customers > all participants.
- Click on the participant’s name to access the profile.
- Click on the “notes” submenu on the left.
- You can add a custom note by clicking “add note” at the top.
Scheduled holds and cancellations can be edited or deleted from this section as long as the status hasn’t already changed.
Note: if the participant is already on hold but has a scheduled resume date, you won’t be able to edit this date unless you manually re-activate the member and then put them on hold again.
Editing the status of a participant’s program/trial/event registration
Editing a participant’s program/trial/event registration is done through the registration profiles.
- Go to all customers.
- Select program/trial/event listed under the participant subsection.
- Click on the participant’s name from this section.
- Click the pencil or modify the registration’s status.
Fixing a participant’s birthday
This is currently done through the primary customer profile.
- Go to all customers > primary customers.
- Click on the primary customer’s name to access their profile. It will default to showing you the info subsection.
- Scroll down to the participants list.
- Click the pencil next to the participant that needs a birthday correction.
Here are picture references of what to look for:
|
|
|
|