
Updated: December 9, 2025
Table of contents
Permissions and accessibility
Staff access:
- Admin: Full access
- Manager: No access
- Staff: No access
MyStudio Plan Restrictions:
- None
Adding a resource section
A section is the main category (Example: "White Belt Curriculum"),
To add one:
-
Login to MyStudio V1.
-
Go to
 Sales Channel > Member App / Portal.
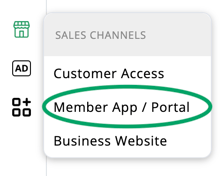
-
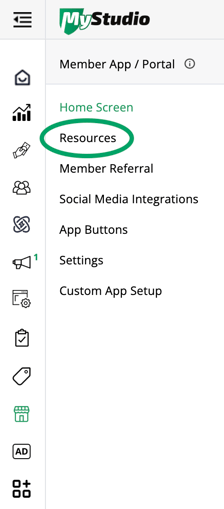
Click on "resources."
-
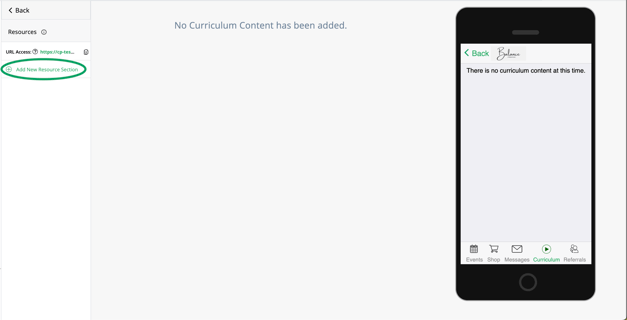
Click on "add new resource section."
-
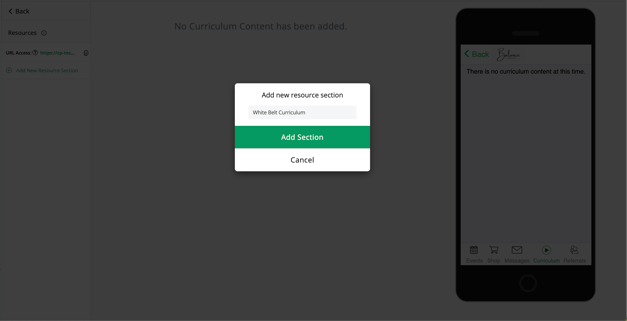
You will be prompted to enter a section name.
-
You will receive a confirmation pop up stating "new resource section added successfully."
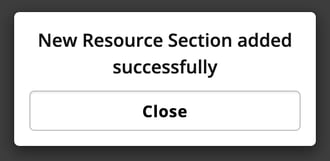
Your new section will appear in the list on the left side.
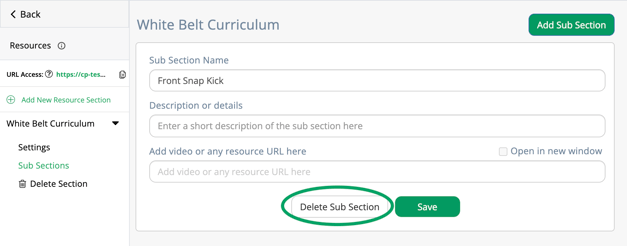
Adding a sub section
Sub sections are the actual items students/participants will open. It could be individual technique videos, study materials, lesson notes, etc.
To add a sub section:
-
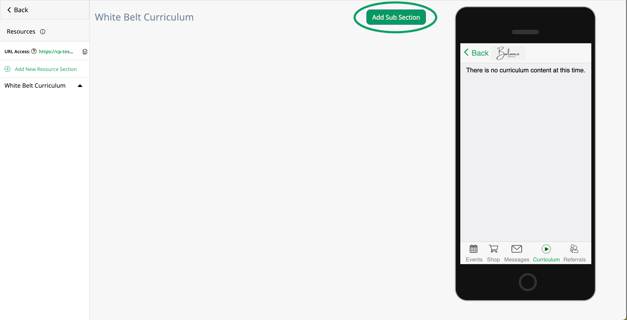
Click on the section.
-
Click "add sub section."
-
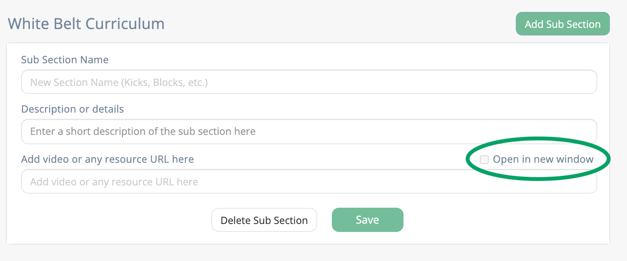
Enter:
-
Sub section name
-
Description or details
-
Video or resource URL
-
- Choose whether it opens in a new window.
Note: The video or resource must be a URL. If you want to add a PDF or image, you can upload it to Google Drive or similar first, then paste the share link.
Section settings
Each section has its own settings and applies to all sub sections within it.
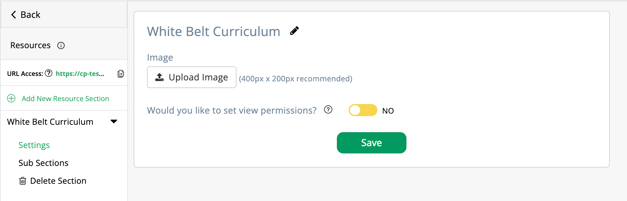
Click "settings" on the left side to:
- Edit the section name.
- Upload a section image (up to 400 x 200 px).
- Set view permissions.
View permissions (who can see what)
If you only want certain students to access a section:
-
Turn "view permissions" to yes.
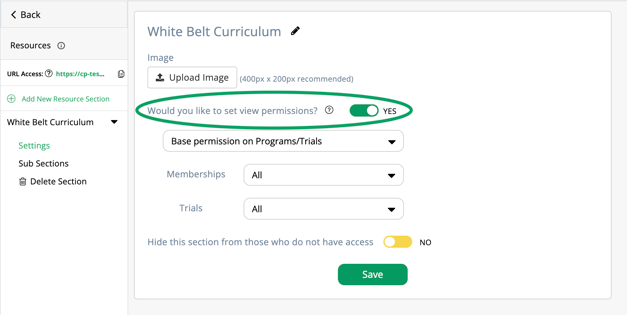
-
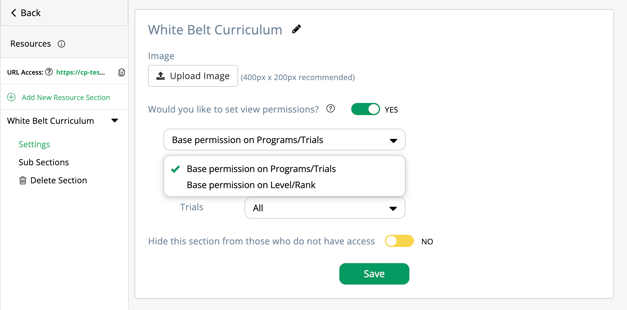
Choose one:
-
Programs/Trials (only students in selected programs see it).
-
-
-
Level/Rank (only selected levels or ranks see it).
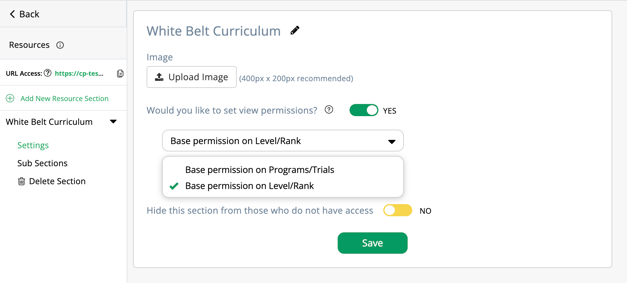
-
-
Choose whether to hide the section:
-
Select yes: Students without access won't see it.
-
-
-
Select no: Students without access can see the title of the section but can't open it to view sub sections.
-
Managing and deleting resources
- To delete a section: Click "delete section" under the section in the left column.
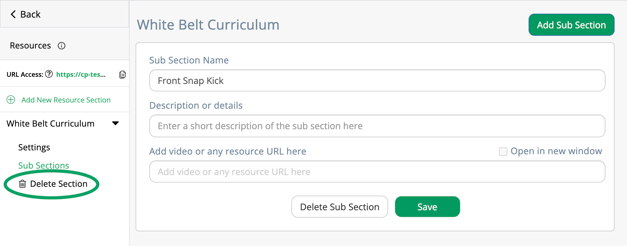
- To delete a sub section: Open the section, go to the sub section, then click "delete sub section" at the bottom.
Resource link:
- Share the entire resource area by copying the "URL access" link located at the top of the section list.
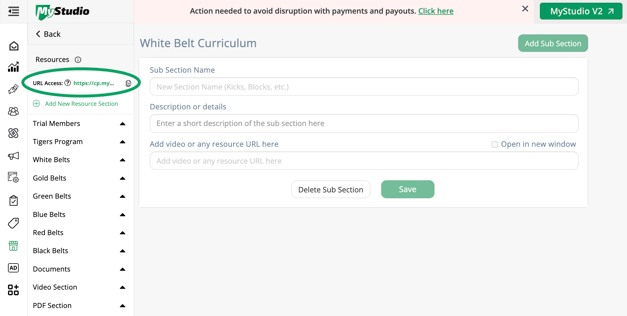
Important: The student must log into their member app (web or mobile) to open the link and access the resources they have access to. Otherwise, they will not be able to view it.