
Updated: February 20, 2026
Important: The V1 Attendance portal check-in is retiring on July 1, 2026. Please begin using the V2 portal to ensure a smooth transition. Refer to the V2 article for more details.
The attendance check-in portal allows you, your staff, or students to check themselves into classes or otherwise mark an attendance.
Why Does it Matter?
Taking attendance allows you to determine attendance rates for your studio or a particular class, rank eligibility, and an overall sense of how well you’re retaining students.
Permissions and Accessibility
Staff Access
- Admin
- Full Access
- Managers
- Does not have access to the Attendance Portal Settings
- Does have access to Admin Mode
- Staff
- Access to the portal itself
- Does not have access to Admin Mode or Attendance Portal Settings
MyStudio Plan Restrictions
- None
Details
The Attendance Portal
Access the attendance portal from Operations > Attendance > Dashboard > Launch Attendance Check In Portal. You can also manually copy and paste the URL.

For admin and managers, there is an Admin Mode button at the top right of the portal. They can click this and enter their login details to access admin mode for additional settings and views.
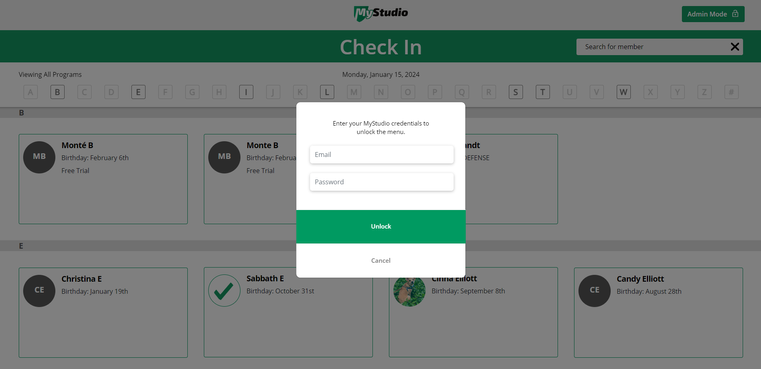
Admin Mode
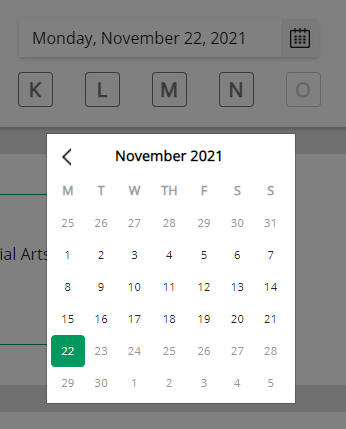
Admin and managers can access the attendance portal settings by clicking “Settings” at the top right. You can also select a previous day to log attendance from the calendar option. This calendar defaults to today’s date. If a different date is entered and you switch back to kiosk mode, the date will revert to the current date.
Portal Views
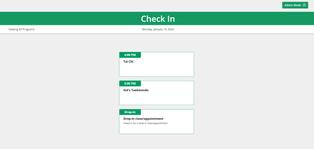
The attendance portal will start with different views based on the setting selected for the “Start check in with users selecting a class time or a participant name” option.
| Show Classes | Show Names |
 |
 |
| Student will select the class first, then choose the participant name checking in. | Student will select the participant name first, then choose the class they are checking into. |
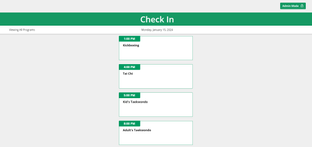
Classes are shown based on the “How should class times be displayed” setting.
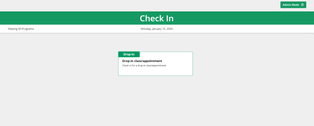
| Show all class times | Show classes within a specific time | Show only drop-in as a class appointment |
 |
 |
 |
| Will show all class times available for the day. |
Will activate the next setting where you can enter how many minutes before and after the current time you want classes to appear. For example: if it is currently 4pm and you entered 60 minutes, the attendance portal will only show classes that start between 3pm - 5pm. |
Will allow a quick check in only for the drop-in option. It is directly connected with the “include drop-in as a class/appointment option” setting. If “show only drop-in” is selected, “include drop-in as a class/appt option” will automatically be turned on if it is not already. |
Names are shown based on the “How should participant names be displayed” setting.
| Show all participant names | Show only registered participant names | Show no participant names (search only) |
 |
 |
|
| Will show all names regardless of class registration. |
Will show only the names of participants who registered for class prior to check-in. |
Will only display a search bar. This will search all participants. |
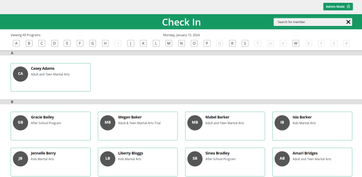
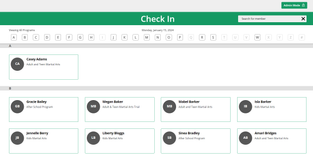
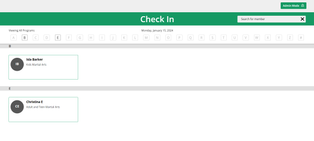
Participants are ordered alphabetically by last name. Students can select the letter displayed at the top for easier navigation, or search for a name in the search bar at the top right.
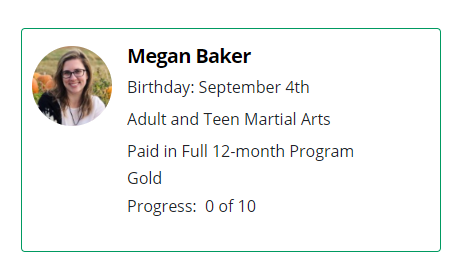
Participant Cards
Participant cards will display a participant profile picture that you can add from All Customers > Participants > Click into participant profile > Click picture circle to add an image.
The cards will also display the following information based on the attendance portal settings:
- Name is always shown.
- Birthday will show the month and day of a participant’s birthday if this is checked.
- Program is always shown. If a participant is registered to more than one program or trial, these will not immediately be displayed on the participant card. Instead, these registrations will appear in a list when the member attempts to check in so that the attendance is connected to the correct registration.
- Membership will show the specific option of the program the participant is signed up for if this is checked.
- Rank will show the belt rank associated with their registrations if this is checked.
- Progress will show how many attendances the participant has accrued compared to how many is needed for the next rank/level (x attended of x amount) if this is checked.
Logging Attendance in the Attendance Portal
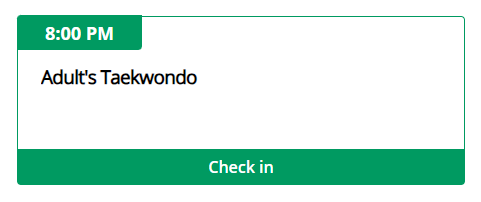
To log attendance, you or students will first click on the class or name they are checking in (based on the previous settings of which to show first). Then they will choose the subsequent name or class. If you have selected to allow registration during check-in, then classes that the student has not registered for will show as “Register & check in.” If the student has registered for the class, the option will just say “Check in.”
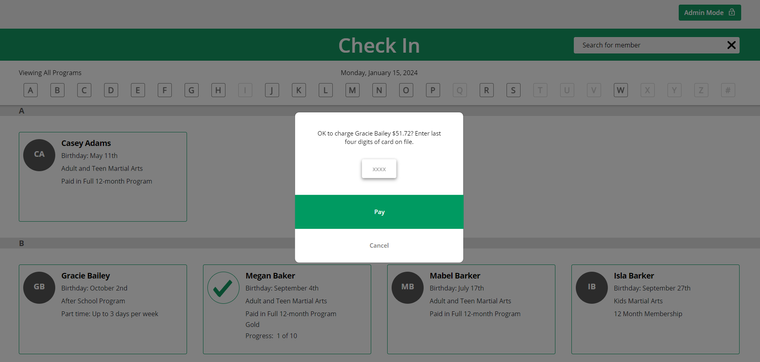
If you attempt to register and check-in a student to a class that has a drop-in price, you or the student will be prompted to enter the last four digits of the credit card on file for that member in order to charge for the class.
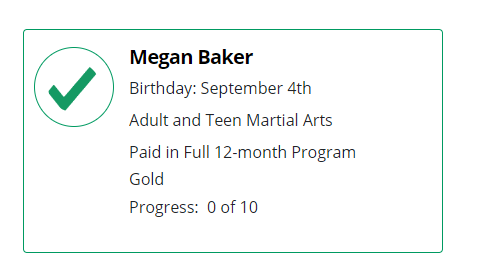
If the student is only registered for one membership or trial and check-in is successful, a green check mark will appear in place of the student’s profile picture.
If a student is registered for more than one membership or trial, students will need to select which registration to connect the attendance to before check-in can be completed.

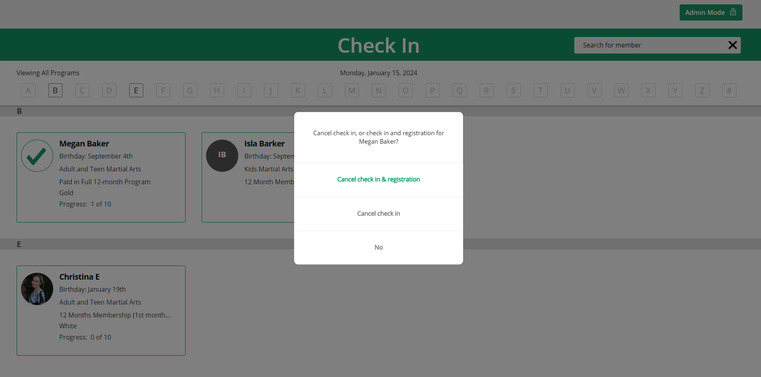
If a check-in occurred accidentally, this can be undone by clicking on the green check mark and choosing “Cancel check in.”
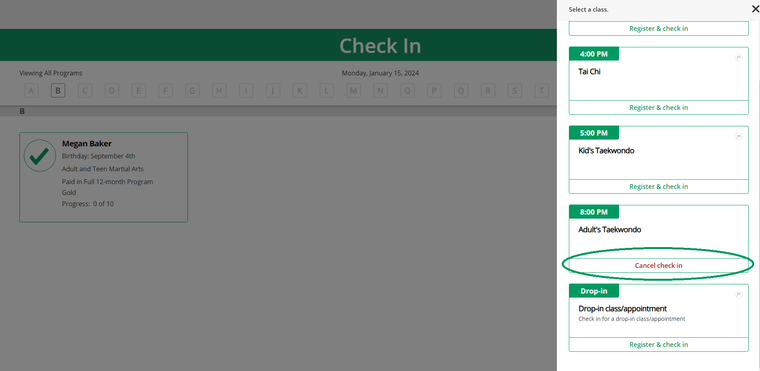
You will then have to select to cancel just the check-in, or both the check-in and the registration if registration occurred during this process.
Failed Check-ins
Check in may fail for several reasons.
Past Due Payment
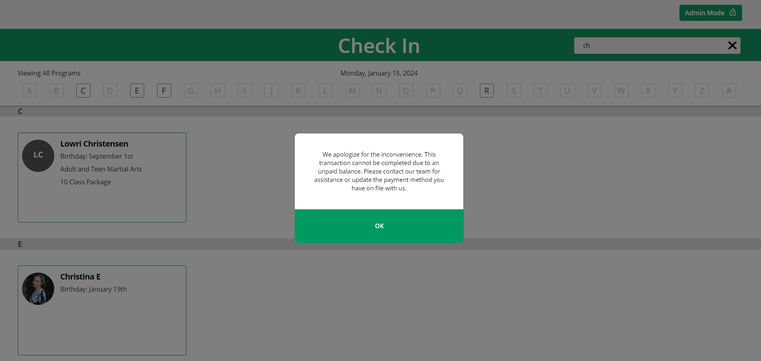
There is a past-due payment for the membership on file. This can be overridden from admin mode.
Before Membership or Trial Start Date
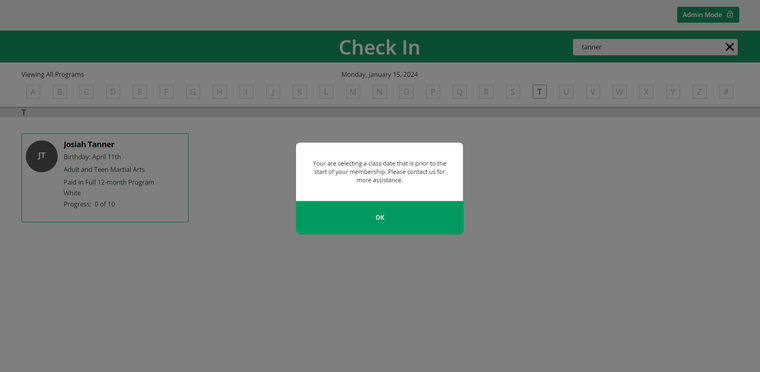
The membership or trial start date has not occurred yet. This cannot be overridden from admin mode.
Expired Membership or Trial
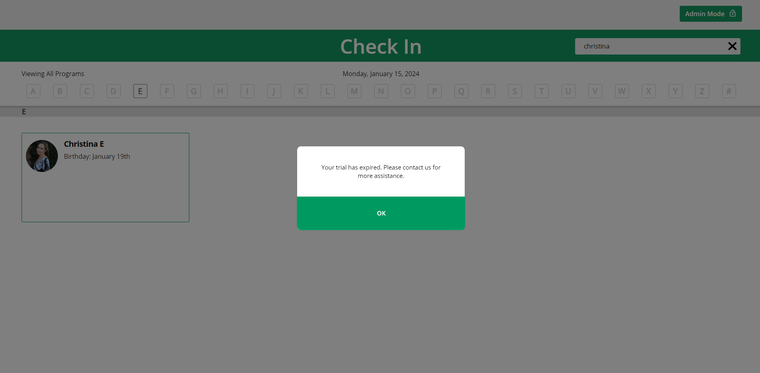
The end date for the membership or trial has passed. This cannot be overridden from admin mode.
Attendance Limits Met

The student has already hit their attendance limits associated with the selected membership or trial. This can be overridden from admin mode.
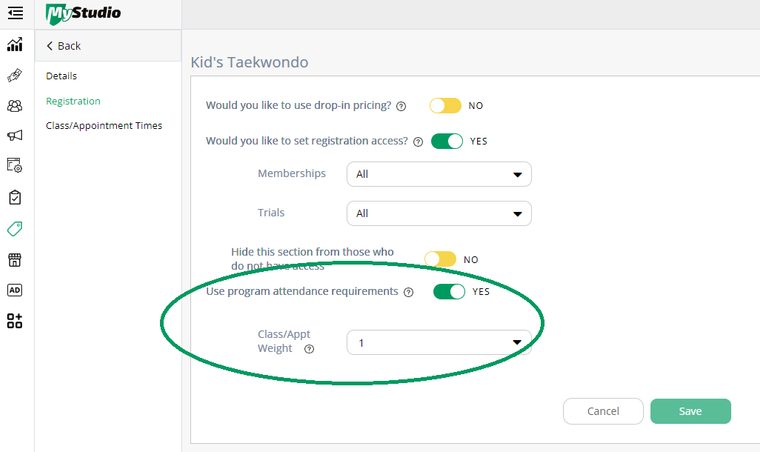
NOTE: Attendance limits are not taken into account for any classes that do not use program attendance requirements. This setting is found in Services and Products > Classes and Appointments > Edit a class > Registration. From here, if the class has registration access restrictions, there will be another setting option to use program attendance requirements.
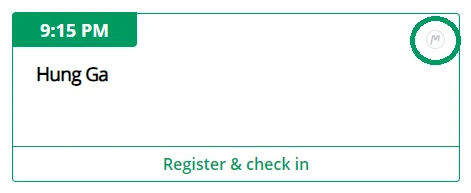
If you do not want the failed check-in popups to appear automatically, and would like check-in to be faster in general, the “Enable quick check-in” option allows validation of check-in to occur in the background. If there is an issue with check-in, you will receive an email detailing why.
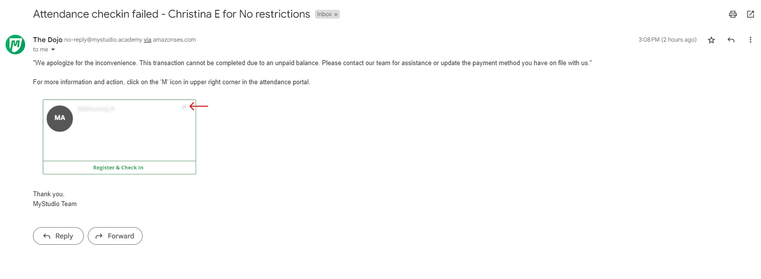
Additionally, the (M) Icon at the top right of the class card can be clicked in order to trigger the popup.
Related Subsections and Functions
- Adding Class/Appointments
- Attendance Dashboard and Attendance Portal Settings
- Manually Logging and Managing Attendance
FAQs
- What are all the settings for the attendance portal?
- For a comprehensive list of attendance portal settings, please visit this article: Attendance Dashboard and Attendance Portal Settings
- I tried completing a check-in and nothing seemed to happen.
- If you have “Enable quick check-in” enabled, and you do not see a green check next to the student name, or there isn’t a “Cancel check-in” option for the class you just tried to check in to, there is probably a problem that is stopping check in. Check the (M) at the top right of the class card to see if there’s a problem.